Homemade Clay Ornaments
2023 Update: These are still whole but I don’t hang them up because they feel too fragile. I tried another method in 2021 and it worked so much better! Click here to see the method I used for my Handprint Ghosts. People keep finding this blog post and I just want to let you know that I think there is a better way now! I am planning on doing this exact craft this week with my kids with the new method. When that post is up, I’ll switch out the link here! Until then, order this clay on Amazon (or find it at Target or Walmart) and use it!
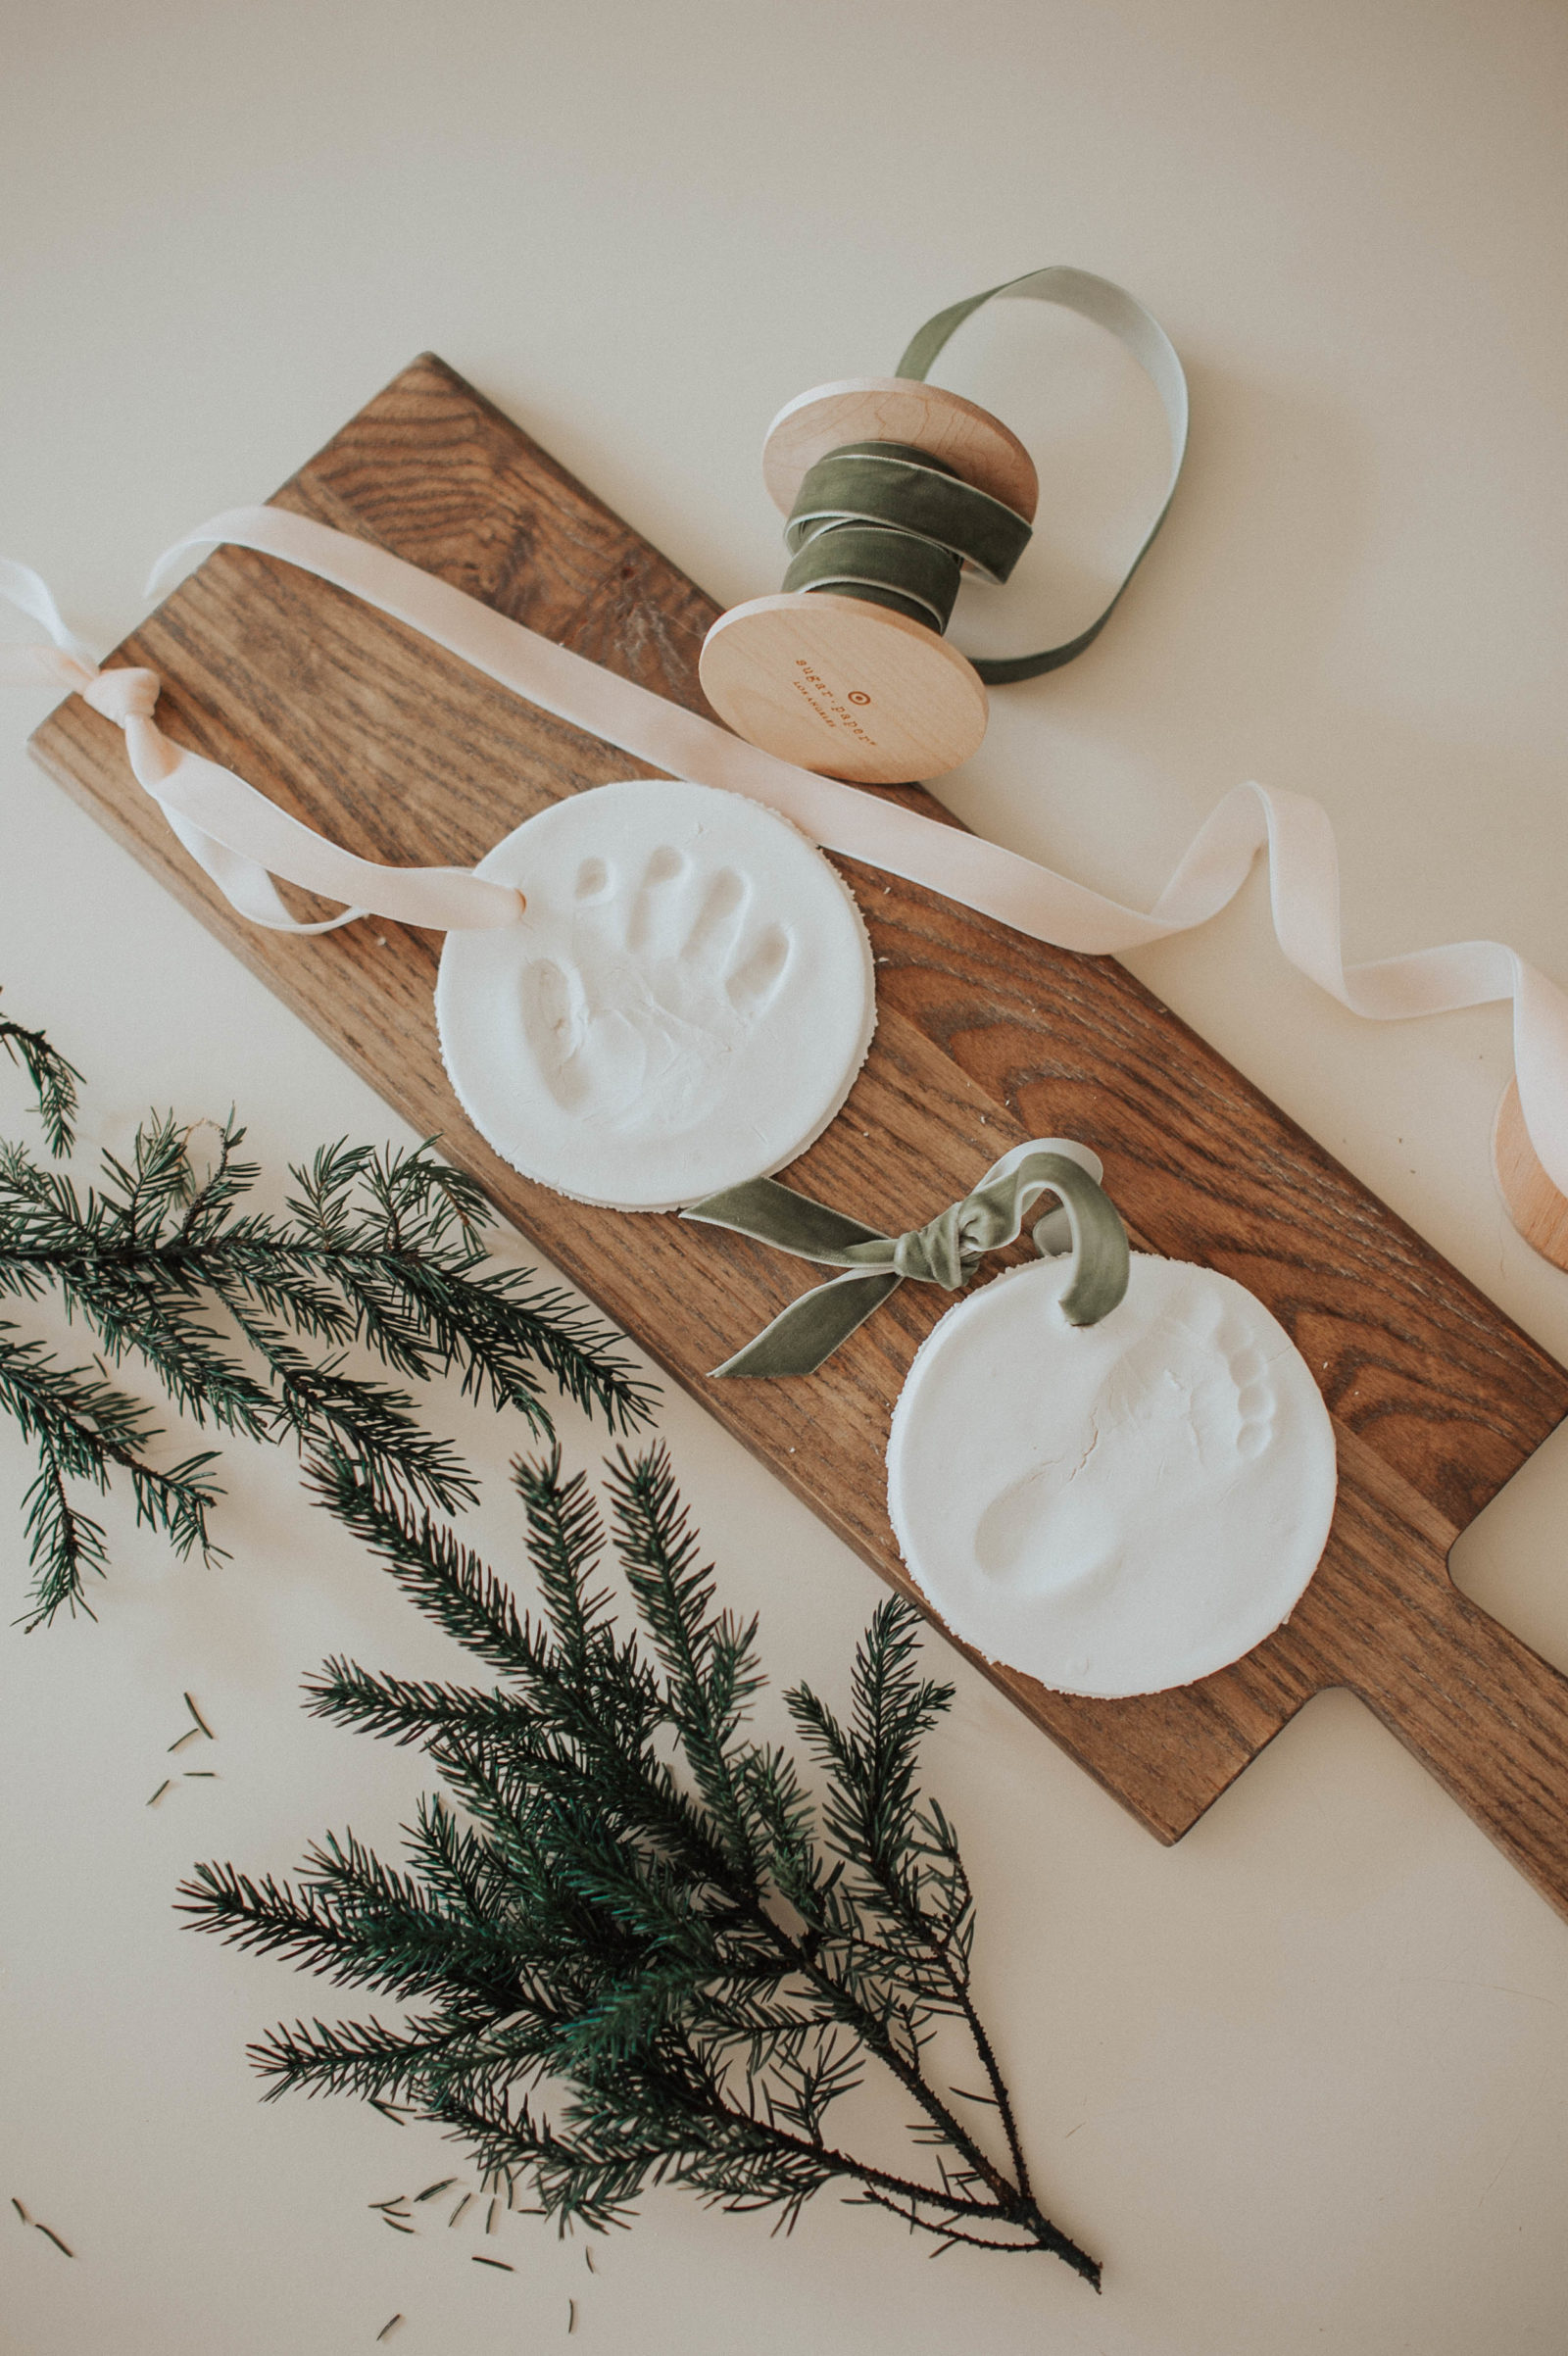 We tried the salt dough ornaments that everyone was talking about on Instagram but they didn’t turn out so great. They cracked pretty quickly and within a week one broke all the way in half, falling off the tree! I still loved the idea so I asked in my Instagram stories and multiple people told me to use the one that has cornstarch.
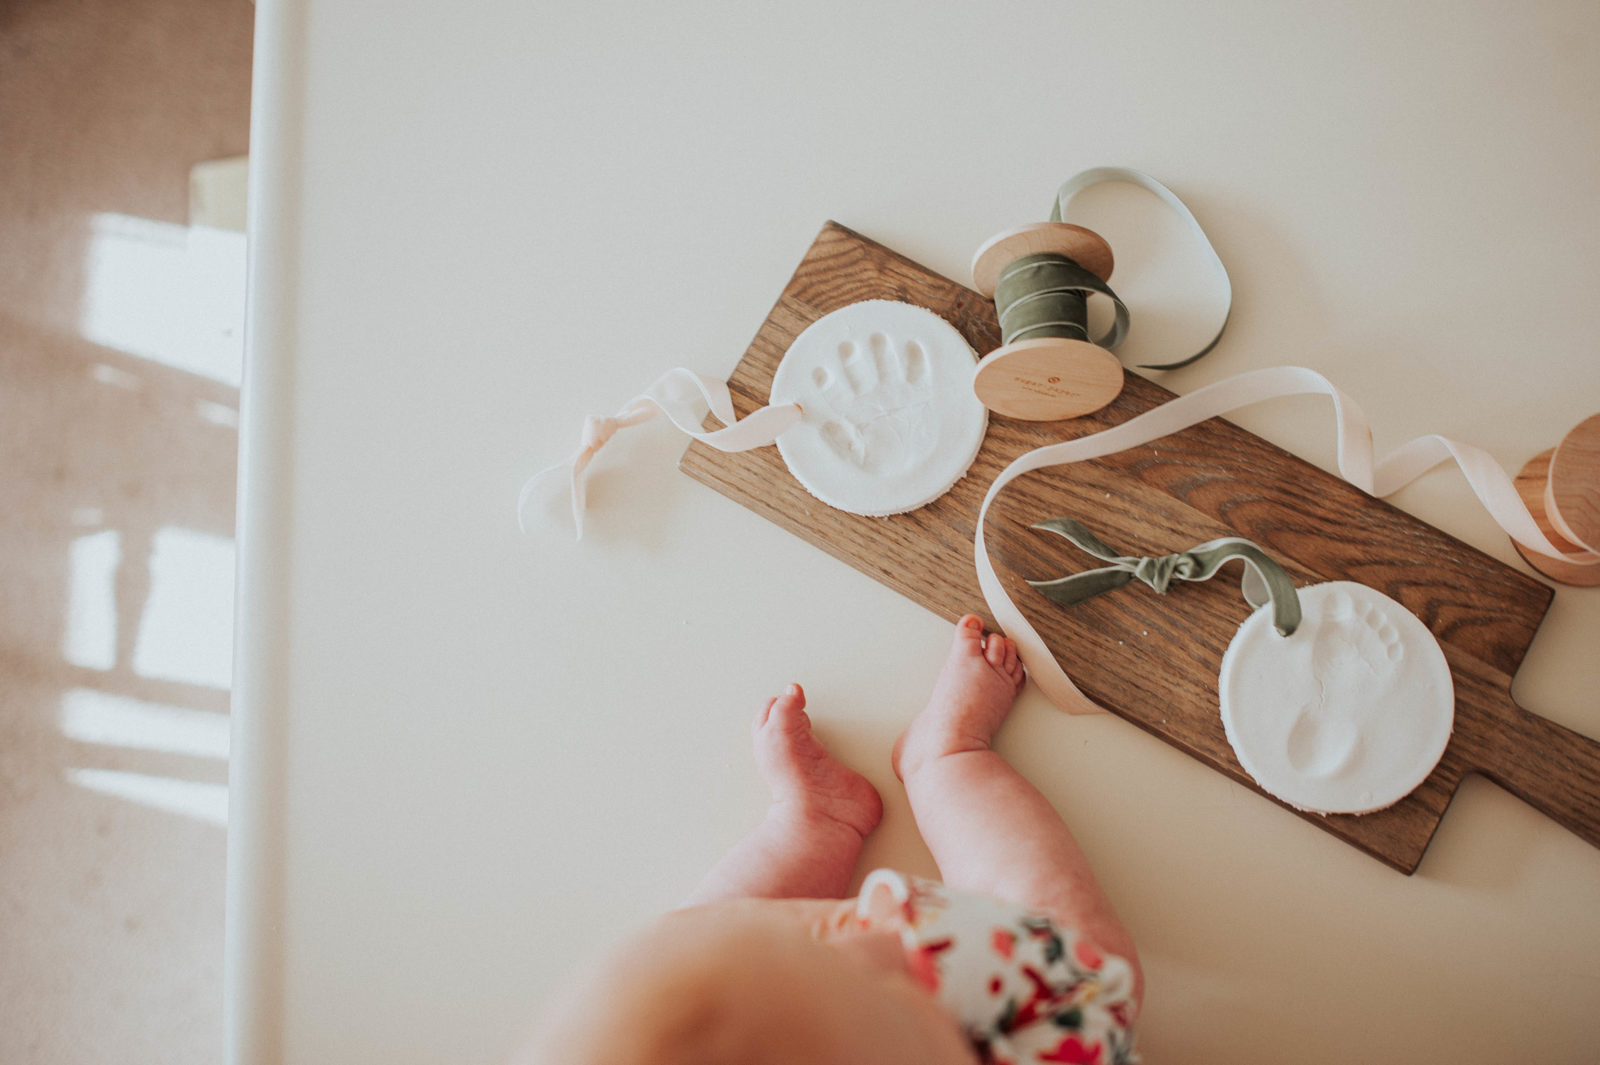
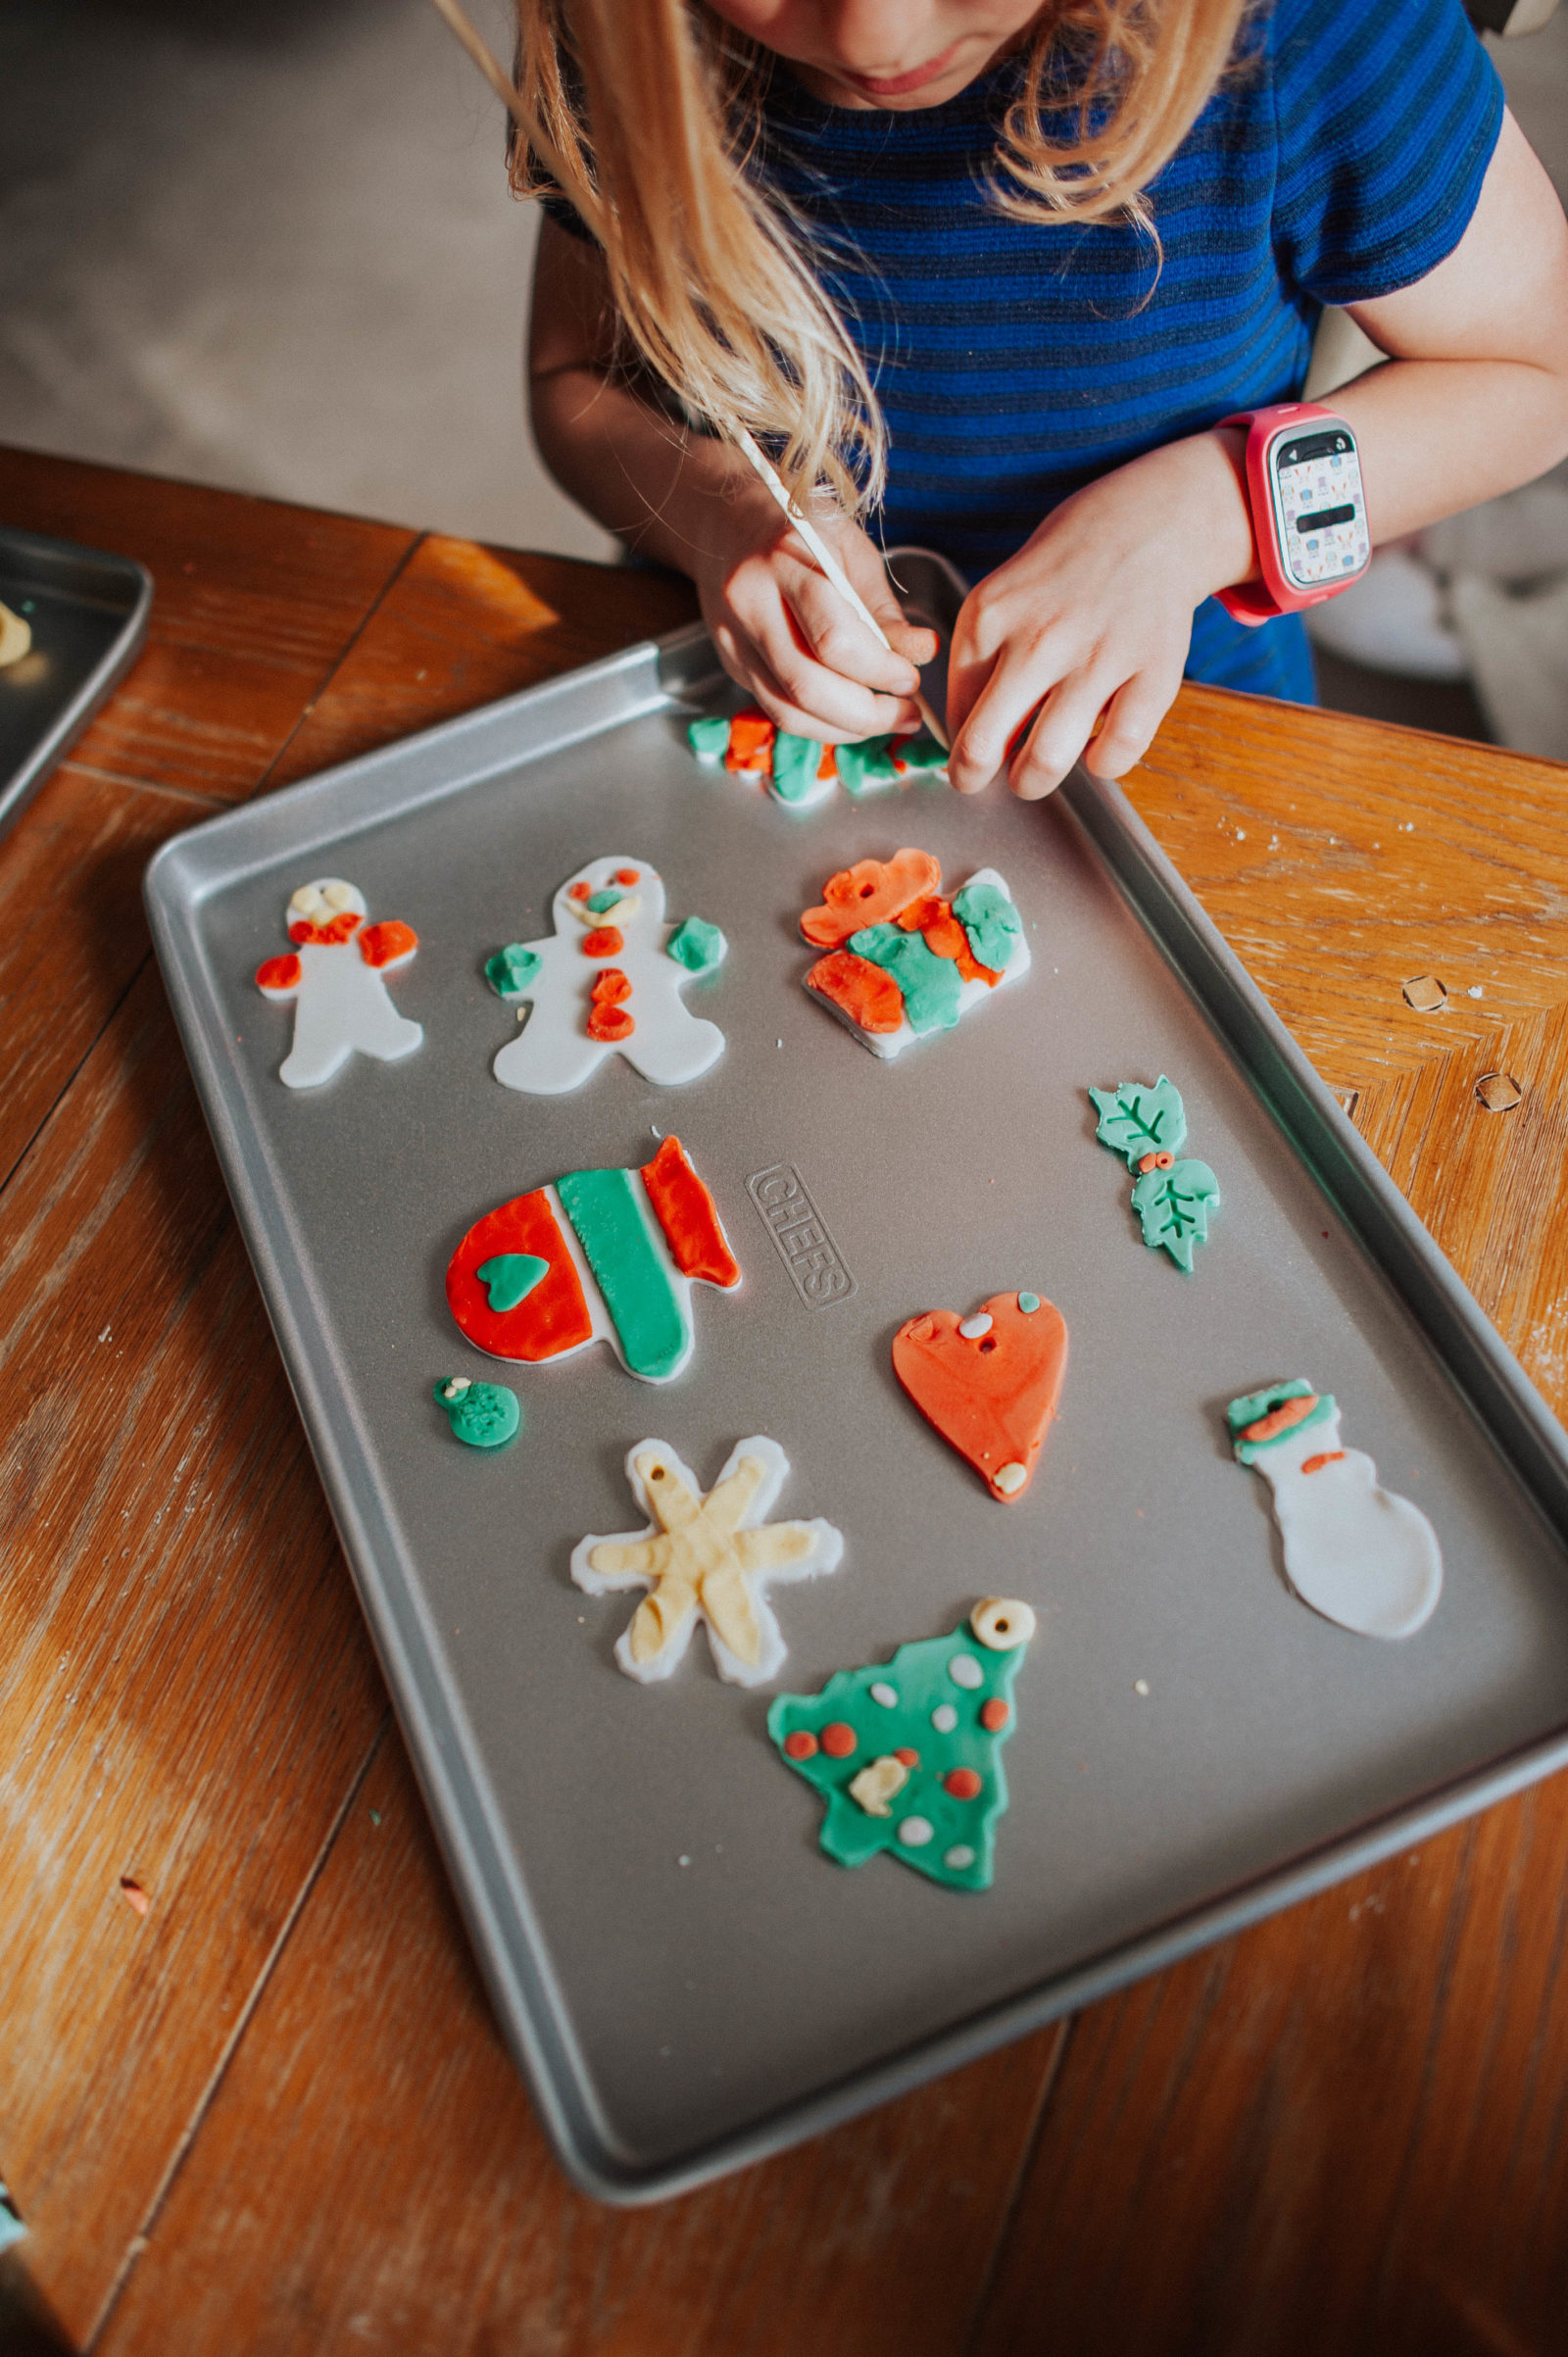
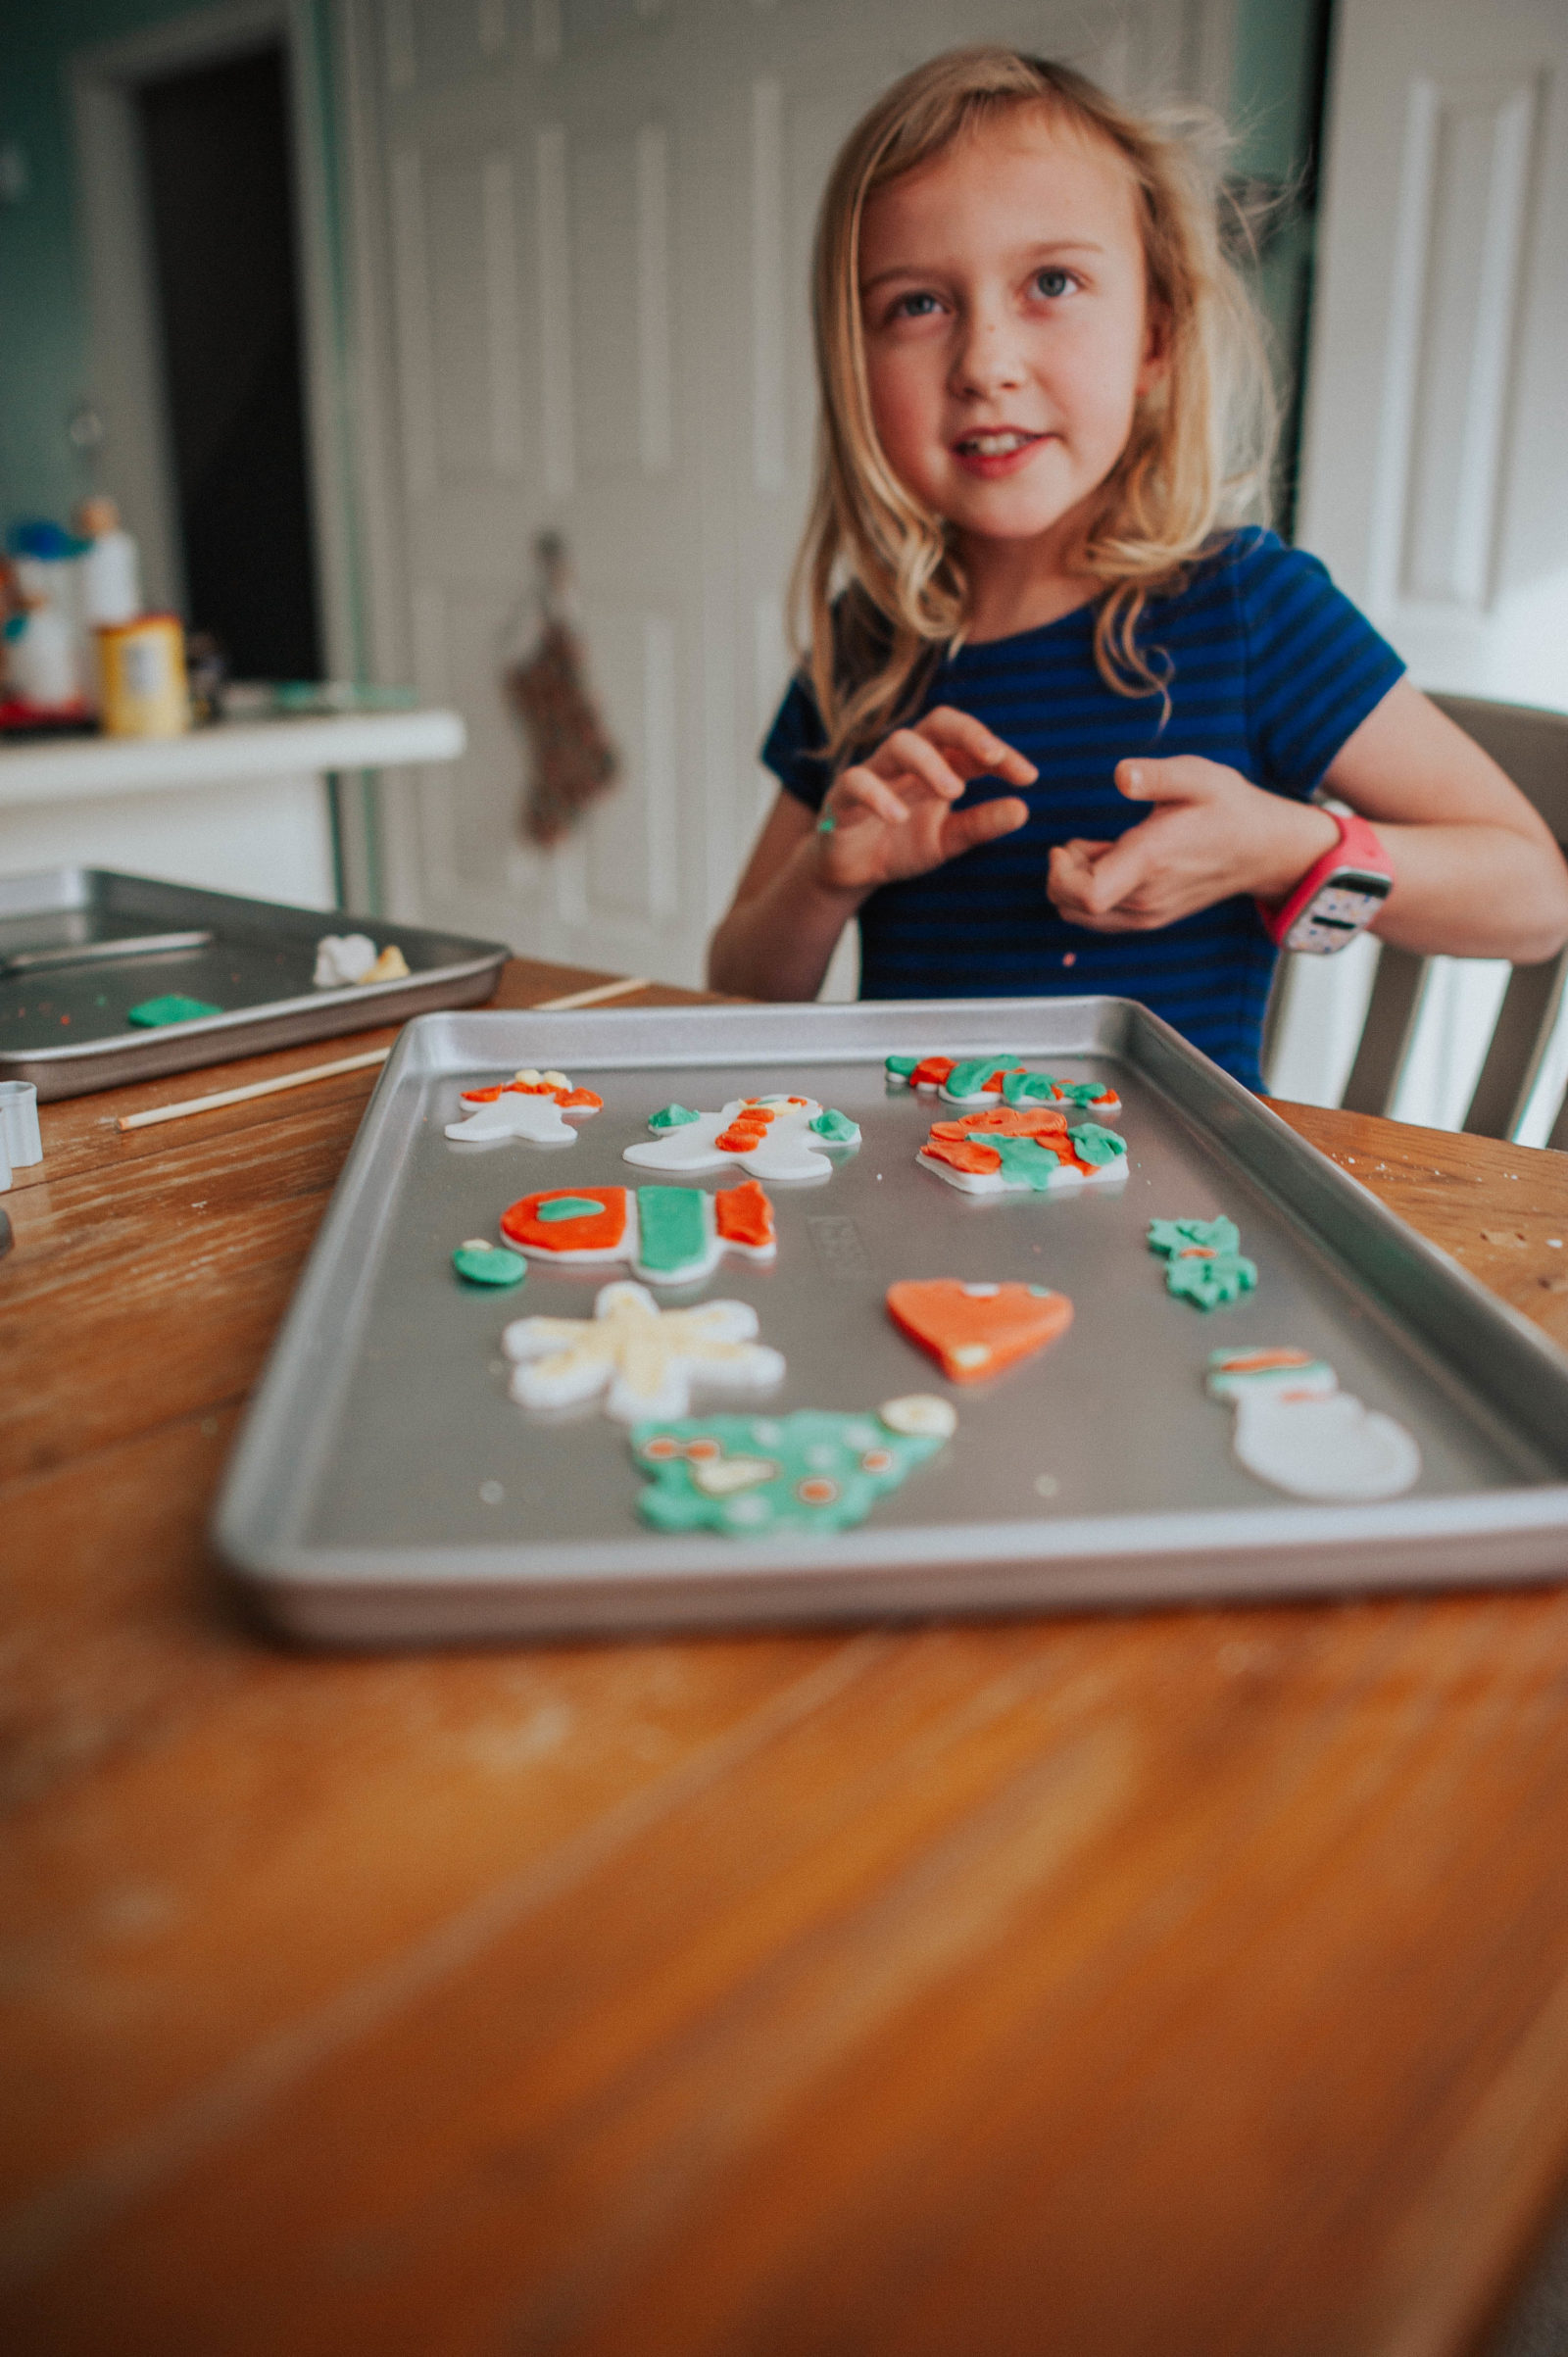
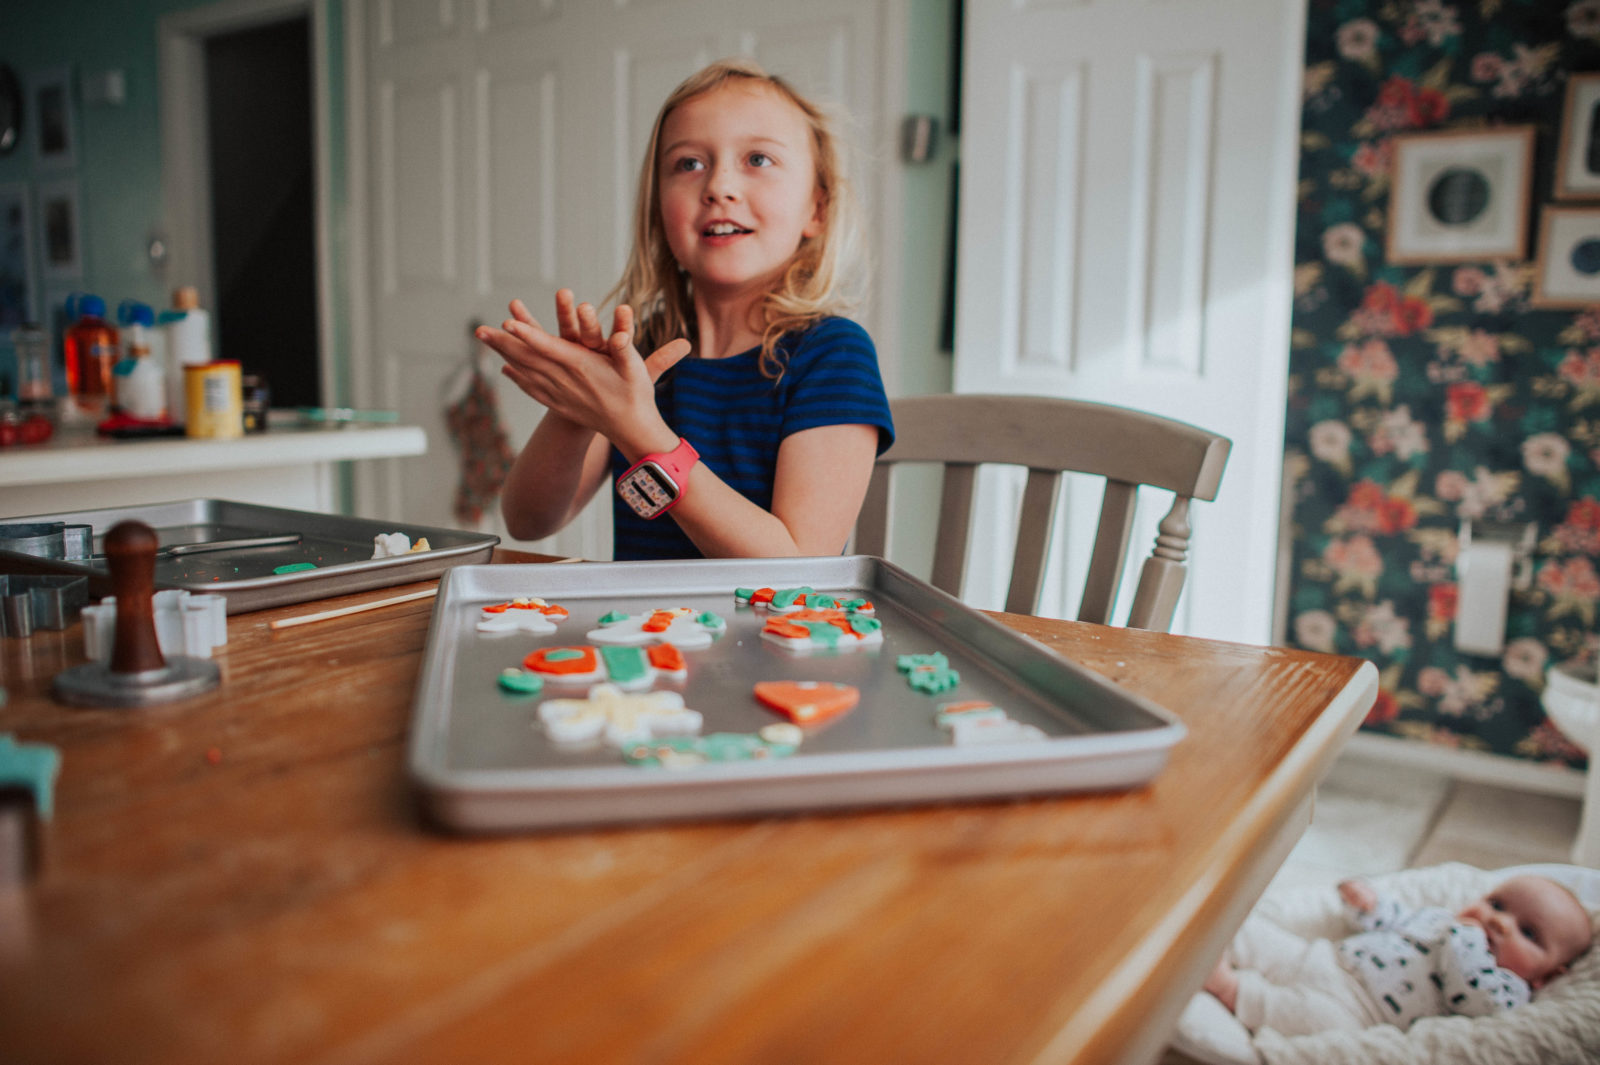
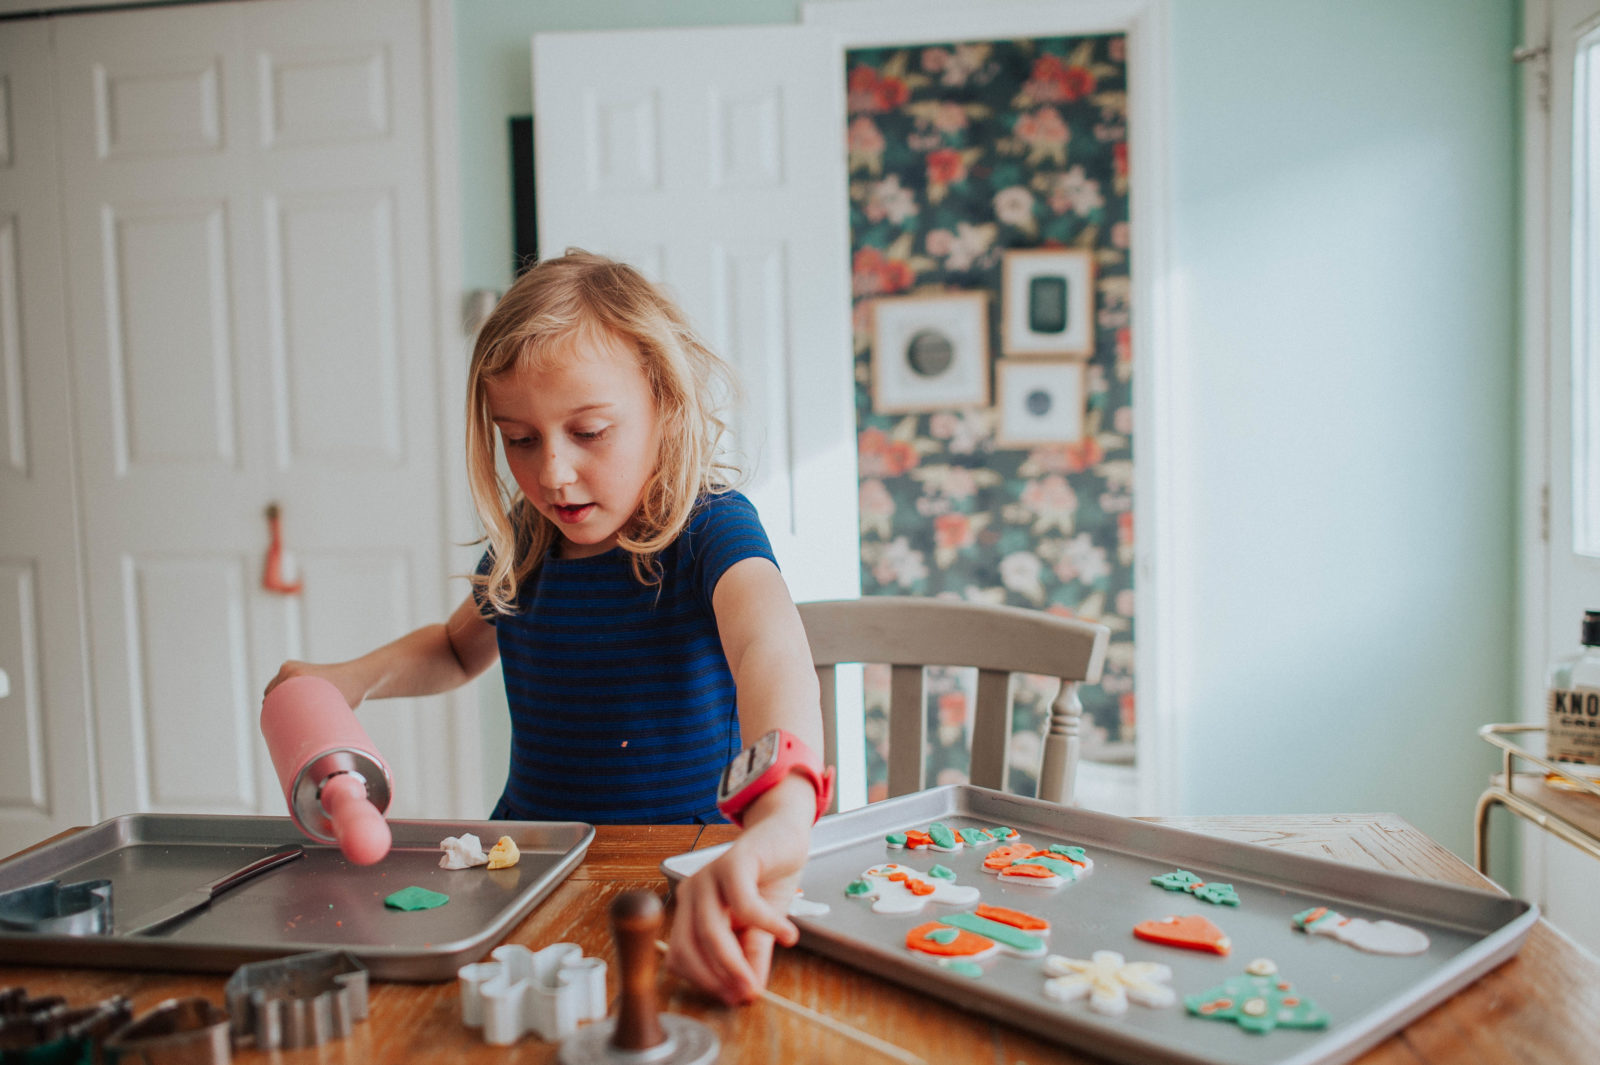
So I followed your advice and they turned out WAY better! The color is whiter, the dough is smoother, and the imprints came out much clearer. We made these fun homemade clay ornaments with Hilde’s prints. We even had some extra so when Elsie came over a couple days later we added some food coloring to the dough and brought our the cookie cutters. Also a video! We are trying to get more into video this year so I hope you like it!!
PS: They are finicky so keep an eye on them in the oven to prevent cracking.
Homemade Clay Ornaments:
<
What you Need:
1/2 cup cornstarch
1 cup baking soda
3/4 cup water
food coloring (for fun)
How To:
1. Stir water, baking soda, and cornstarch together in a pot over medium heat.
2. Keep stirring until the mixture thickens to look like mashed potatoes.
3. Remove from heat.
4. Move to bowl and cover (to prevent from drying) until dough cools.
5. Preheat oven to 175 degrees (Fahrenheit)
6. Kneed and roll out dough on corn starched surface.
7. Bake for 90-120 minutes.
This is so cute! We did ornaments one year that called for cinnamon and applesauce and it made the house smell SO wonderful. I can’t remember what they were called… I just remember those two ingredients.
Oh my goodness! That does sound like it would smell soooo good!
Dangggg Beth, a video AND photos? Overachiever 😉 Just kidding of course!! This is such a fun project, and I’ll need to do this ASAP (before Aiden & Emma grow anymore!! AHH!)
Don’t worry, it won’t happen again 😉
I want to make clay ornaments now, these are so cute. I love how each one is unique and different.
Thanks so much! Yes! They are so fun! A fun way to make memories and celebrate the Christmas season!!
How have these held up now that it’s been a few years?
Thanks Elizabeth! They were still good when I took them out last Christmas! I would probably cover them with modge podge or some kind of clear protective covering. I didn’t do that the first time but I did them with my spooky ghost ornaments (https://oakandoats.com/2021/10/spooky-handprint-clay-ghost-ornaments.html ) and I think that helps them last longer!
These are so beautiful!! What size width ribbon did you use In the photo with the creamy and light green velvet ribbons? Just gorgeous the combination!
Thanks so much Jennifer! They are Sugar Paper from Target the 5/8″ size. They typically come out with a couple colors every Christmas season and I always buy a couple spools! Here is a link but they are currently sold out (I bet they will restock soon!) https://bit.ly/3BNiRGB