
Homemade Clay Ornaments
2023 Update: These are still whole but I don’t hang them up because they feel too fragile. I tried another method in 2021 and it worked so much better! Click here to see the method I used for my Handprint Ghosts. People keep finding this blog post and I just want to let you know that I think there is a better way now! I am planning on doing this exact craft this week with my kids with the new method. When that post is up, I’ll switch out the link here! Until then, order this clay on Amazon (or find it at Target or Walmart) and use it!
 We tried the salt dough ornaments that everyone was talking about on Instagram but they didn’t turn out so great. They cracked pretty quickly and within a week one broke all the way in half, falling off the tree! I still loved the idea so I asked in my Instagram stories and multiple people told me to use the one that has cornstarch.
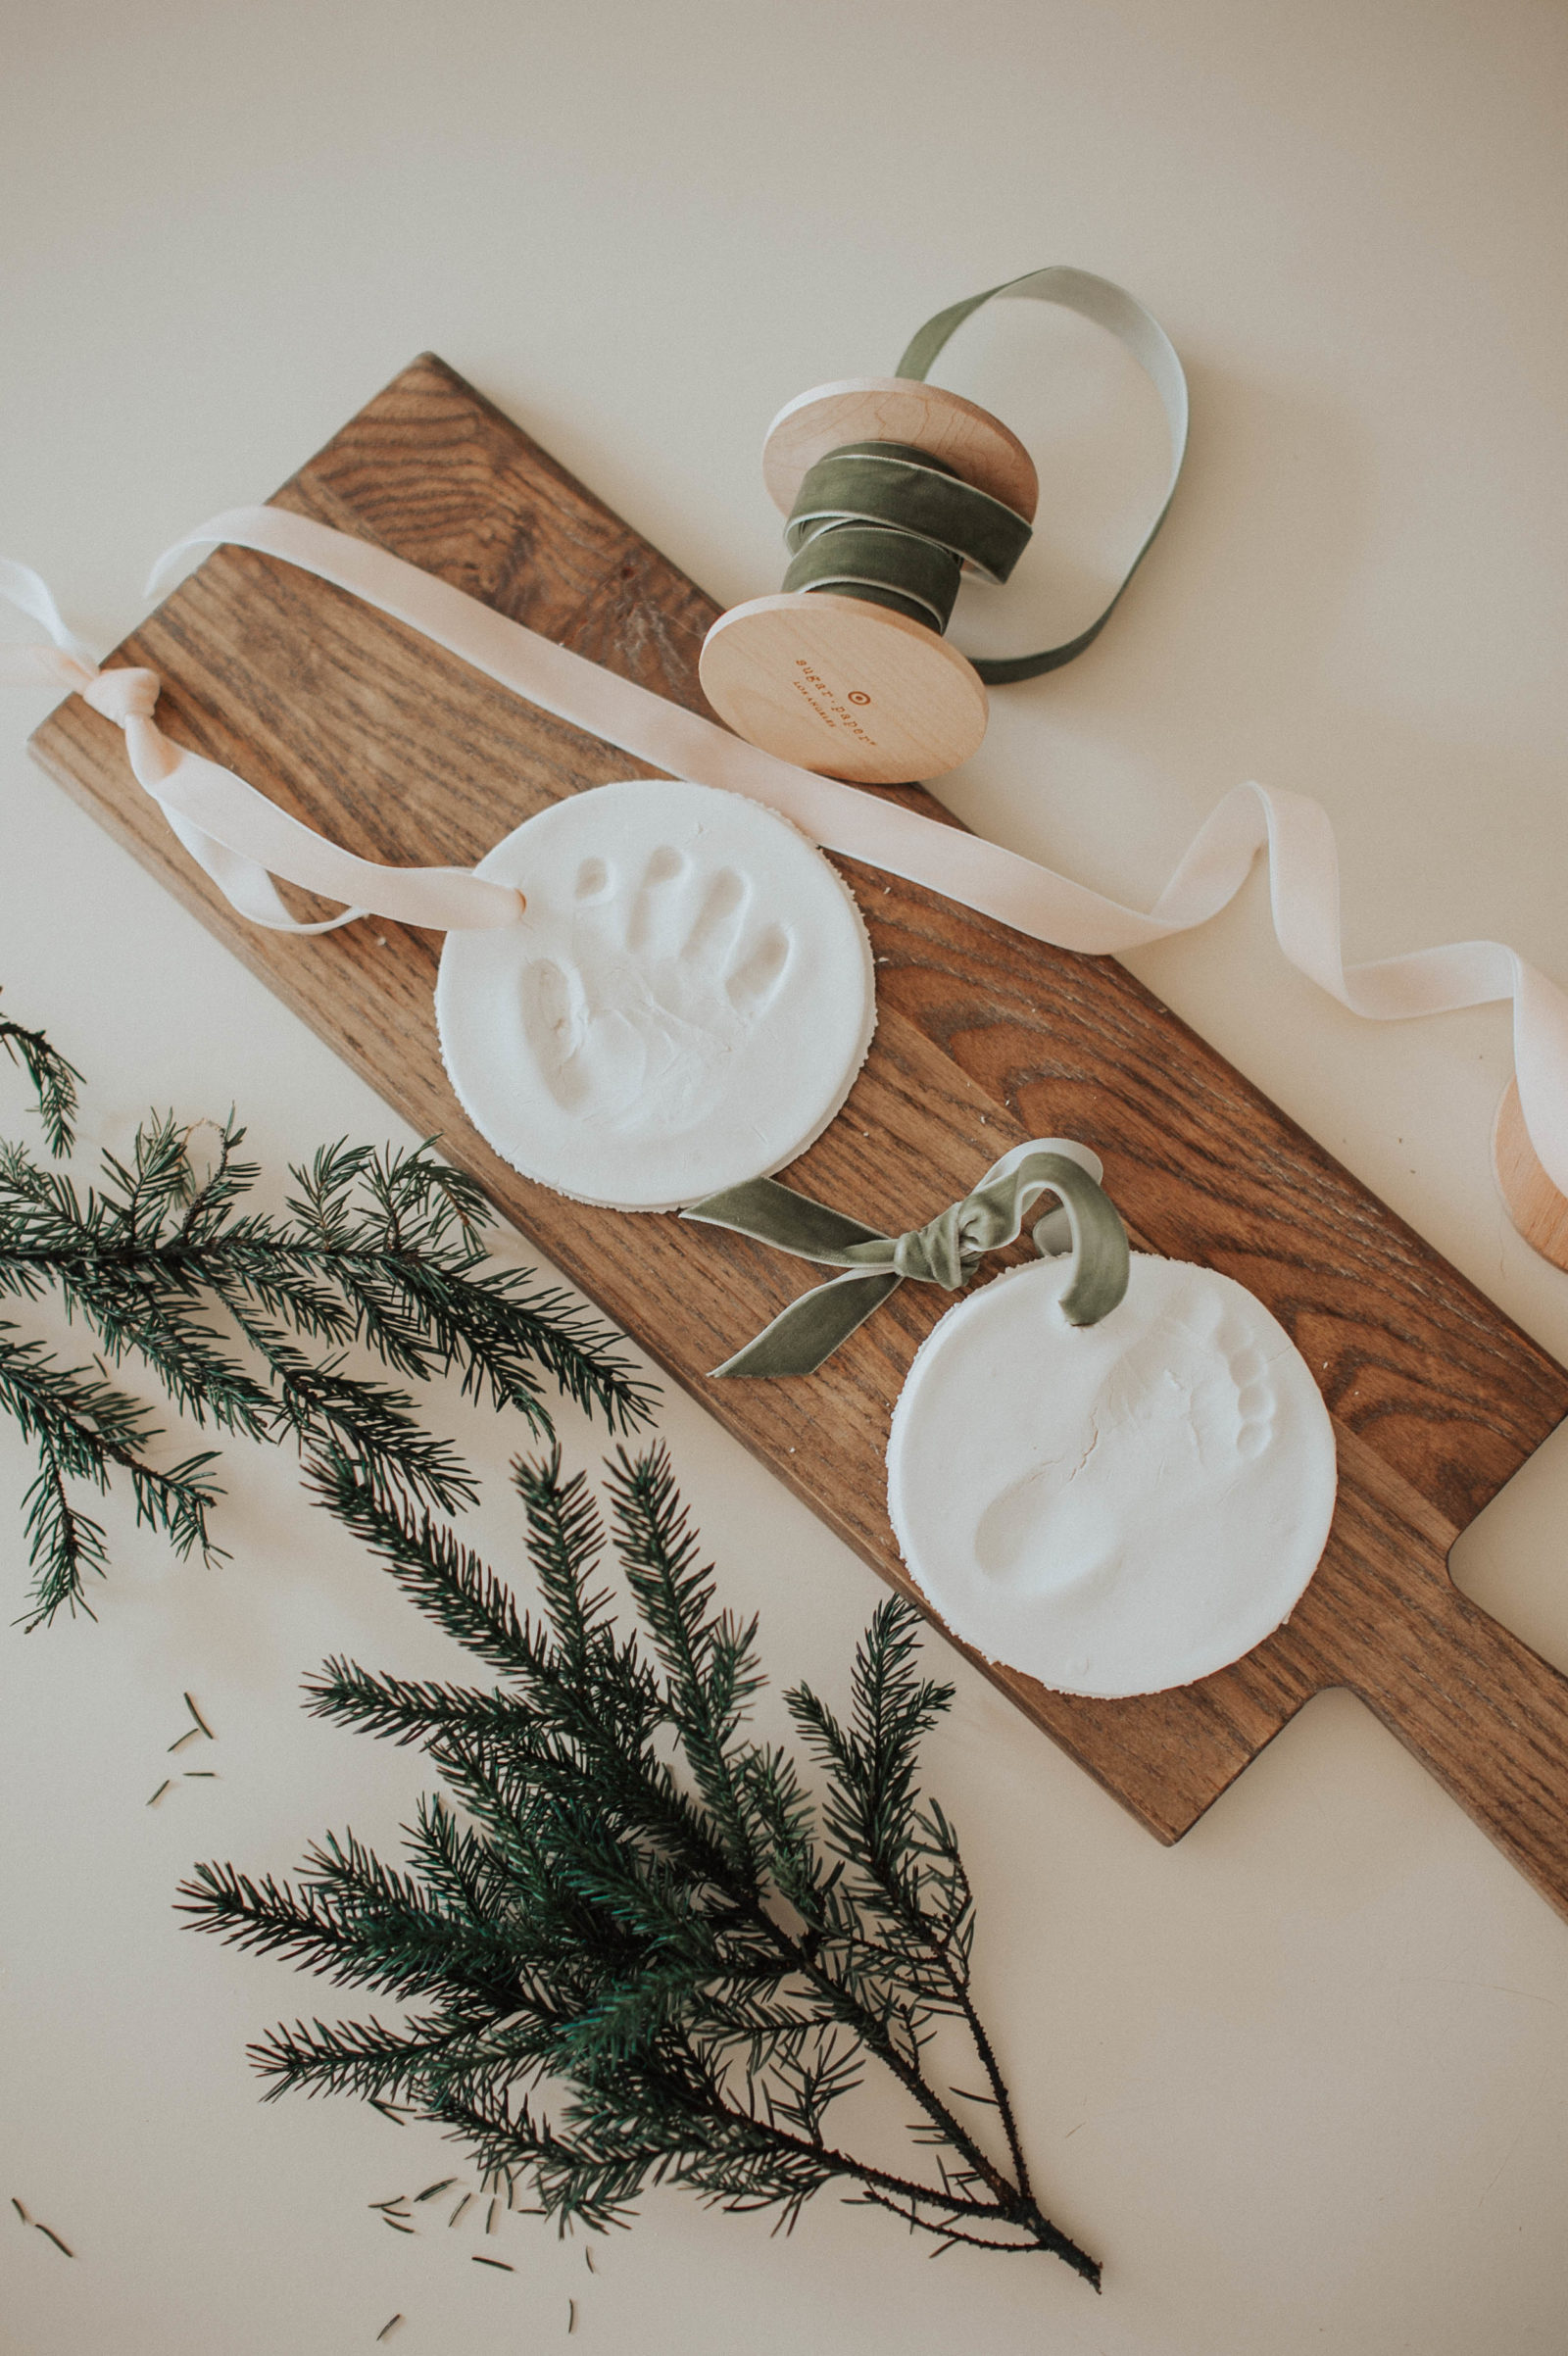
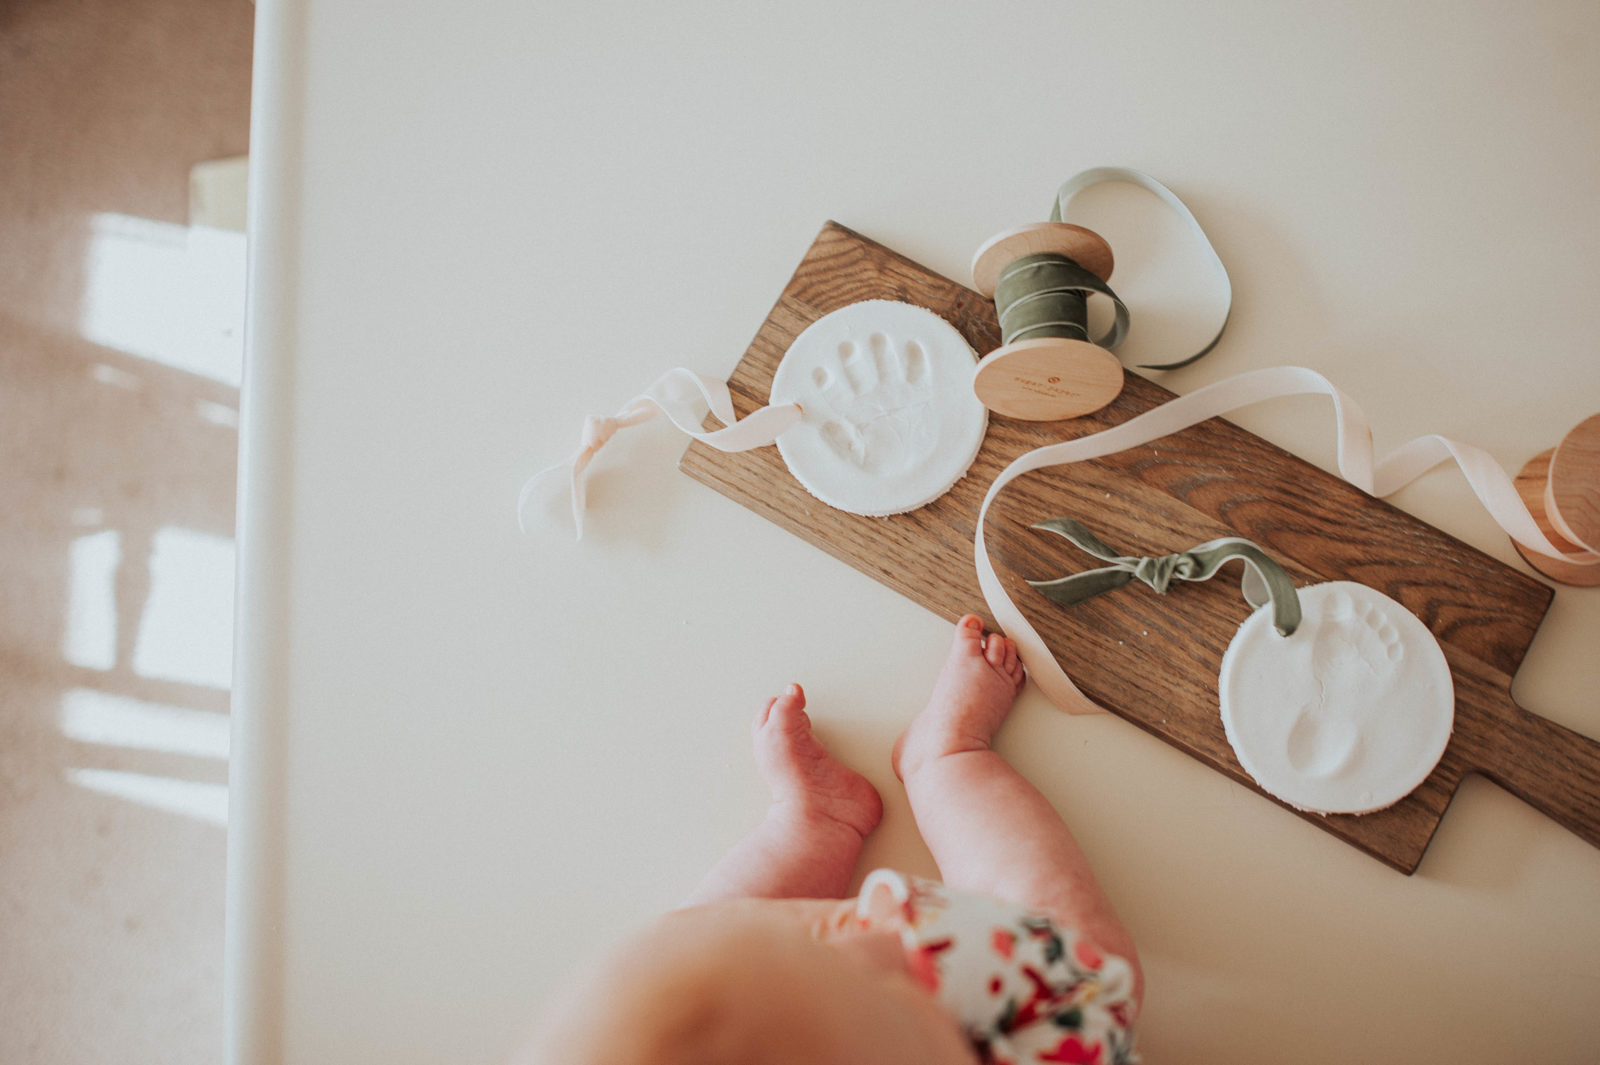
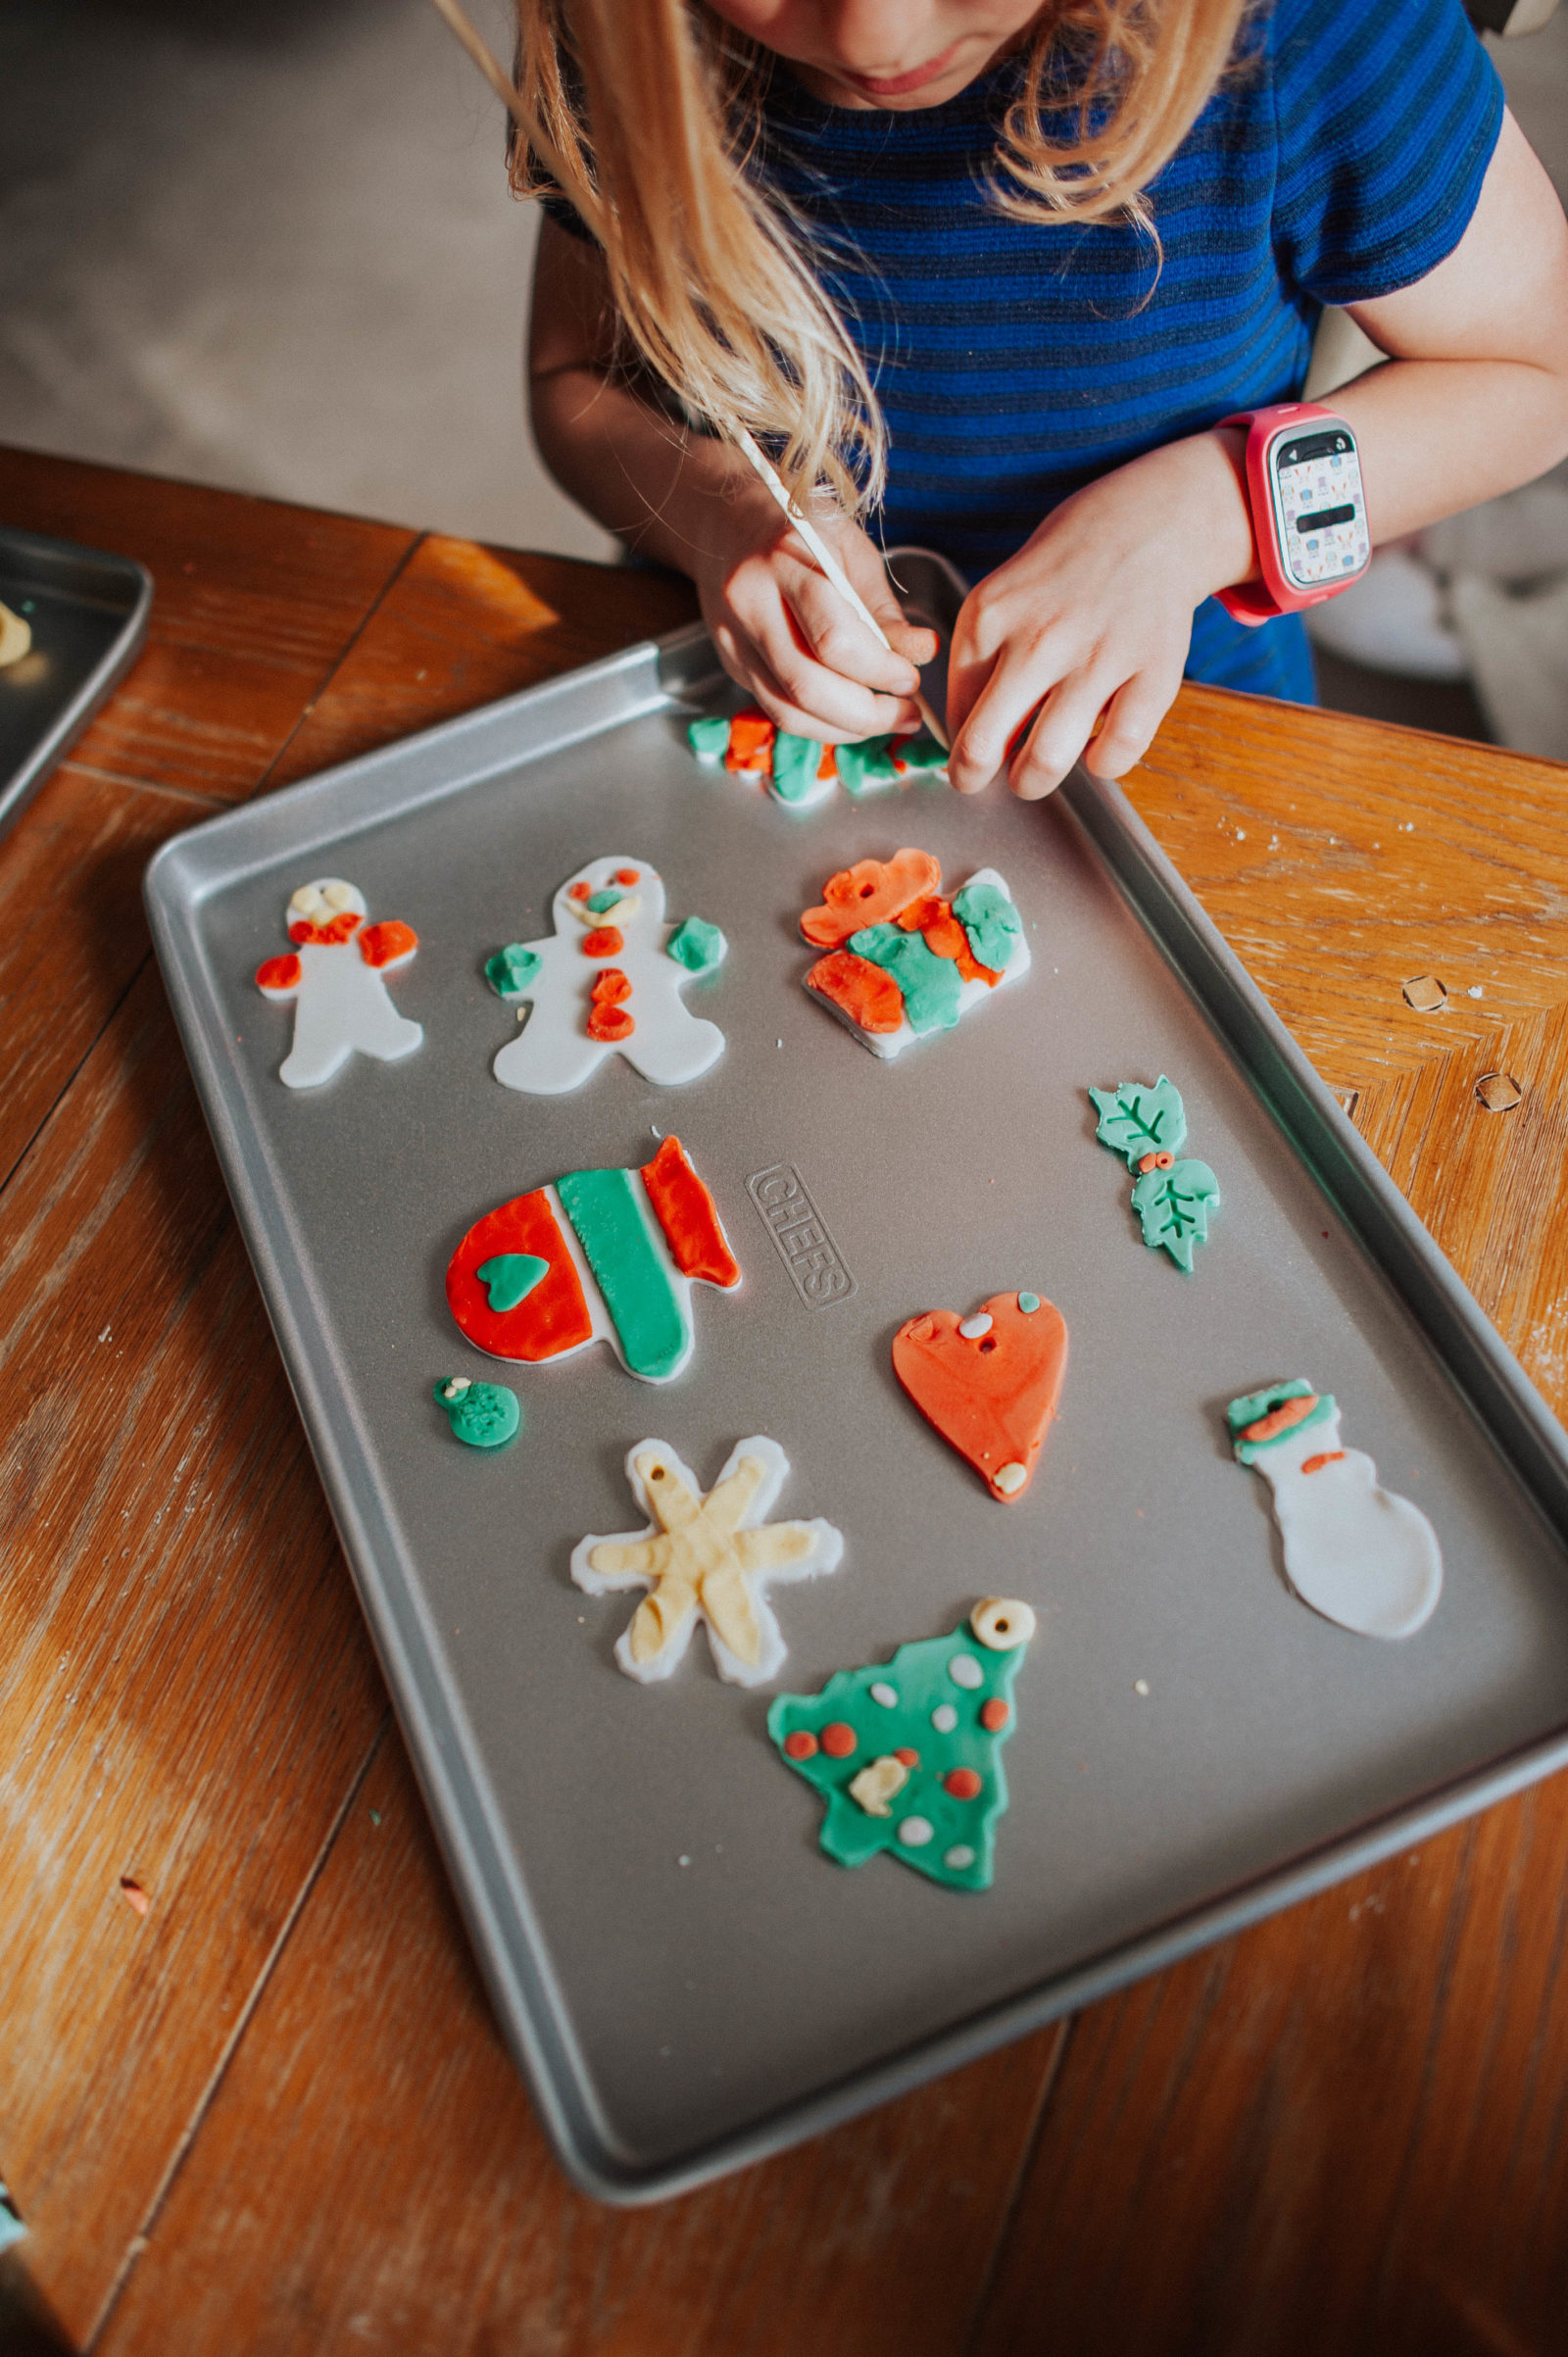
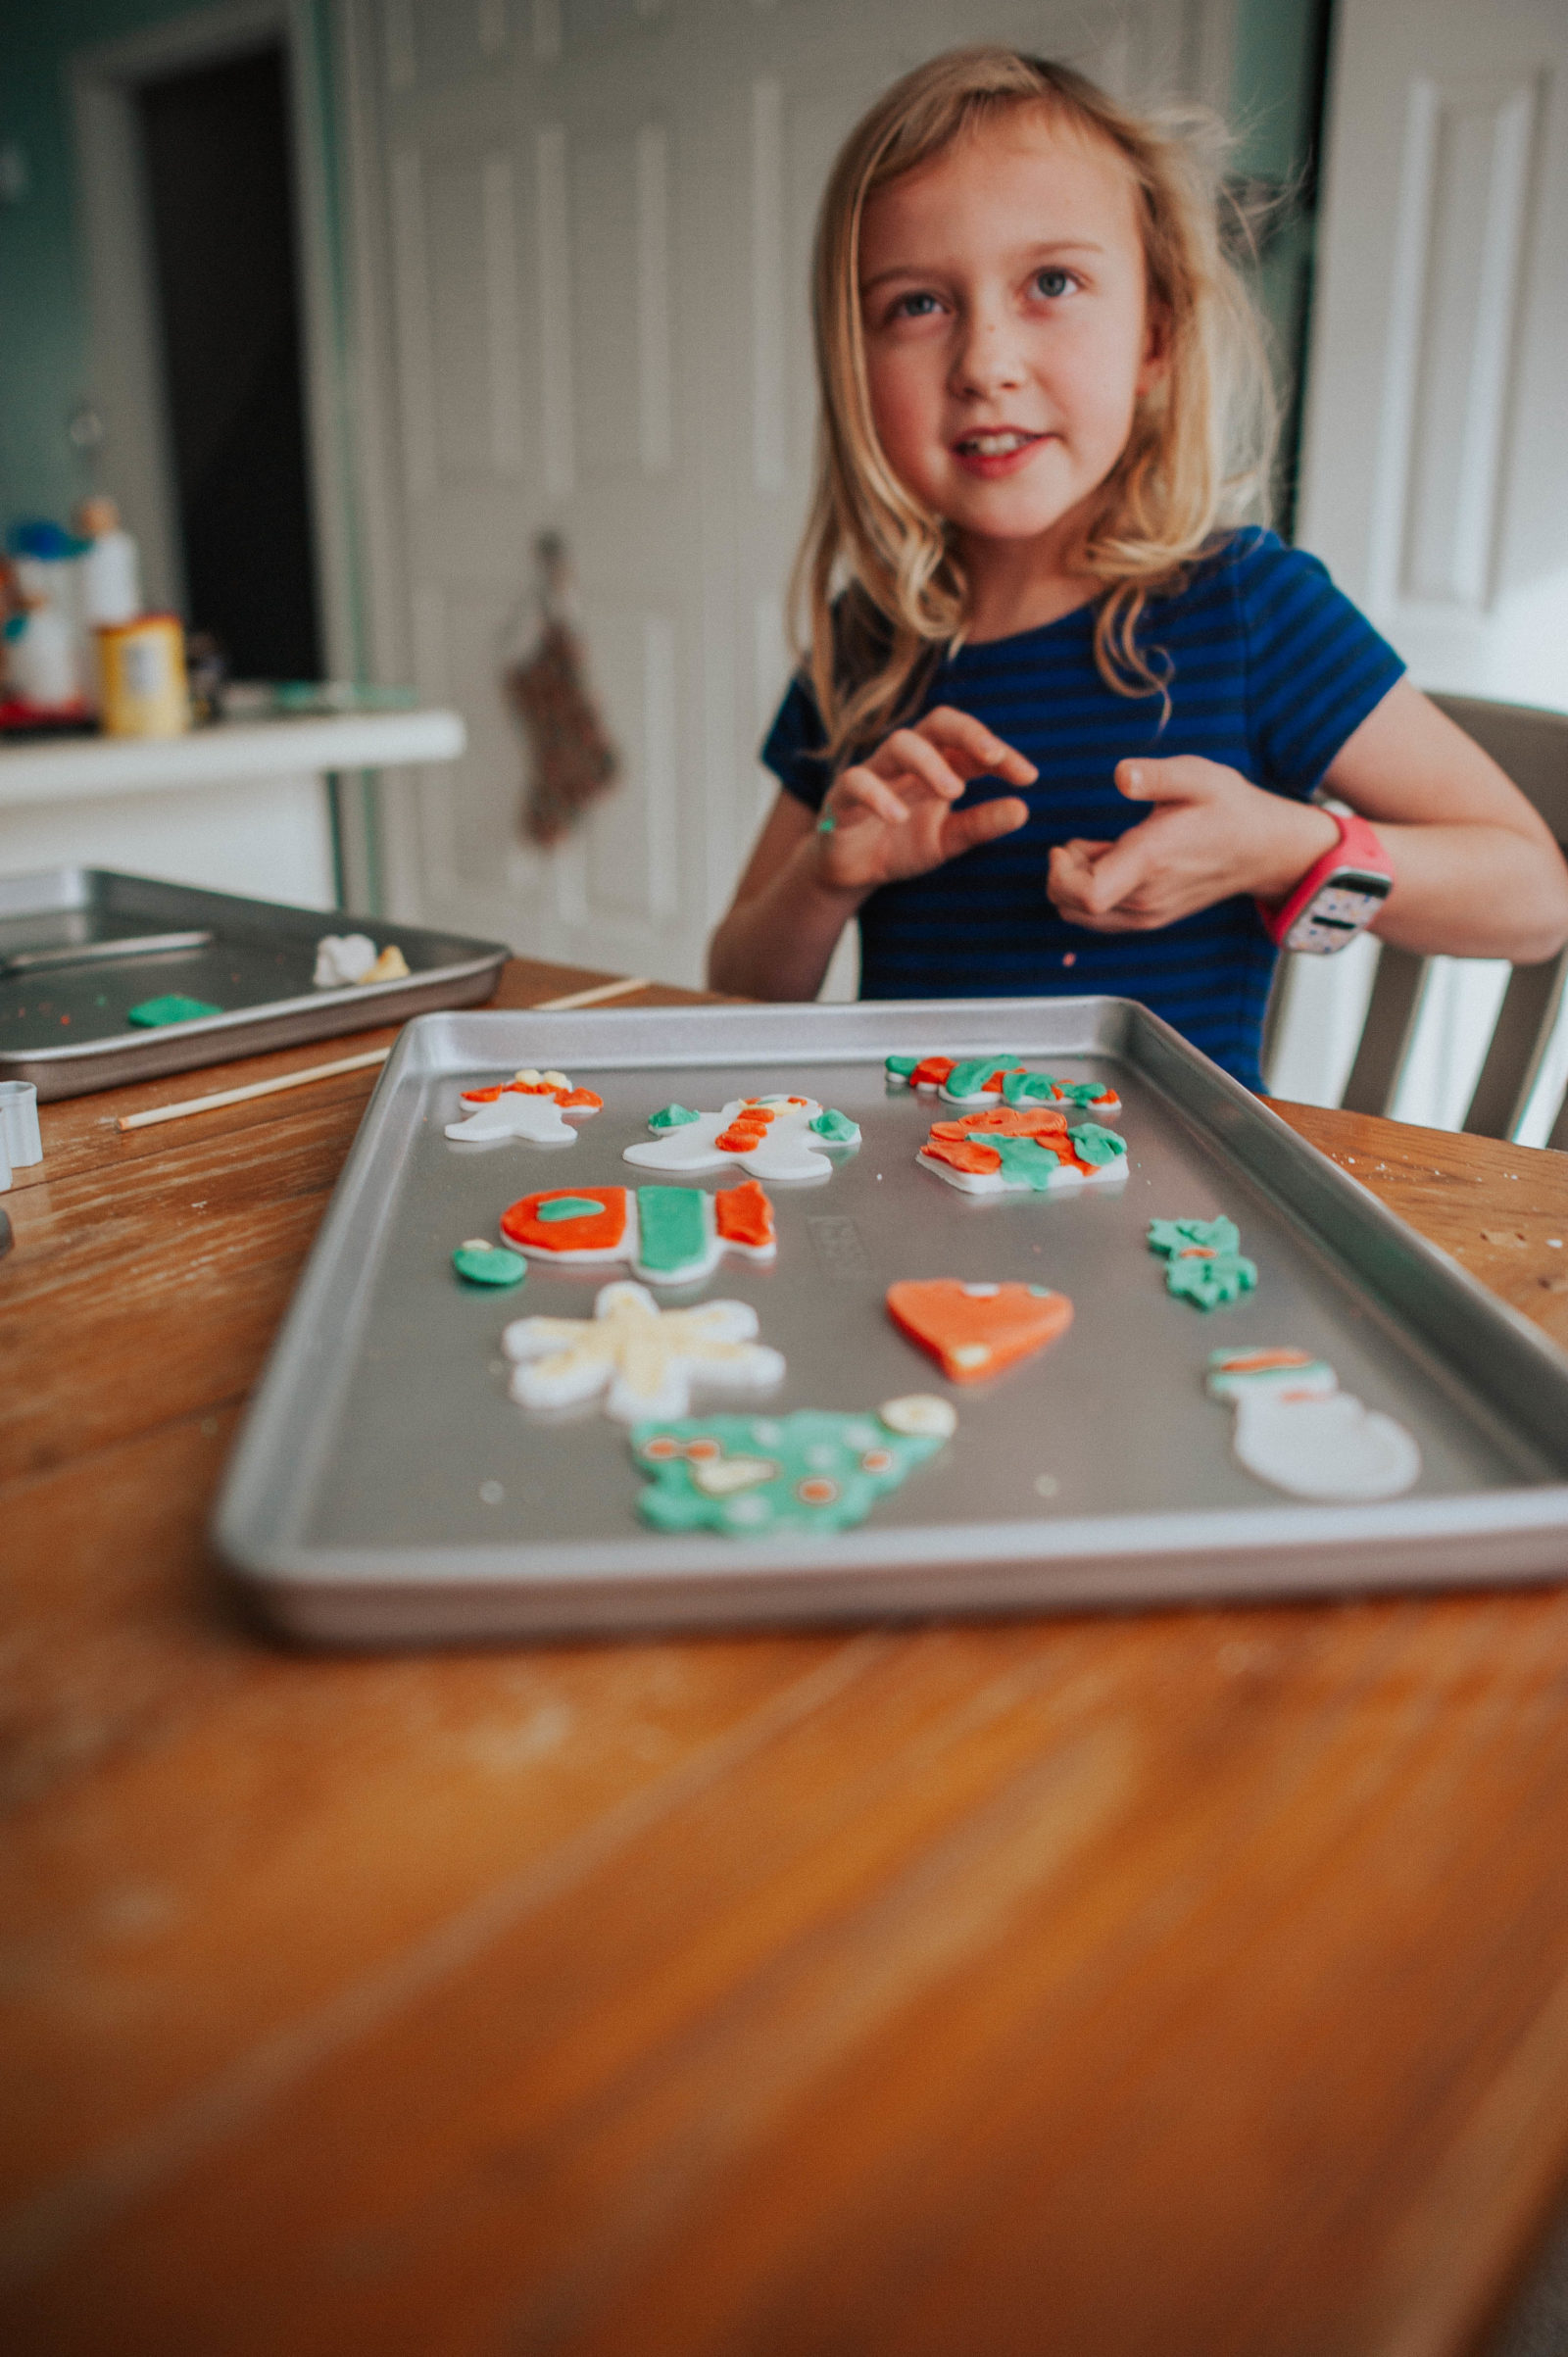
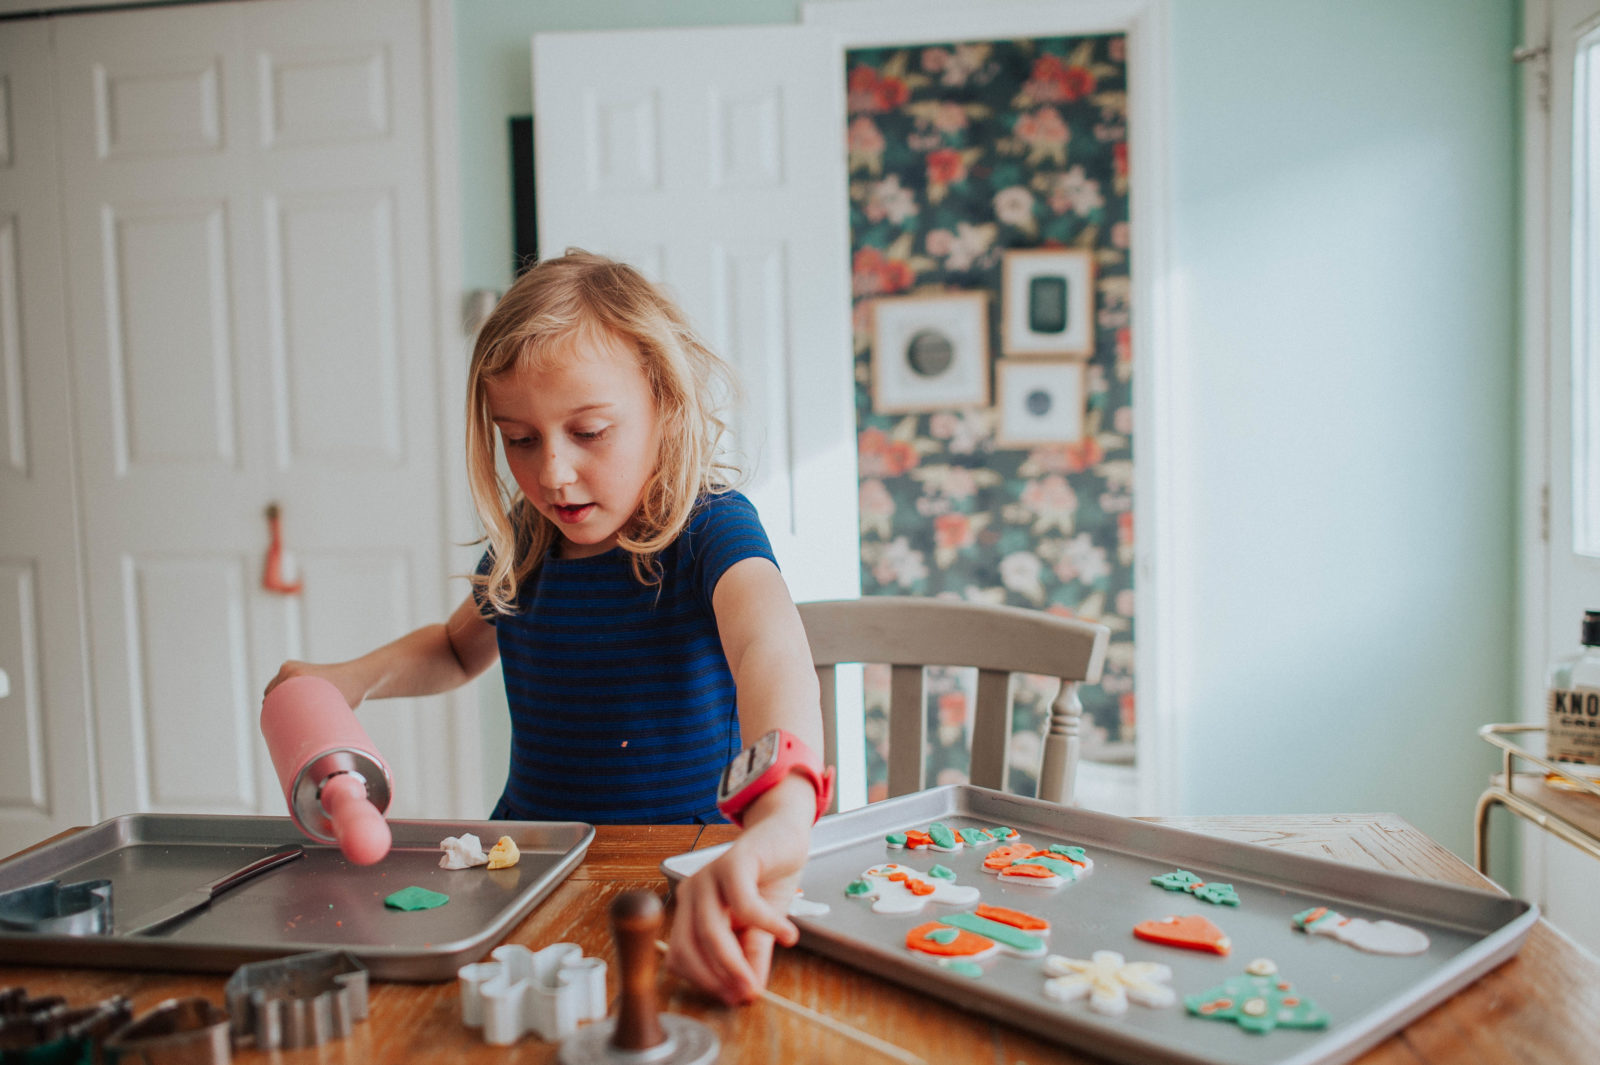
So I followed your advice and they turned out WAY better! The color is whiter, the dough is smoother, and the imprints came out much clearer. We made these fun homemade clay ornaments with Hilde’s prints. We even had some extra so when Elsie came over a couple days later we added some food coloring to the dough and brought our the cookie cutters. Also a video! We are trying to get more into video this year so I hope you like it!!
PS: They are finicky so keep an eye on them in the oven to prevent cracking.
Homemade Clay Ornaments:
<
What you Need:
1/2 cup cornstarch
1 cup baking soda
3/4 cup water
food coloring (for fun)
How To:
1. Stir water, baking soda, and cornstarch together in a pot over medium heat.
2. Keep stirring until the mixture thickens to look like mashed potatoes.
3. Remove from heat.
4. Move to bowl and cover (to prevent from drying) until dough cools.
5. Preheat oven to 175 degrees (Fahrenheit)
6. Kneed and roll out dough on corn starched surface.
7. Bake for 90-120 minutes.

Hello! How did you know when they were done “baking”?? I took mine out at 90 minutes and there was a little part of the bottom that was stuck to the bottom so I put them back in hoping that the extended time will make them not stick. Thoughts?
The cooking really just helps the clay dry out. If they still feel wet on the bottom, cook for a bit longer keeping an eye on them. You could also flip them at that point? I also put them on a cooking rack to help dry out. Follow your gut!
I did what the recipe said, and the cracked during baking. 😒
Oh no! Bummer! They are very finicky! You should try using This clay! I did it for another project and I found that they are less hard to mess up and more durable! https://amzn.to/3Rps9jX
I wish I could post a picture! I love how they turned out!! I ordered this set of cookie cutters from Amazon and the largest one was the perfect size for my 4 month old’s foot plus a little space. https://a.co/d/dG6FAmz
I used a Pilot gold paint pen to write “Jude’s First Christmas 2023” on the back and finished it off with dark green velvet ribbon. I also saw a recommendation to add matte mod podge, which to my surprise made the whole thing feel more like ceramic. It did take away the pretty snow-like sparkle that it had after baking, but it will be sturdier in the long run for sure.
It’s exactly what I had hoped for. So beautiful.
Love all this! So happy to hear it! And thanks so much for sharing your tips!! I think sealing it with mod podge really is a great idea!!
Can you paint these before baking? If so, do you know if they’ll turn out matte or shiny?
I would paint after and then seal with a modpodge clear coat.