I’ve been itching to get in a little DIY project for sometime now (as if finishing an unfinished basement from scratch wasn’t DIY enough for me 😉 ) Truth is, I like my projects under 30 minutes – what can I say? I have a short(er) attention span and I love completed projects! I remember seeing that you could marble with shaving cream & food coloring (which is kinda so cool) and I figured I needed to try it! Messy? Sure! Super cool when I can create marbled art without having to leave my house to buy supplies? I’m in!
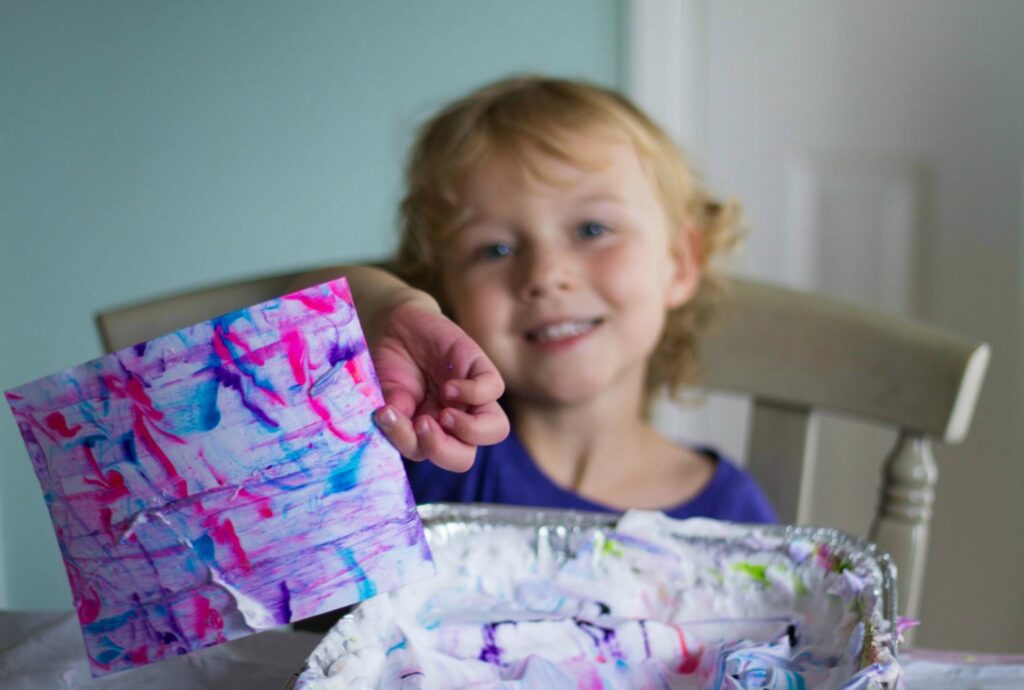
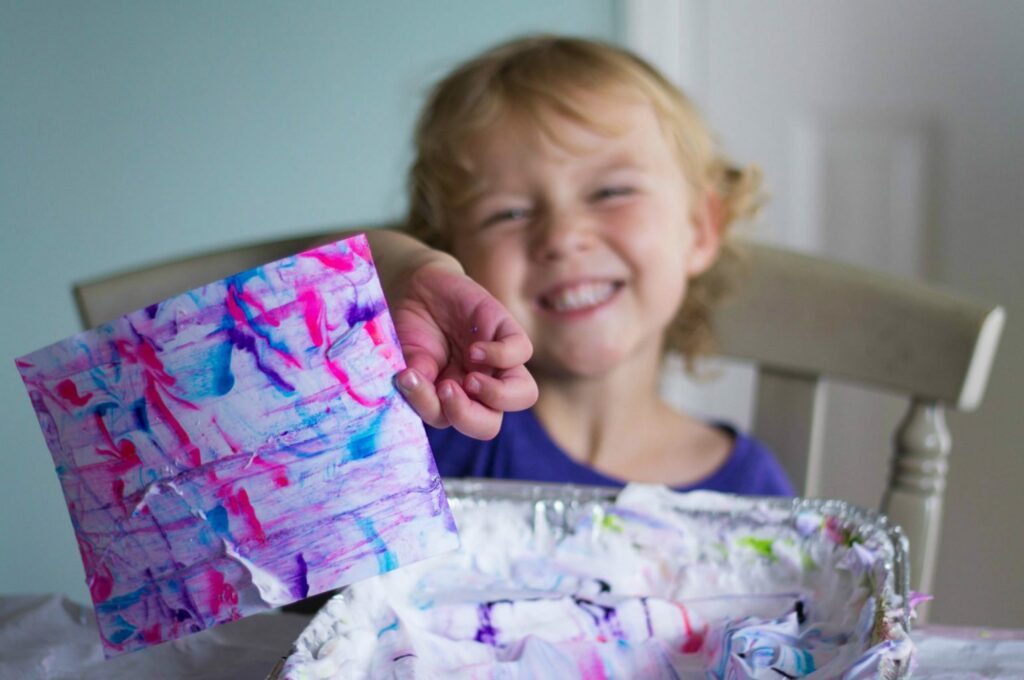
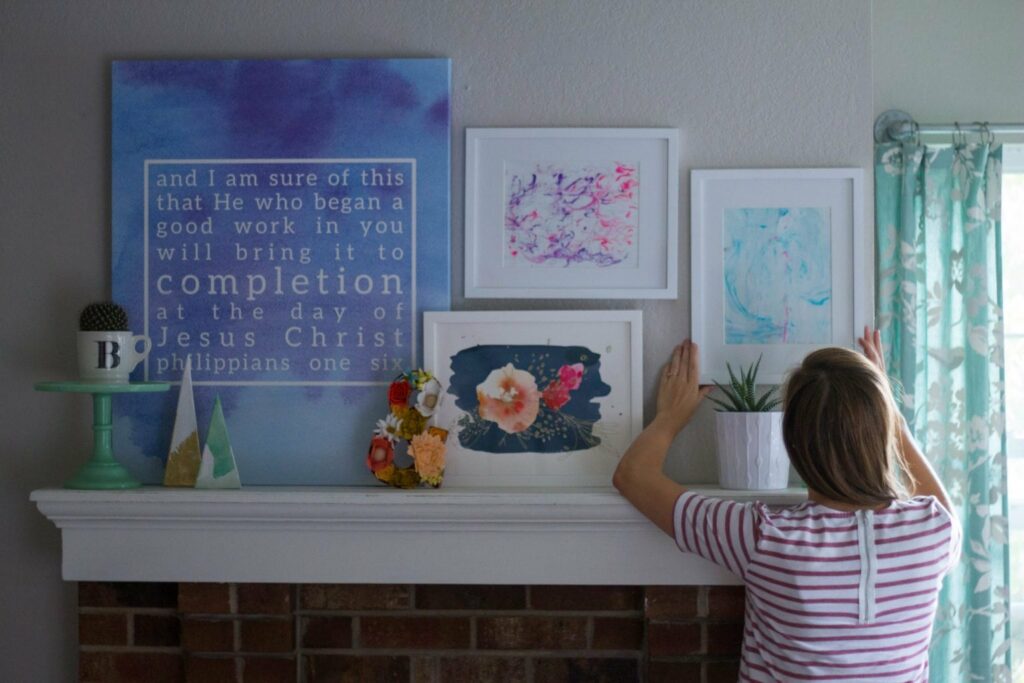
Best news, my little niece & sister-in-law stopped by 2 minutes into the project (aka me trying to figure out if I need to put trash bags on our kitchen table time) and so they joined us in our crafting adventures! Which now makes this a craft that you can do with children so “You’re Welcome!” all you mommies, aunts, and baby sitters out there! We had a lot of flops but also a lot of gems. I wanted to keep them around longer so I framed them and hung them up!
WHAT YOU NEED:
- Food Coloring of Choice (I used the gel kind and it was totally fine)
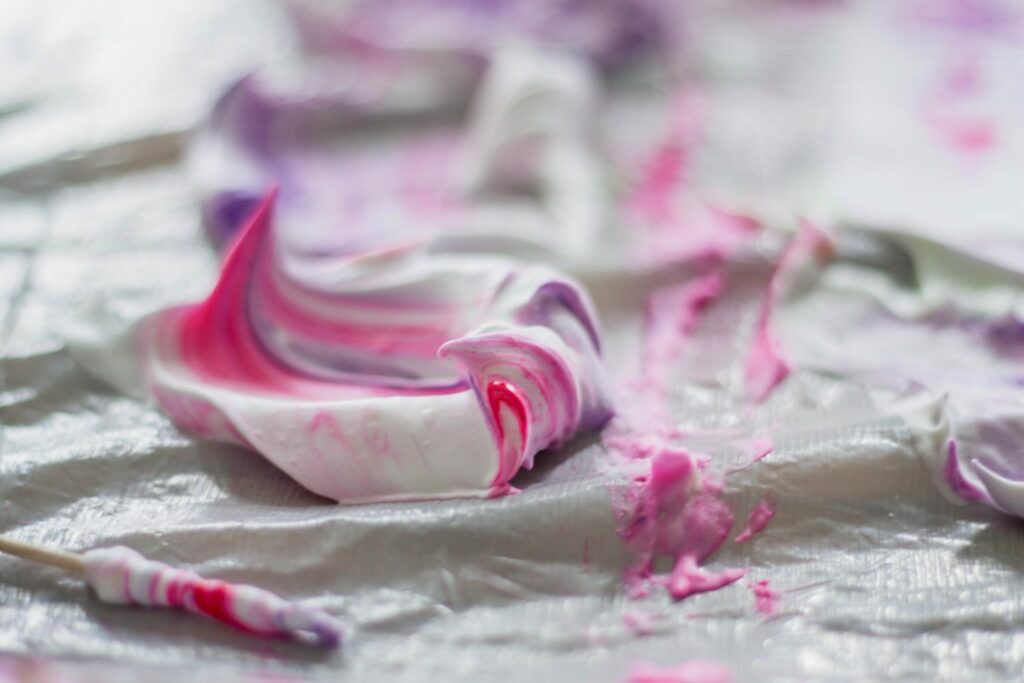
- Toothpicks
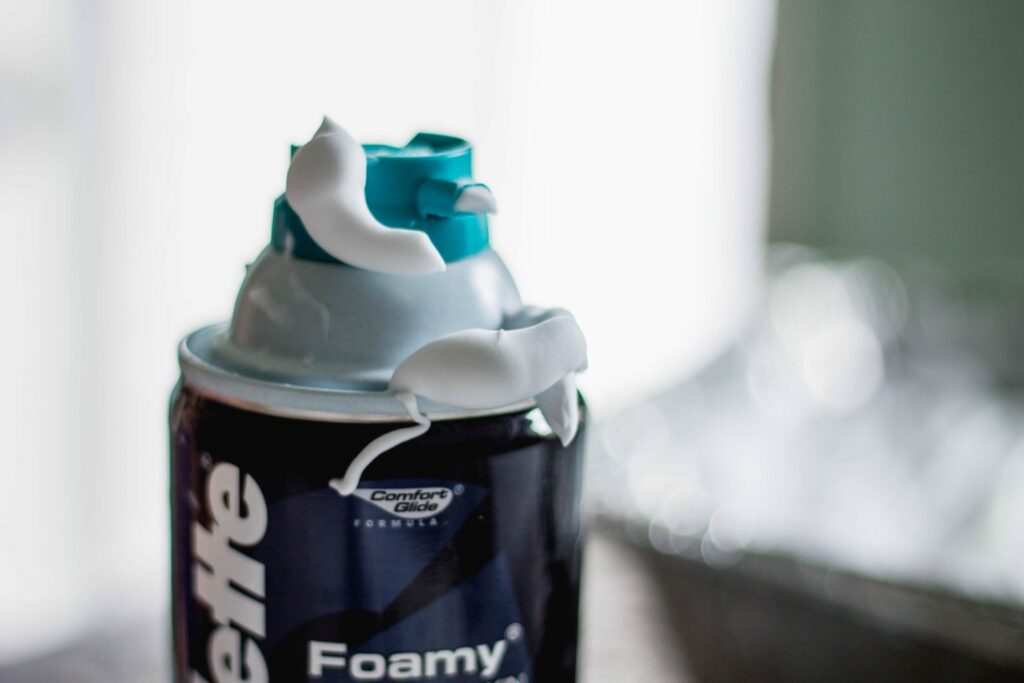
- Shaving Cream (The kind that foams really good – not the girly kind)
- Spatula (Don’t worry, it washes off)
- Paper
- Tin or plate to hold shaving cream
- A place you can get messy
HOW TO:
- Prepare the area! Put down some kind of tarp or trashbags in the area you want to work. It will get a little messy 😉
- Fill plate or tray with shaving cream.
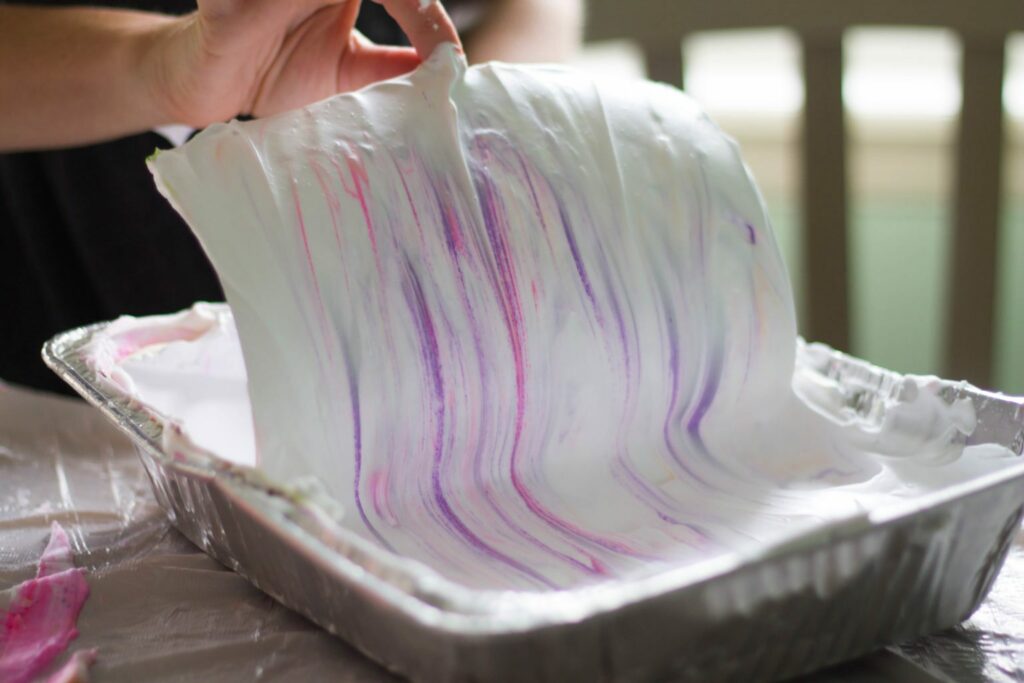
- Drop in desired colors.
- Use toothpicks to move around the dye (but don’t get too crazy with it!)
- Place in paper, squish down, and pull out.
- Use a spatula to scrape off shaving cream.
- Let dry and enjoy!!


How do you feel about DIY projects? Would you ever try this one? I am in love with marbling and had a blast crafting with my family! Are you a marbling fan?
XOXO, elizabeth