• ABOUT
    • Frequently Asked Questions
    • Let’s Work Together
  • Shop
    • Shop Our Photo Presets
    • Shop Our Amazon Favorites
    • Shop our Etsy
    • Shop our Poshmark
  • Contact
  • Hire Me
  • Nav Social Menu

    • Bloglovin
    • Pinterest
    • YouTube

Oak + Oats

A Colorado Lifestyle Blog

  • Motherhood
    • Mama Buys
    • Pregnancy
    • Childhood
  • Marriage
    • Date Night
    • Wedding Anniversary
  • Lifestyle
    • Photography
    • Family
    • Friends
    • Holidays
  • Home
    • Before & After
    • Yard & Garden
    • Recipes
    • Hosting
  • Travel
    • Travel Tips
    • Snapshots
    • Disney
    • Colorado
    • Colorado Springs
  • Ask Elizabeth

September 21, 2015
Art Projects, Home

DIY Marbled Art

with shaving cream

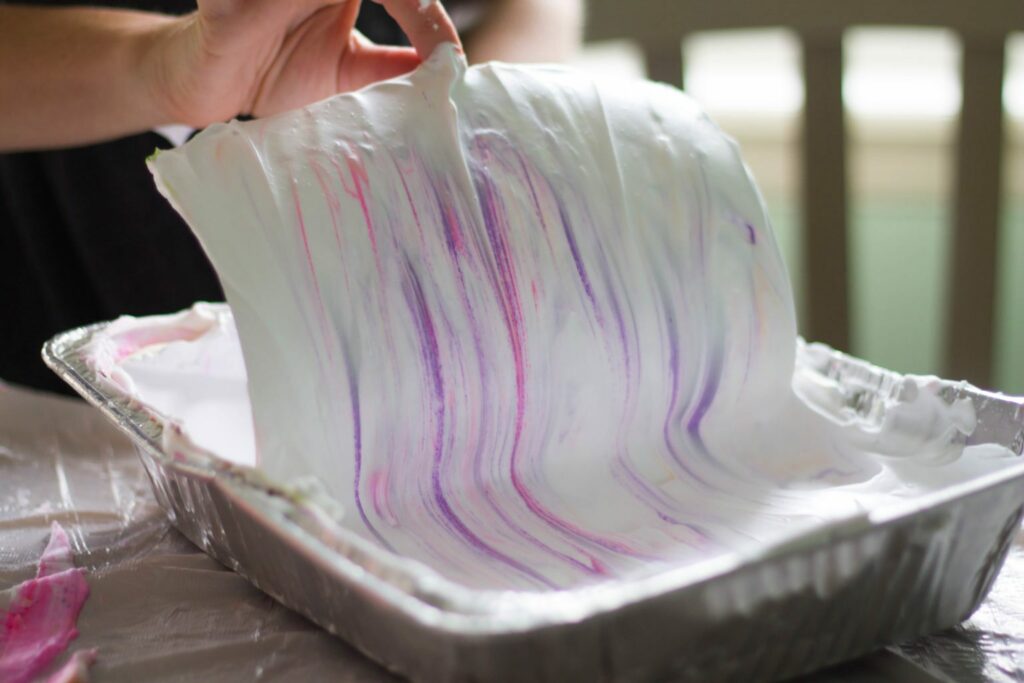
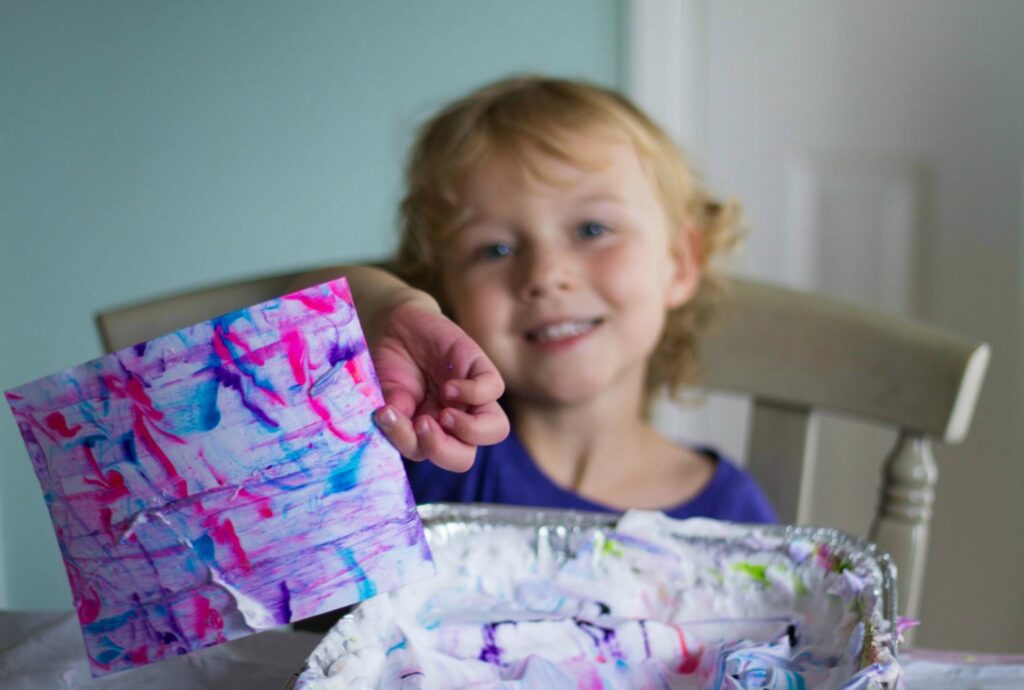
I’ve been itching to get in a little DIY project for sometime now (as if finishing an unfinished basement from scratch wasn’t DIY enough for me 😉 ) Truth is, I like my projects under 30 minutes – what can I say? I have a short(er) attention span and I love completed projects! I remember seeing that you could marble with shaving cream & food coloring (which is kinda so cool) and I figured I needed to try it! Messy? Sure! Super cool when I can create marbled art without having to leave my house to buy supplies? I’m in!

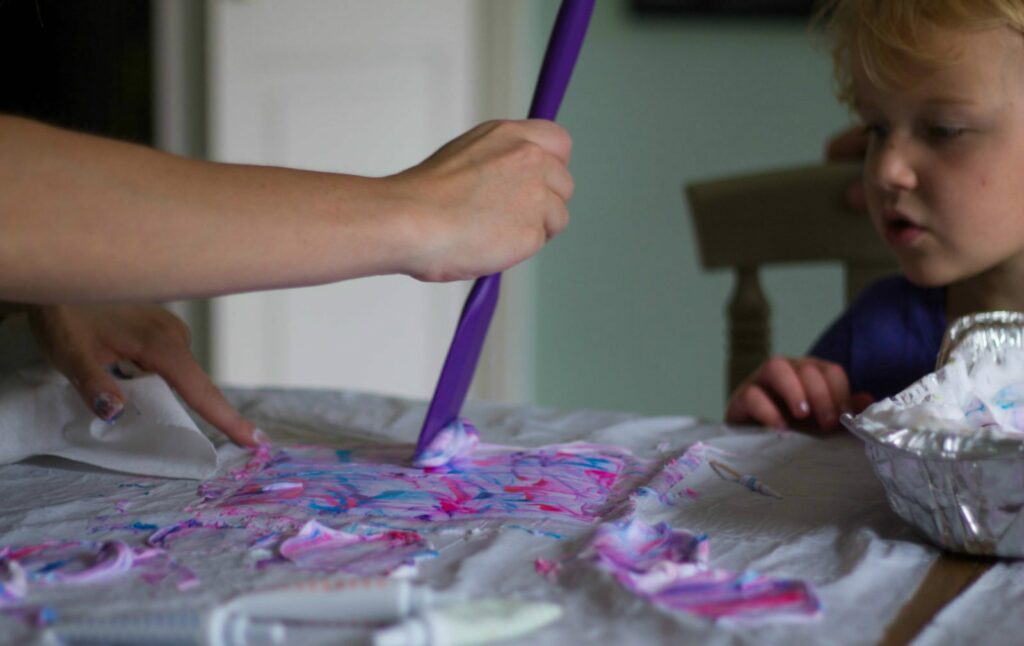
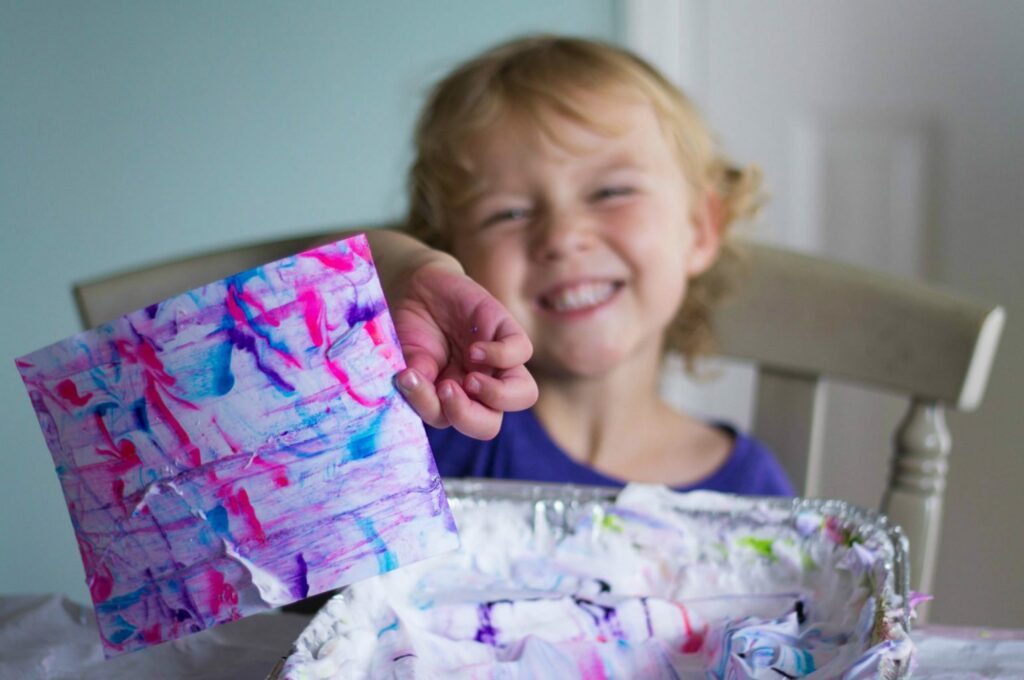
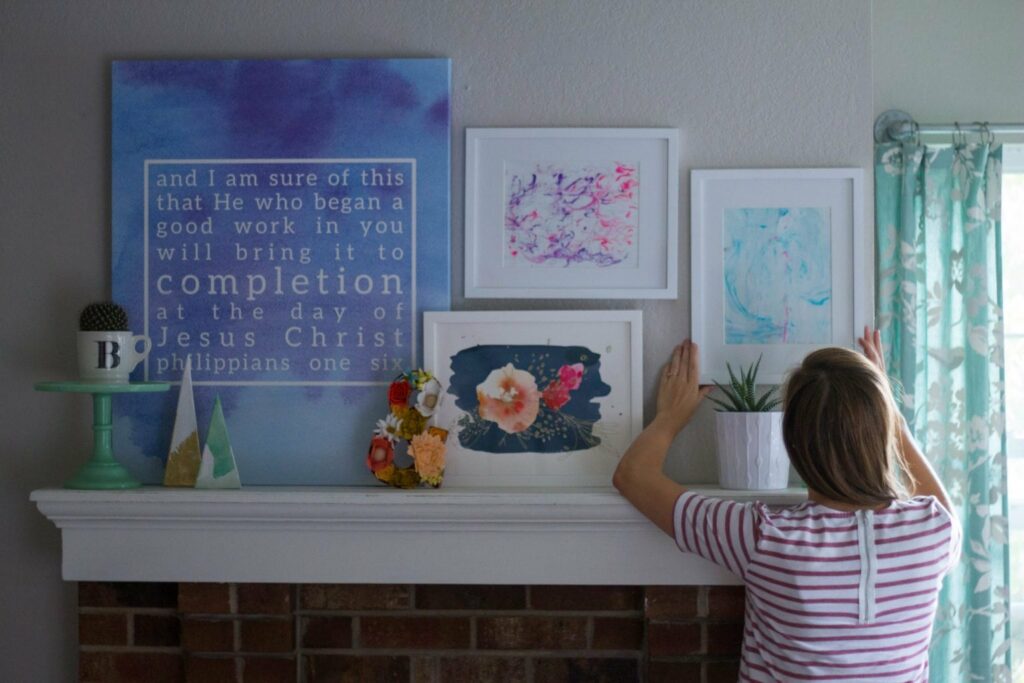
Best news, my little niece & sister-in-law stopped by 2 minutes into the project (aka me trying to figure out if I need to put trash bags on our kitchen table time) and so they joined us in our crafting adventures! Which now makes this a craft that you can do with children so “You’re Welcome!” all you mommies, aunts, and baby sitters out there! We had a lot of flops but also a lot of gems. I wanted to keep them around longer so I framed them and hung them up!

WHAT YOU NEED:

  • Food Coloring of Choice (I used the gel kind and it was totally fine)
  • Toothpicks
  • Shaving Cream (The kind that foams really good – not the girly kind)
  • Spatula (Don’t worry, it washes off)
  • Paper
  • Tin or plate to hold shaving cream
  • A place you can get messy

HOW TO:

  1. Prepare the area! Put down some kind of tarp or trashbags in the area you want to work. It will get a little messy 😉
  2. Fill plate or tray with shaving cream.
  3. Drop in desired colors.
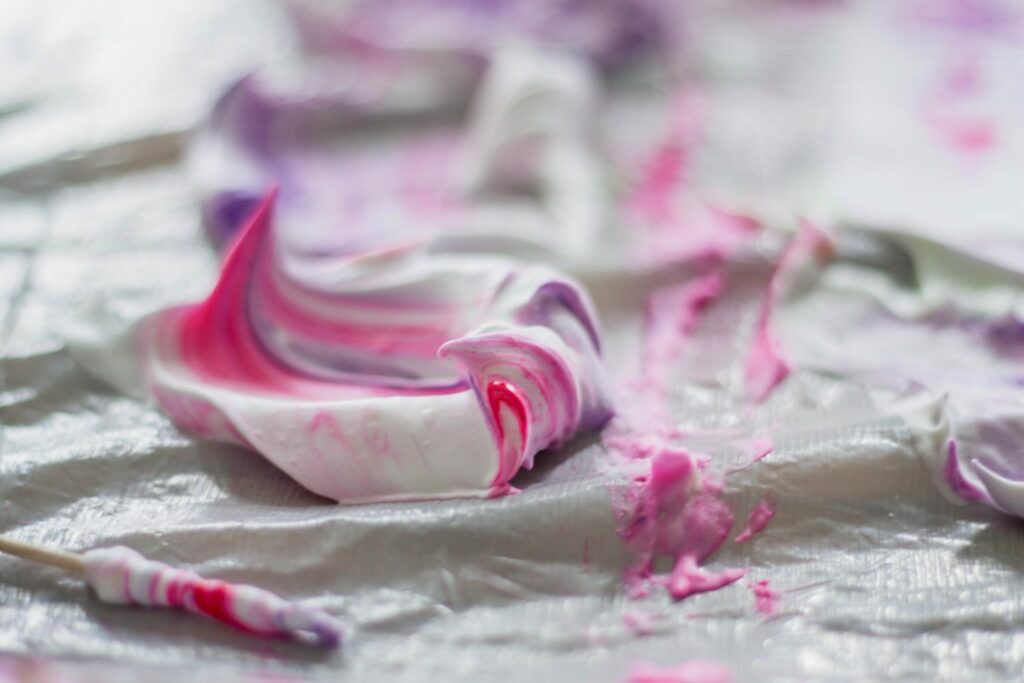
  4. Use toothpicks to move around the dye (but don’t get too crazy with it!)
  5. Place in paper, squish down, and pull out.
  6. Use a spatula to scrape off shaving cream.
  7. Let dry and enjoy!!

DIY-1DIY-10 DIY-2 DIY-7 DIY-3 DIY-600DIY-9 DIY-13

How do you feel about DIY projects? Would you ever try this one? I am in love with marbling and had a blast crafting with my family! Are you a marbling fan? 

XOXO, elizabeth


Related

Spread the love
Previous Post: « Crunch Time & Launch Details
Next Post: Labor Day Lift Off »

Reader Interactions

Comments

  1. Laura Jean Gilleland says

    September 21, 2015 at 12:20 pm

    How fun, especially for your little niece! I love that you framed them and have them front and center. P.S. I will always be jealous of your mantle! My fave!

    Reply
    • Elizabeth Mayberry says

      September 22, 2015 at 12:04 pm

      Thanks so much! I do love it! I want to paint the bricks white but the husband won’t let me 😉 haahah

      Reply
  2. Kaycie VandenTop says

    September 21, 2015 at 3:46 pm

    this is awesome! I love this idea 🙂 I’ll definitely have to try this! thank you for sharing!

    Reply
    • Elizabeth Mayberry says

      September 22, 2015 at 12:04 pm

      You are so welcome! Let me know what you end up creating!

      Reply
  3. Lindsey Smallwood says

    September 21, 2015 at 3:57 pm

    So cute, my kiddos would love this! Thanks for sharing your project with us.

    Reply
    • Elizabeth Mayberry says

      September 22, 2015 at 12:03 pm

      You are so welcome! We all had so much fun!

      Reply
  4. Stacia says

    September 21, 2015 at 4:58 pm

    These are so fun! I’ve been wanting to try this DIY for a while, too.

    Reply
    • Elizabeth Mayberry says

      September 22, 2015 at 12:03 pm

      Yes! So fun and easy! You go this!

      Reply
  5. Meg McIlvaine says

    September 21, 2015 at 7:15 pm

    Yay! This was a fun day. 🙂

    Reply
    • Elizabeth Mayberry says

      September 22, 2015 at 12:03 pm

      It was!

      Reply
  6. Autumn says

    September 21, 2015 at 8:30 pm

    We did something like this in art in middle school. I’ve always wondered how we did it again because it made such a pretty picture!

    Reply
    • Elizabeth Mayberry says

      September 22, 2015 at 11:59 am

      Yes! There are so many ways to marble but this one was so fun and easy (and fast!)

      Reply
  7. Daisy @ Simplicity Relished says

    September 21, 2015 at 8:40 pm

    I love fun projects like this!! It would be so pretty to do several different color palates and frame them in the same gallery wall.

    Reply
    • Elizabeth Mayberry says

      September 22, 2015 at 11:58 am

      Yes! It would be so fun!

      Reply
  8. McKaye Bellamy says

    September 21, 2015 at 11:24 pm

    Hi Elizabeth,

    I’m a huge fan of your blog and I just wanted to let you know I have nominated you for a Liebster Award. You can find my post here: http://www.dearlittles.net/?p=335

    Keep up the awesome work!

    McKaye | http://www.dearlittles.net

    Reply
    • Elizabeth Mayberry says

      September 22, 2015 at 11:58 am

      Thank you so much McKaye for your sweet words!!

      Reply
  9. Julie Hood says

    September 22, 2015 at 6:18 pm

    YASSS! I love a good DIY and especially one that can be framed as wall art. Definitely doing this with my sisters-in-law (and probably hanging some in the baby’s nursery!)

    Reply
    • Elizabeth Mayberry says

      September 23, 2015 at 11:39 am

      I know! Oh, that would be so fun to do together!!!

      Reply

Leave a Reply Cancel reply

Your email address will not be published. Required fields are marked *

Primary Sidebar

Hello + Welcome!

Hello Friend! I’m Elizabeth, a Colorado photographer, writer, & blogger. Most importantly, I am a Christ follower, wife, mama, sister, daughter, and friend!

Welcome to Oak + Oats! Here we look for the remarkable in the every day. We love photographing our daily moments, making memories, and sharing our favorite places here in this space.

Our happiest days are spent together – many of those with a camera in hand! My free time (ie: Nap Time) is spent behind my computer screen sharing our tips and stories with you! I’m glad you’re here!

stay up to date

READ MORE ABOUT

  • Motherhood
  • Marriage
  • Childhood
  • Photography
  • Home
  • Colorado
  • Travel
  • Holidays
  • Ask Elizabeth

OLDER POSTS

All The Love You Can Give

Februray Book List

Mornings Full of Breath Prayers

January Book list

Hello 2023: Looking forward

Goodbye 2022: Looking Back

2023 Christmas Season In Photo

Our Christmas

Holiday Gift Guide: The Christian Lady

The North Pole

Footer

MOTHERHOOD

Oh Baby
Mama Buys
Pregnancy

COLORADO
Colorado Springs

HOME
Recipes
Hosting
Before & After

MARRIAGE
Date Night
Anniversaries

TRAVEL
Travel Tips
Snapshots
Disney

SHOP
Shop our Amazon List
Shop our Presets

Copyright © 2023 · OAK + OATS