
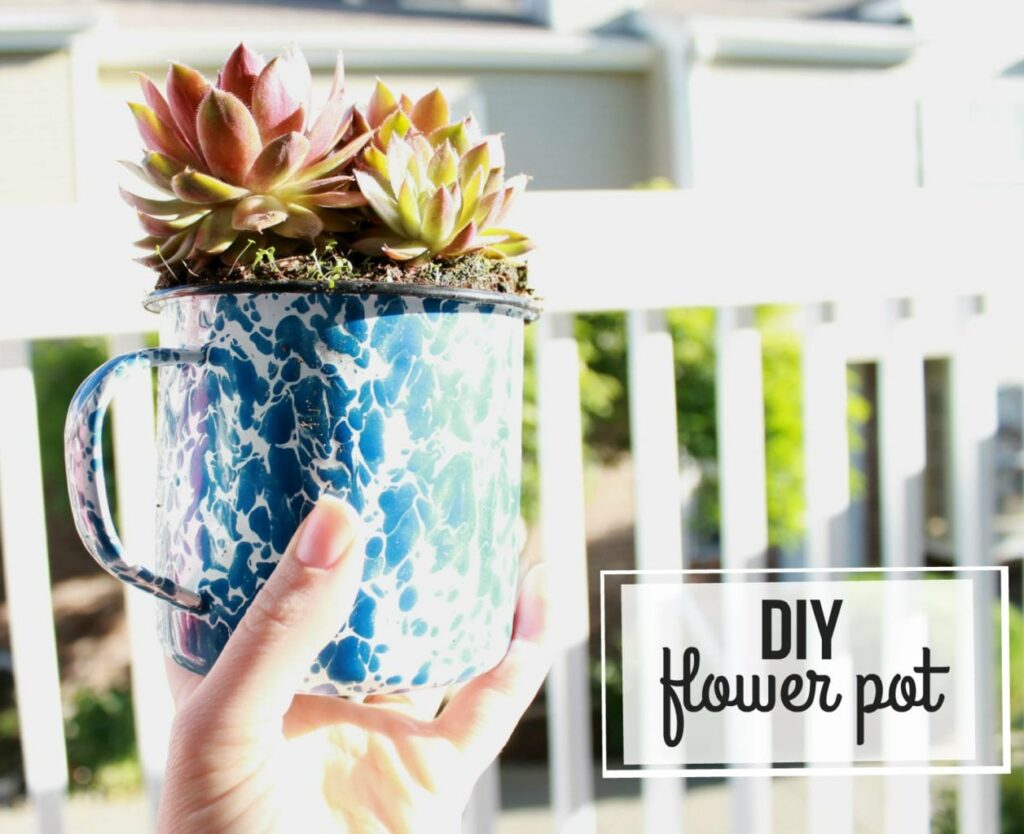
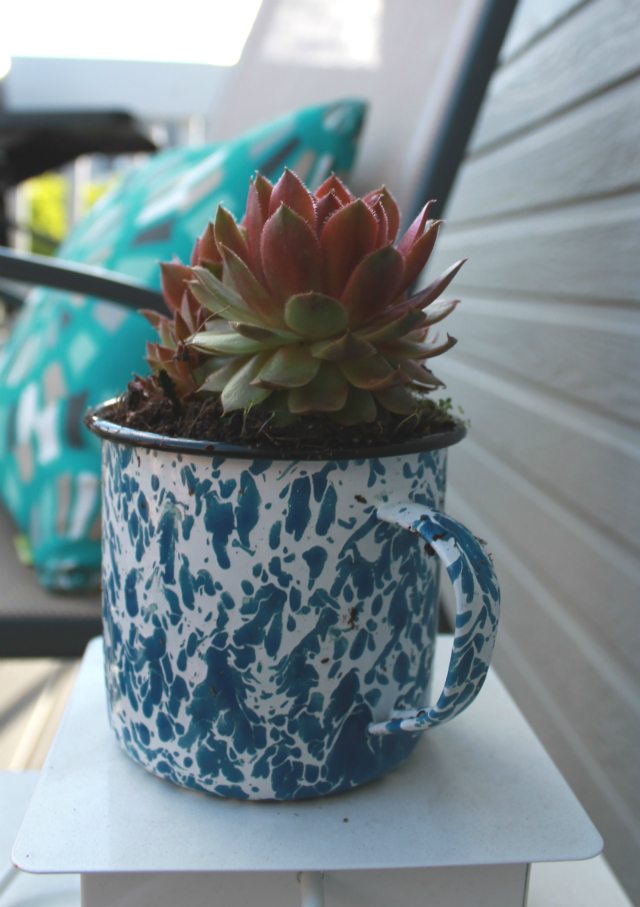
DIY Flower Pot
I love succulents and cute little flowers. I just cannot help myself when we are in any kind of garden center. I am pretty sure that once we move out of our wonderful town house, I will go crazy with the gardens. Right now we are taking baby steps, one easy-to-maintain-plant at a time – it is good for us.
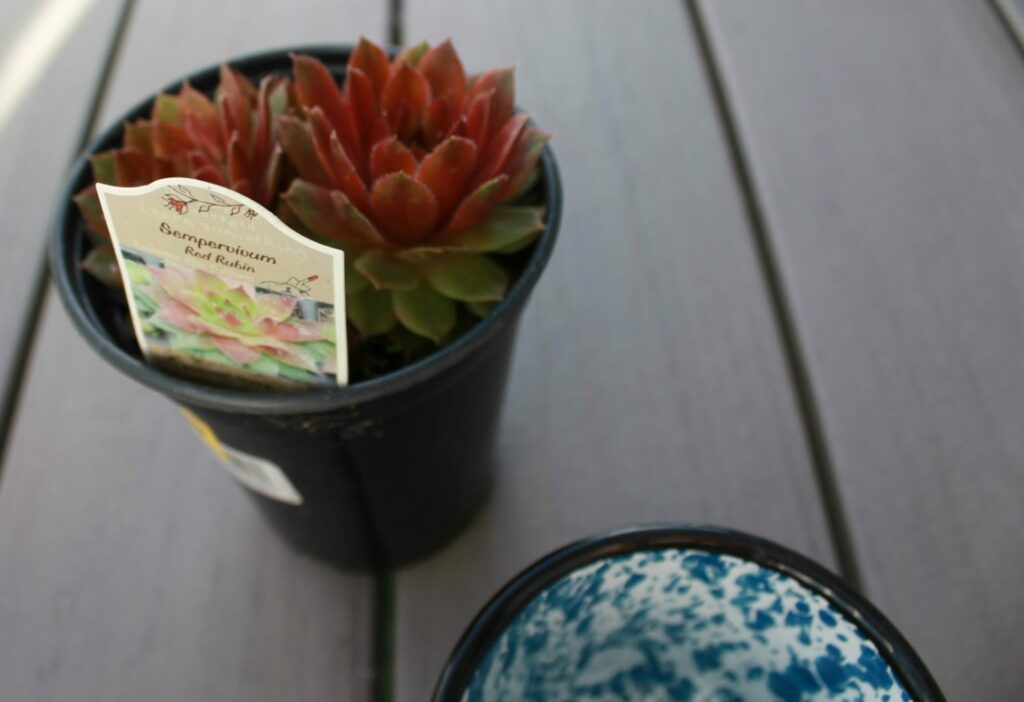
I also think that the type of pot you put your plant in is half the beauty – which is why I need to go home and immediately find something to replace the squishy plastic pots they come in from the store. I found this beautiful vintage camping mug at the ARC (our favorite thrift store) for 50 cents. I figured it should come home with me and hold a pretty plant.
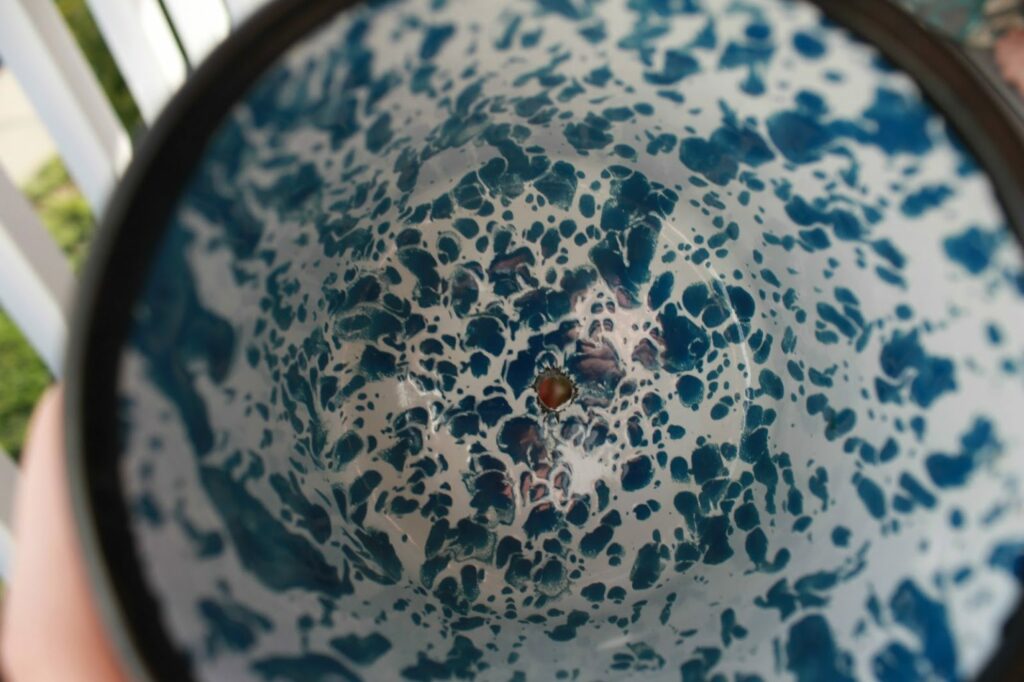
I wish I could just plant flowers in all kinds of jars, nooks, and crannies but you need to make for adequate drainage or else you are going to have rotten roots (YUCK!) Sometimes throwing some lava rocks at the bottom of a bowl is enough to keep the plant healthy but when you have such a little space you need a hole on the bottom.
Do you have a mug or jar that you want to plant in? Here is my easy, peasy, DIY Flower Pot tutorial!
WHAT YOU NEED:
– Item of choice to be the new pot
– Drill with special drill bit for the occasion (the normal ones do metal just fine but if you want to do glass or ceramic make sure you get one for that specific material)
– Flower/ plant of choice
HOW TO:
1. Drill the bottom of the desired pot
2. Replant!


aw man I love using random objects to house plants (I have succulents in a teapot )
thanks!! I love them too
me too! they just look so much cuter!
Oh! I know it. Thank goodness for lessons learned!