4th of July, Art Projects, Homeschool
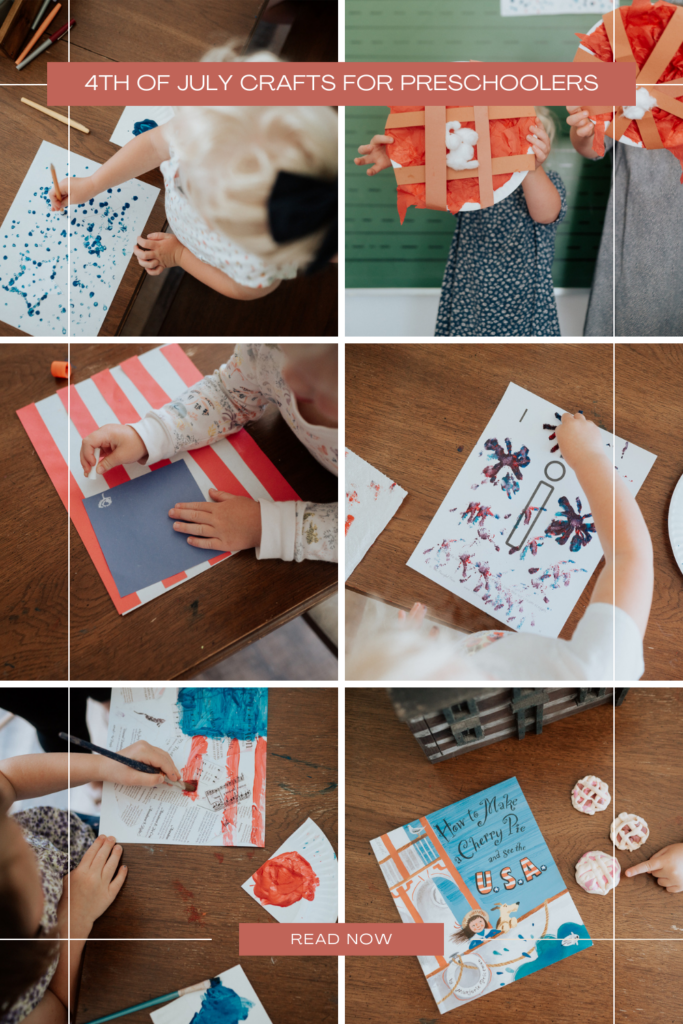
4th of July Crafts for Preschoolers (or Older!)
)
I started writing the title of this post “4th of July Crafts for Toddlers” but then it hit me, the girls are not toddlers anymore – they are preschoolers! My baby is the new toddler these days and mostly life goes too fast!! (All the moms said amen!) All of these crafts you can do with Toddlers and many you can do with bigger kids as well! Life goes too fast, so make sure you fit in festive & themed crafts!
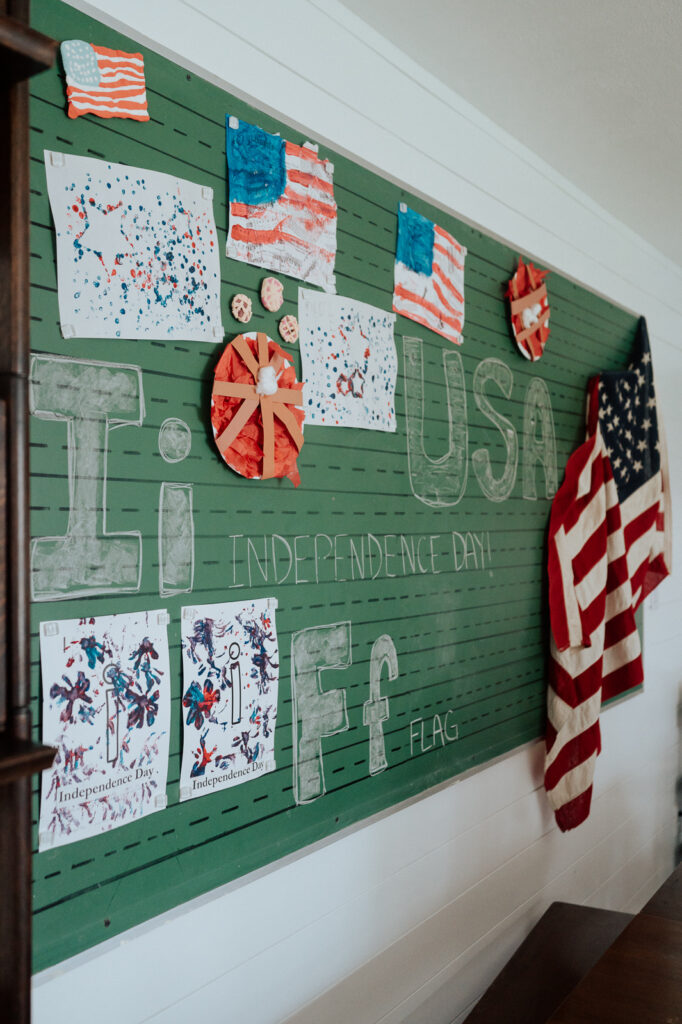
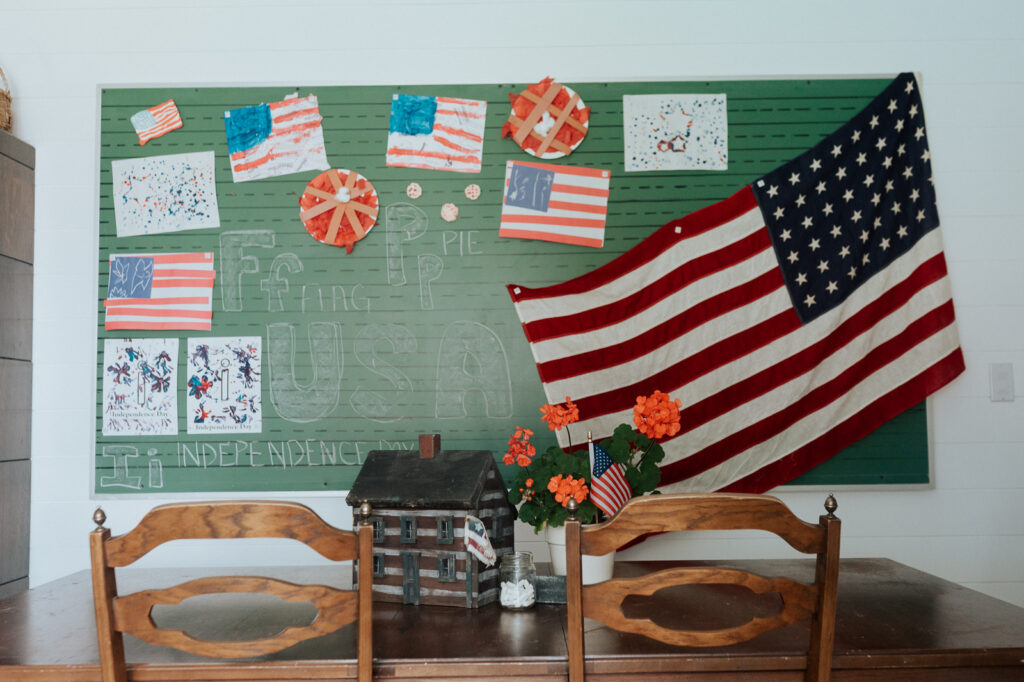
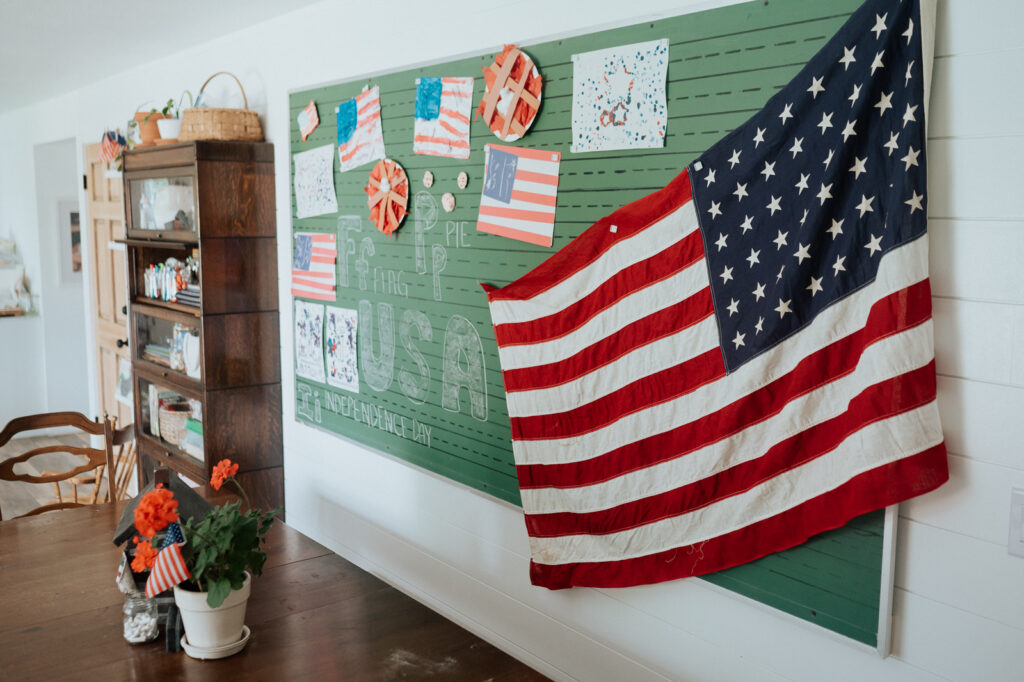
Today I want to share with you six of our favorite Independence Day themed crafts that you can easily work into your homeschool or summer life with your kiddos. I thought it would be a bit obnoxious to put them all in 6 individual posts, but that also makes this one pretty loooooong! Hopefully you find one or more that you can tackle this week because maybe you (like me) love to decorate your home with your children’s crafts!
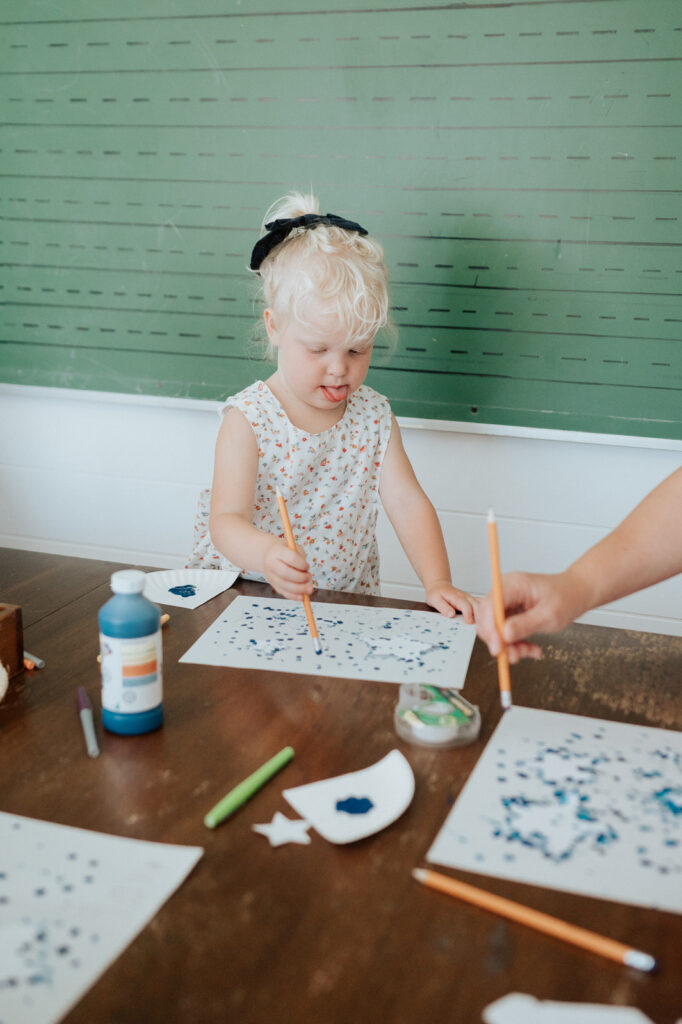
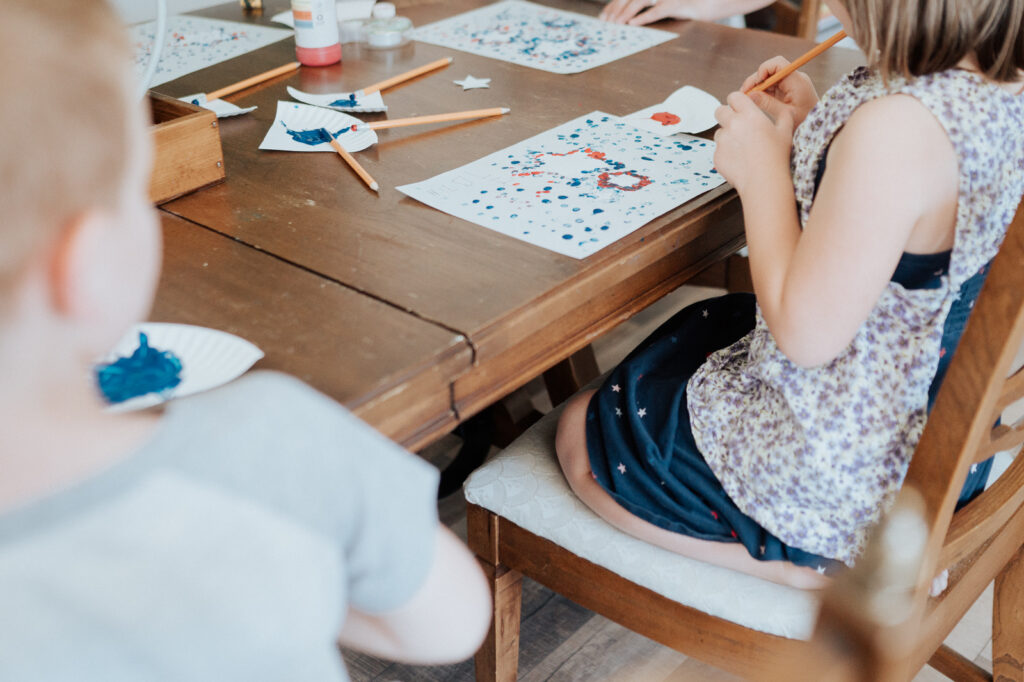
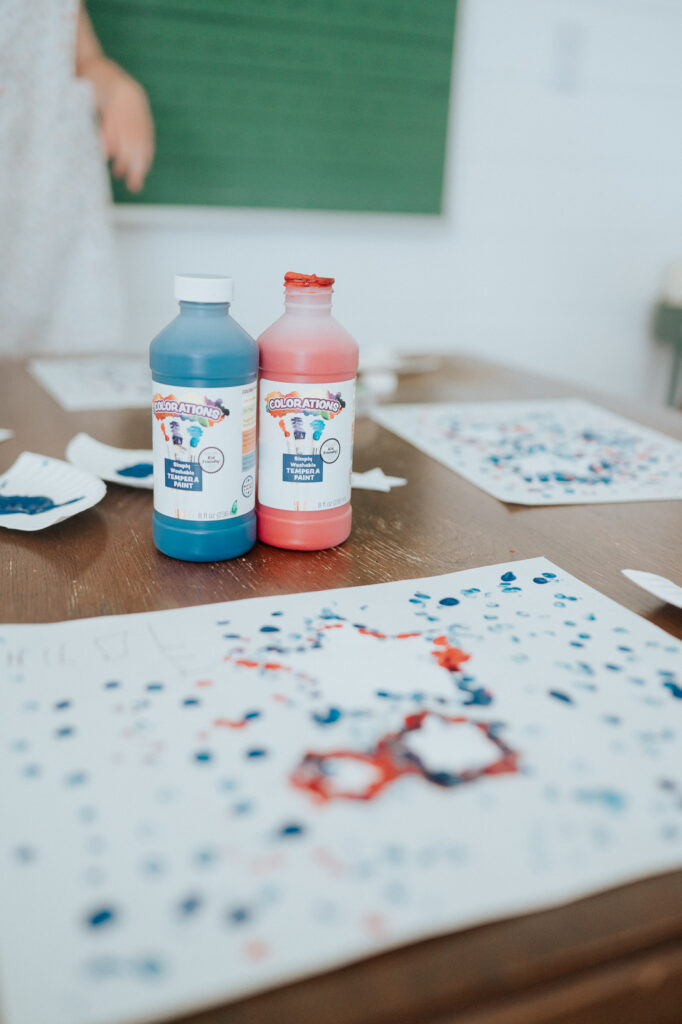
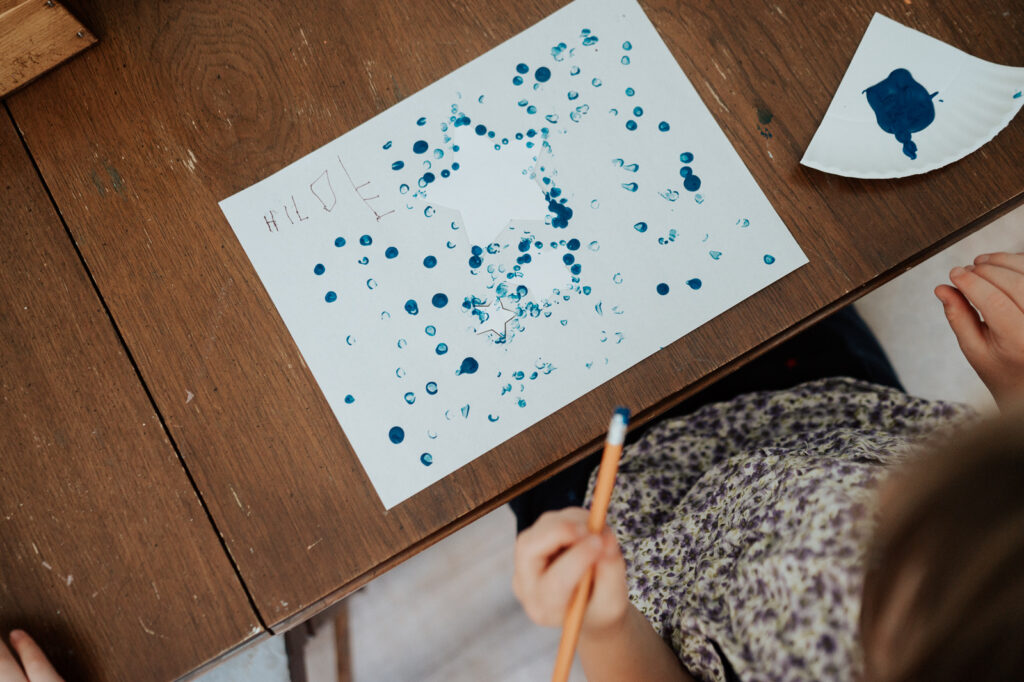
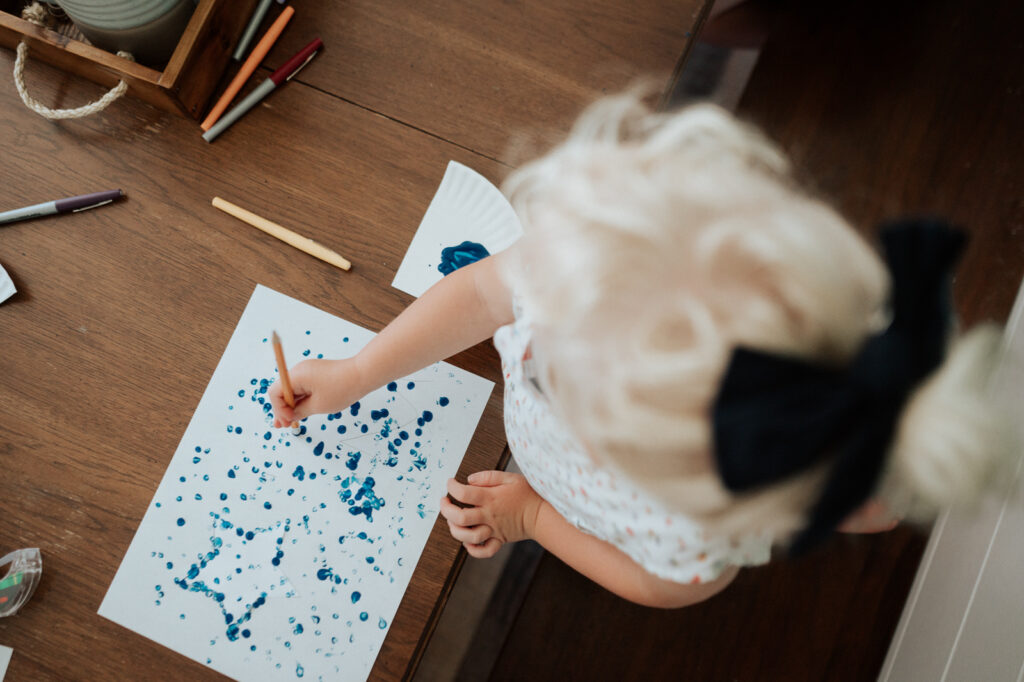
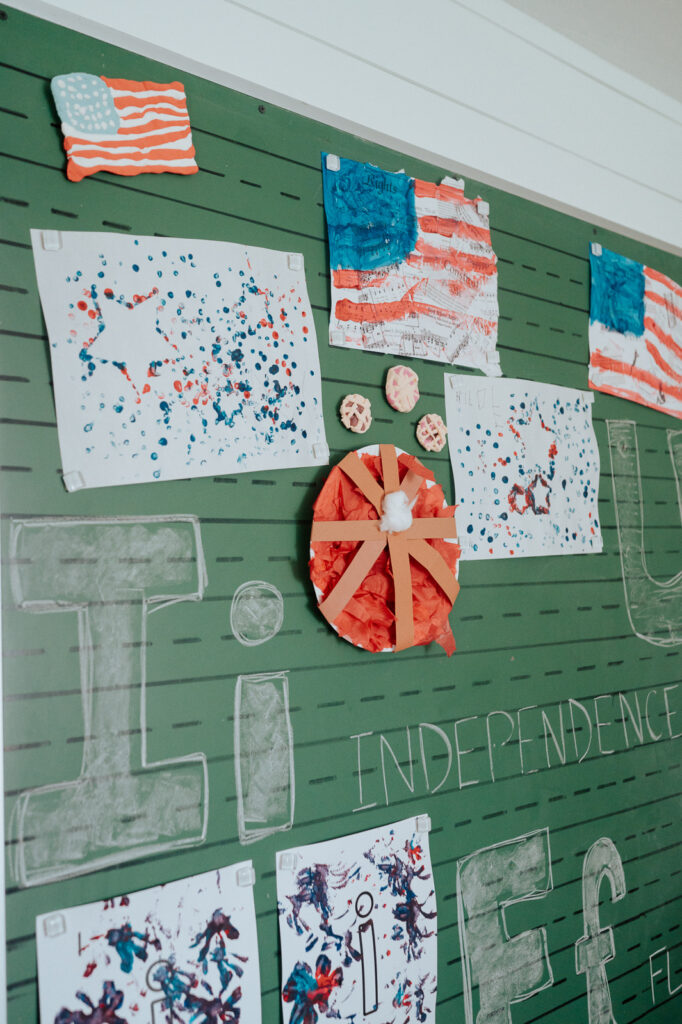
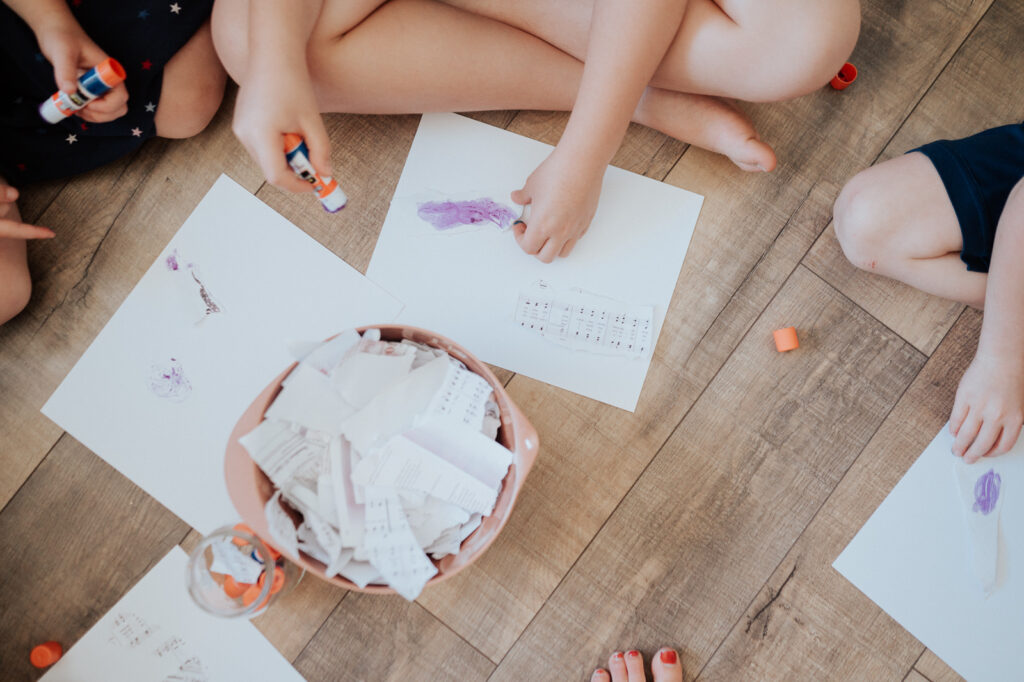
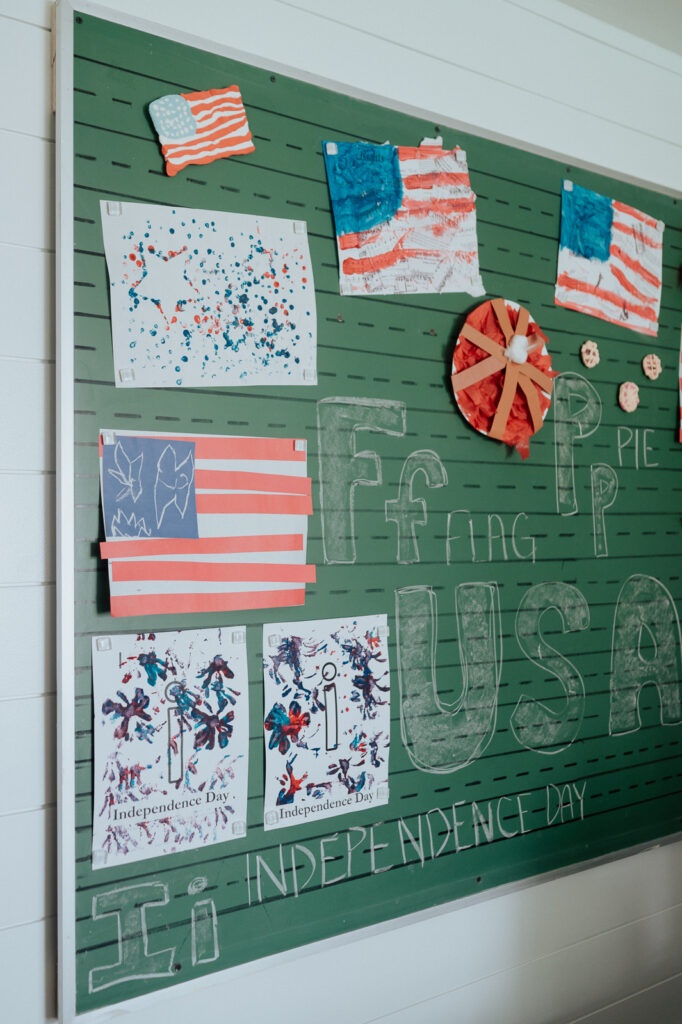
Dot Art Stars
These dot art stars help with dexterity and create a fun look once finished. The kids really got a kick out of using the eraser side of the pencil to make dots with paint!
What you Need:
- Washable kids paint
- Pencils with erasers
- Paper
- Cut out star shapes
- Scotch Tape
How To:
- Cut out star shapes
- Tap on the star shapes by creating a loop on the back (so the edges are exposed.
- Using the eraser side of the pencil, create dots by dipping them in paint.
- Make sure to focus on the star outlines (following the whole outline) so that the star shape is revealed when the paper is moved.
- Remove star shapes
- Display!
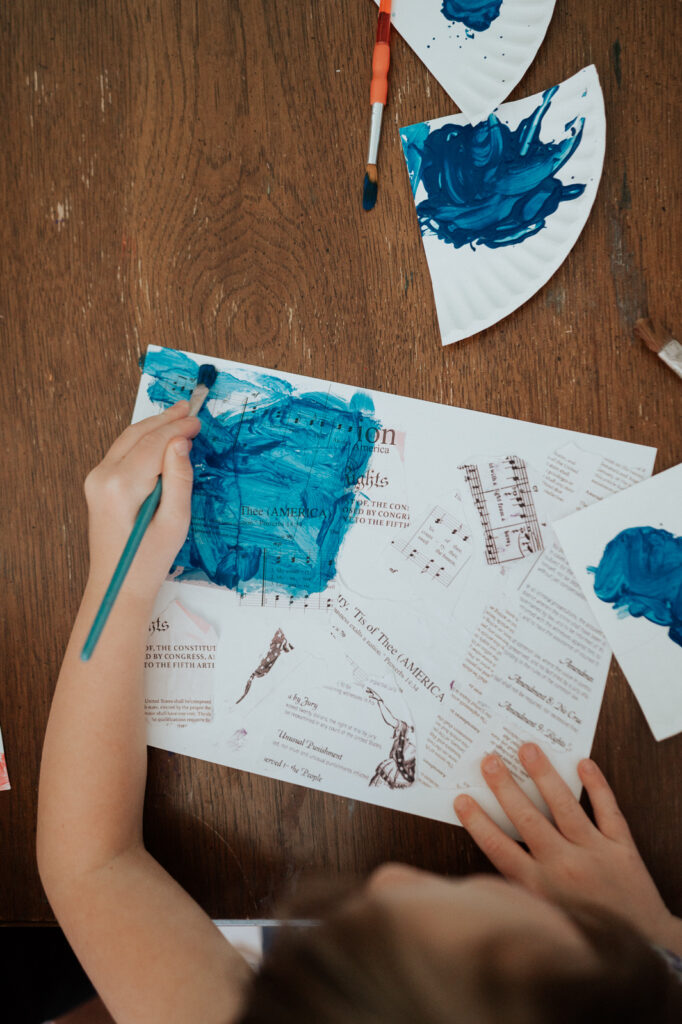
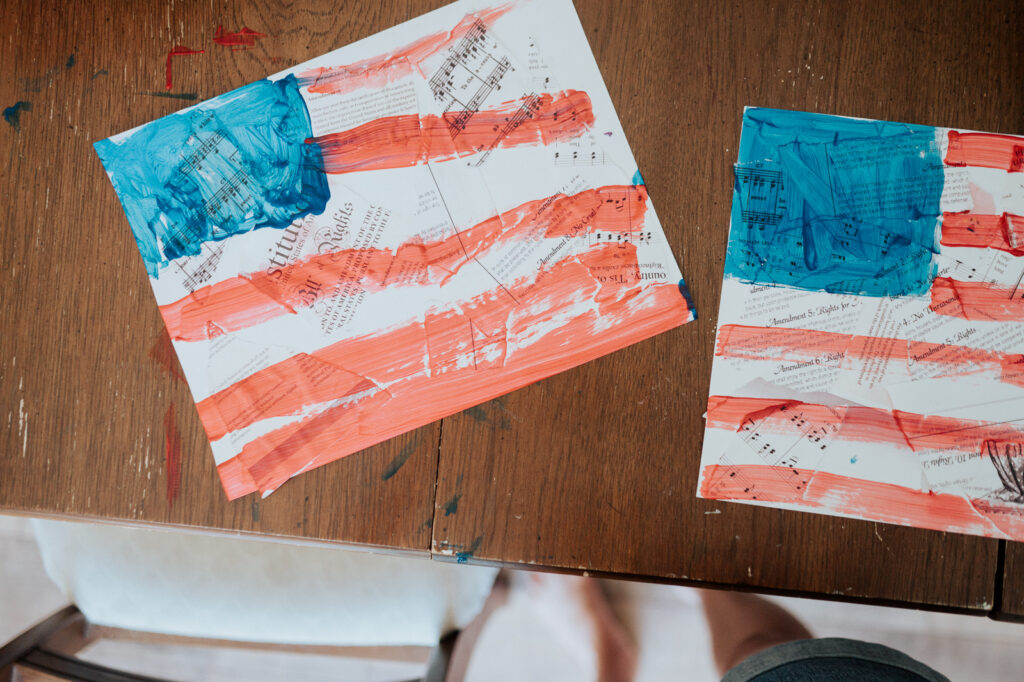

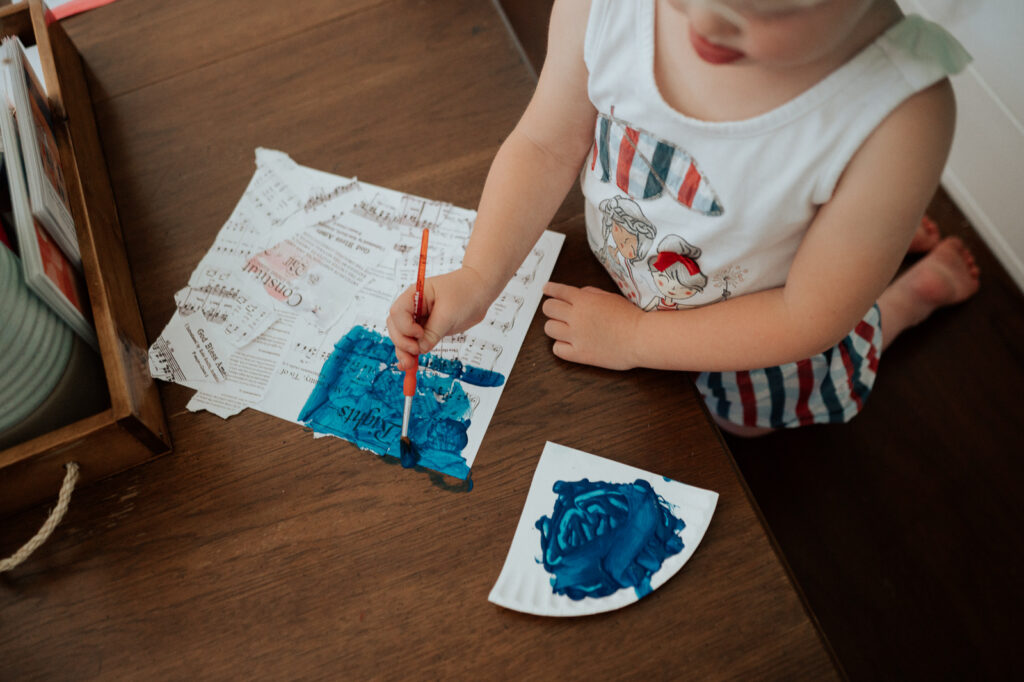
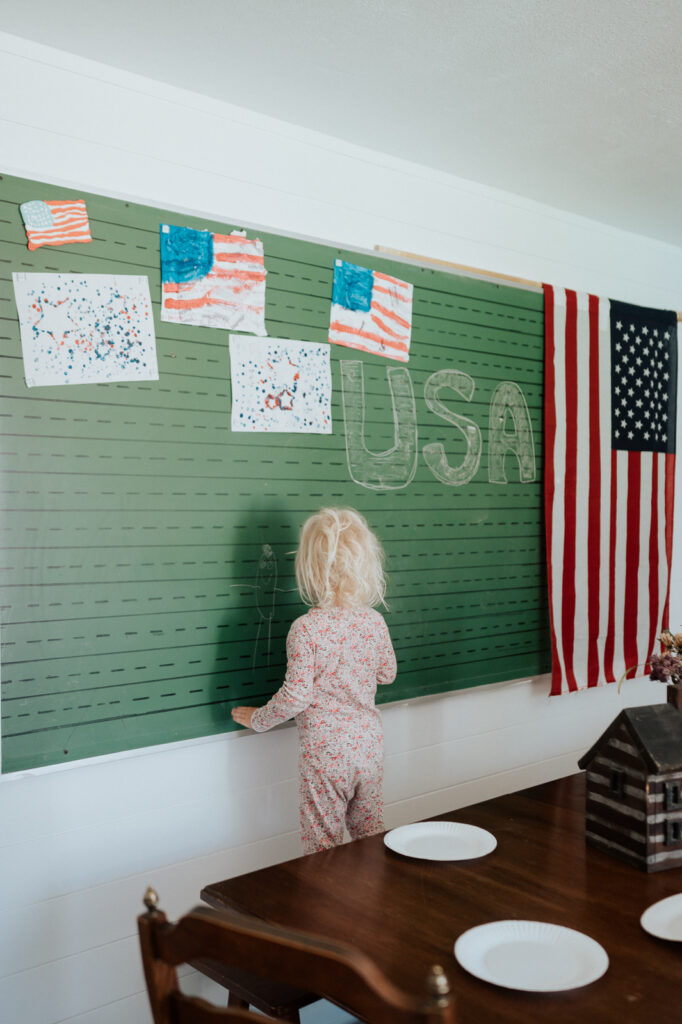
Declaration of Independence collage Flag
This craft involves ripping, gluing, and painting – plus some history! What a fun craft for littles!
What you Need:
- Washable kids paint
- Cardstock paper
- Printed historical pages
- Glue Sticks
How To:
- Print off pages of the Declaration of Independence, the Bill of Rights, America the Beautiful, and/ or the pledge of allegiance. You can find a bunch of options when searching online.
- Rip the pages into different size chunks.
- Glue to a piece of cardstock.
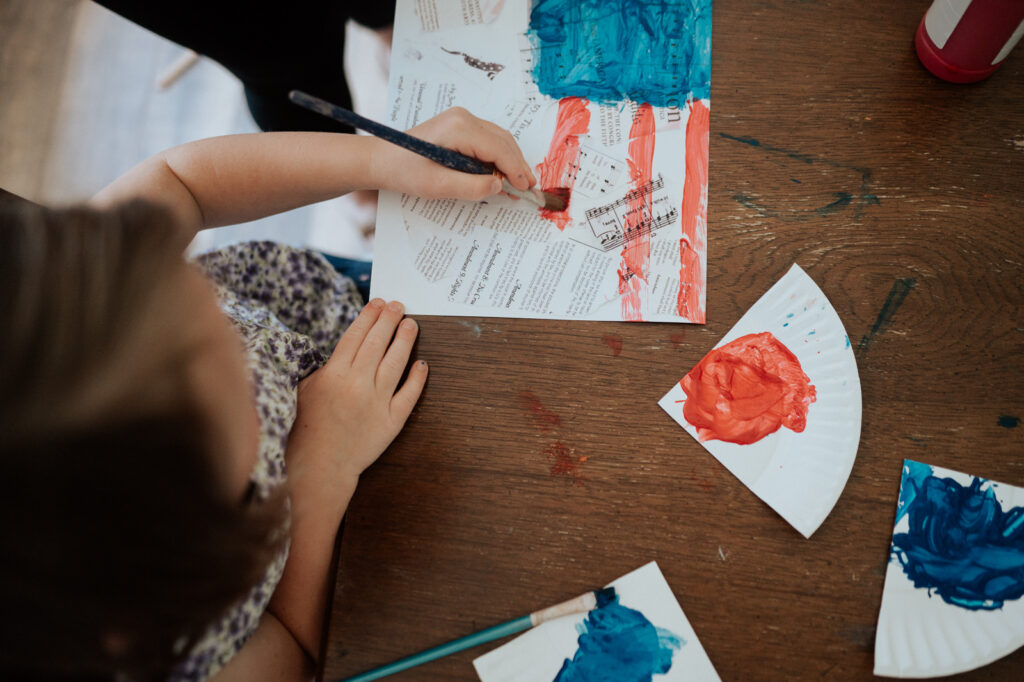
- Paint a blue square in the top left corner of the paper.
- Add red stripes of paint going left to right leaving white blanks in between.
- Display!
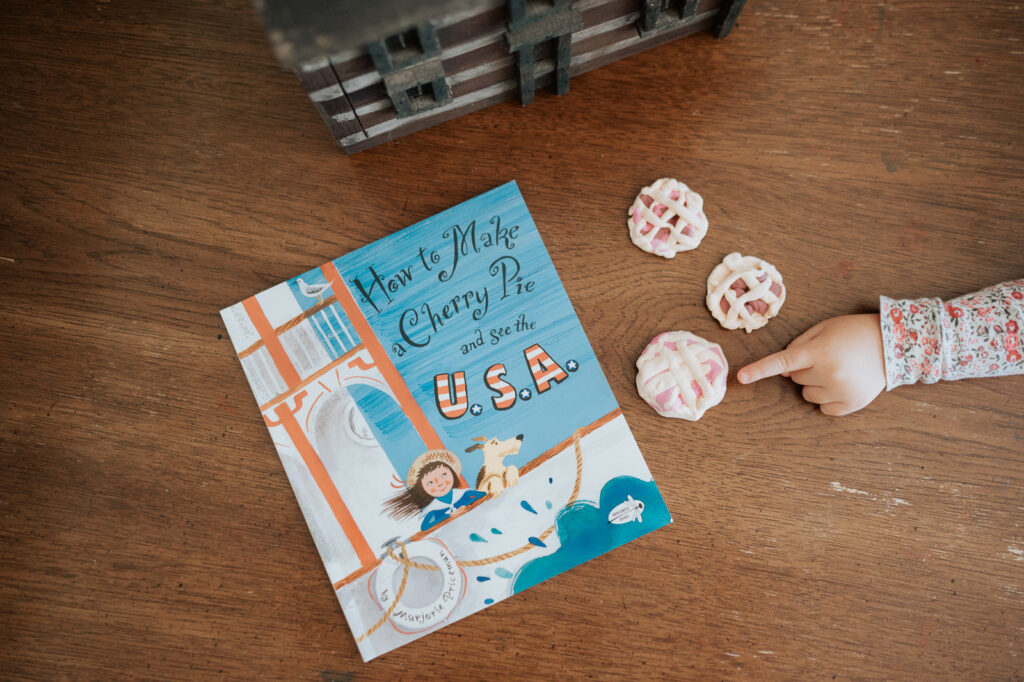
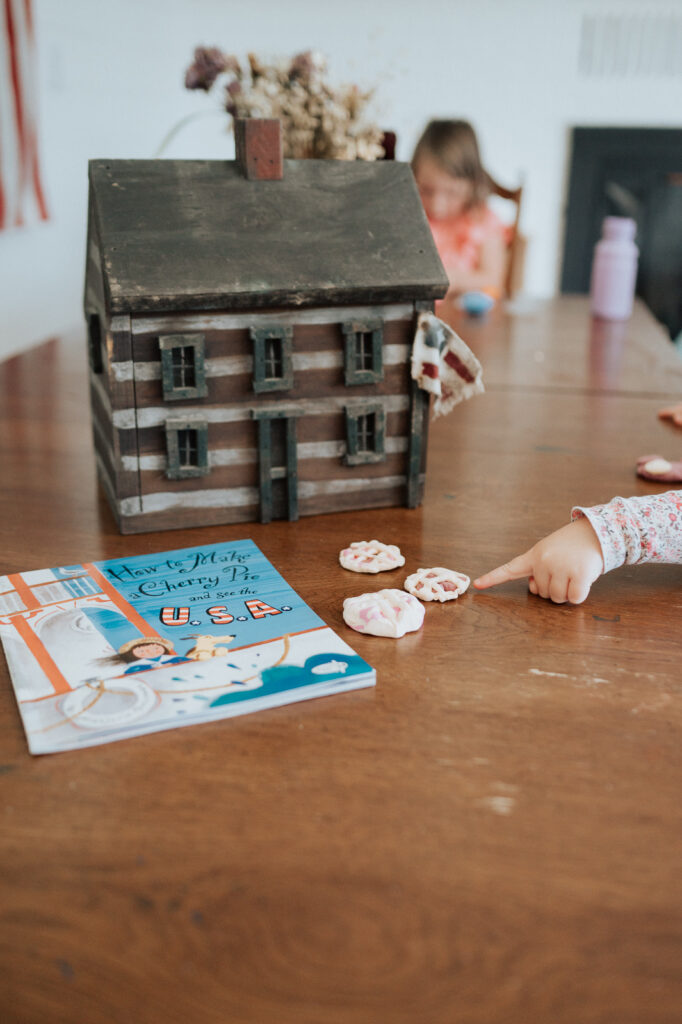
Cherry Pie Magnets
We read the book How to Make a Cherry Pie and See the USA and had to make a cherry pie of our own! I
What you Need:
- Air Dry Clay
- Hot Glue Gun
- Magnets
How To:
- Start by sculpting a tan pie crust with your hands.
- Roll pink/ red colors into balls and add them to the pie.
- Roll tan color into strips and drape across the pie.
- Let it dry completely.
- Have an adult glue the magnet onto the back of the dried pie and use it for decoration!
- Display!
PS: As someone who had to take a trip to the ER because her son swallowed magnets (praise the Lord for his protection and guidance!!), make sure to always these magnets out of reach of littles!
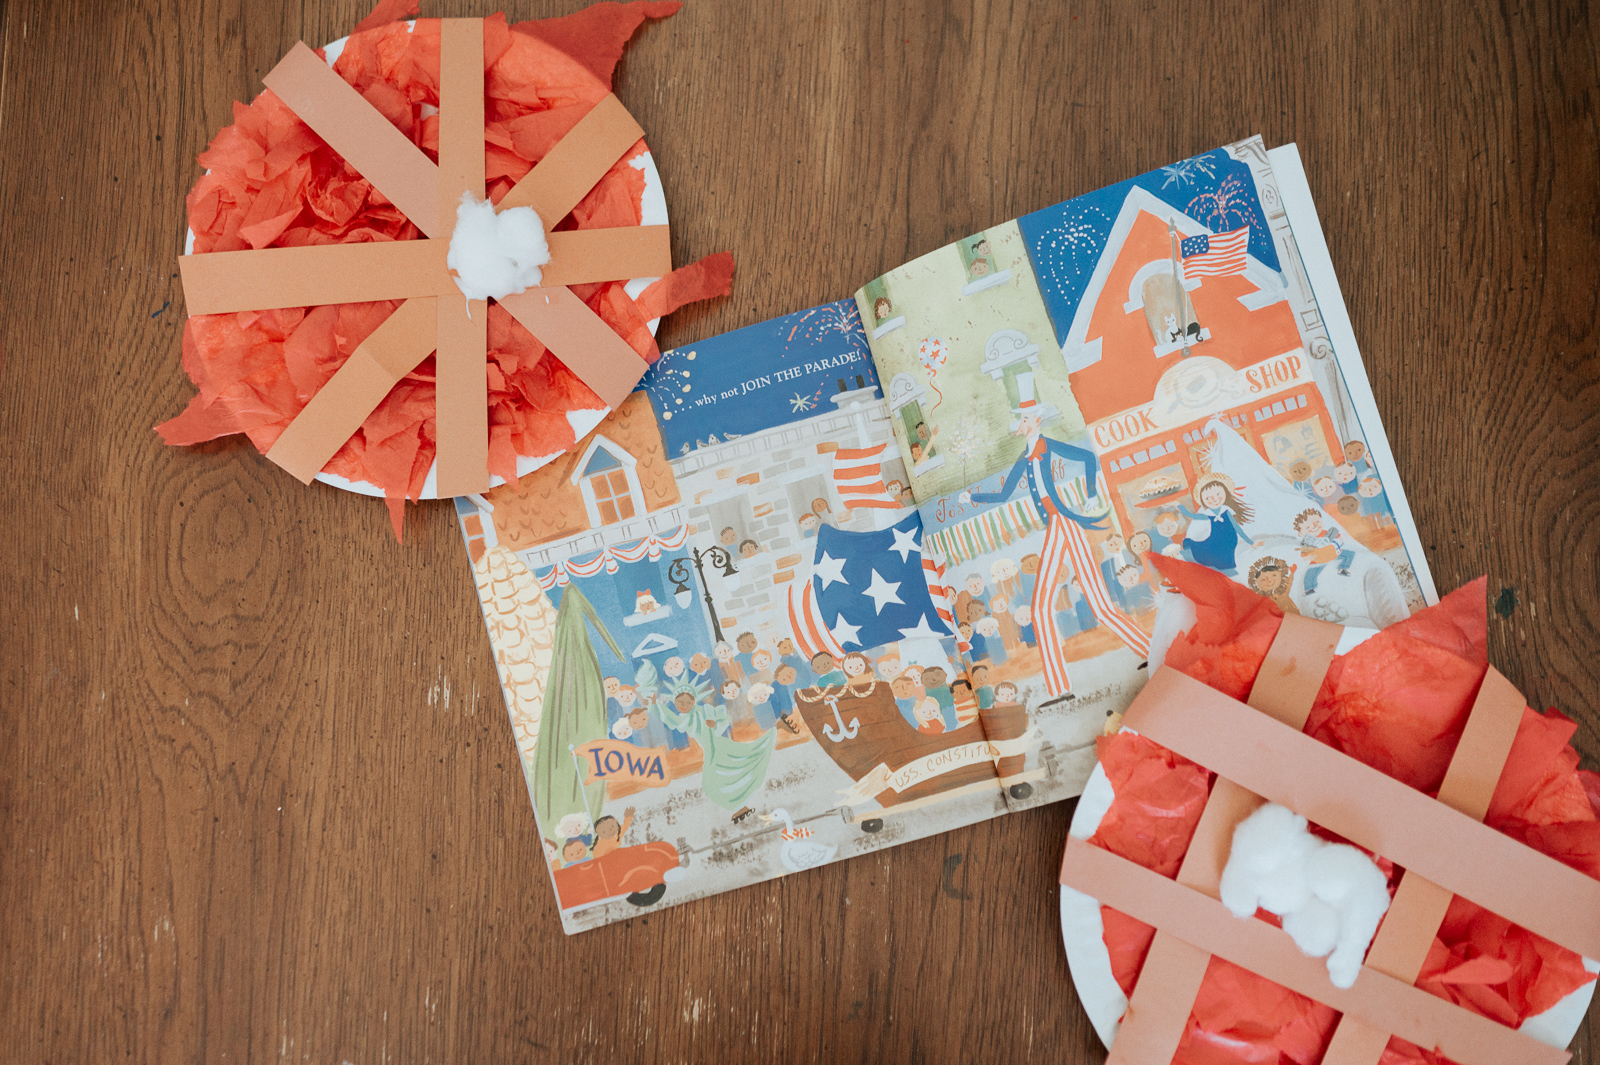
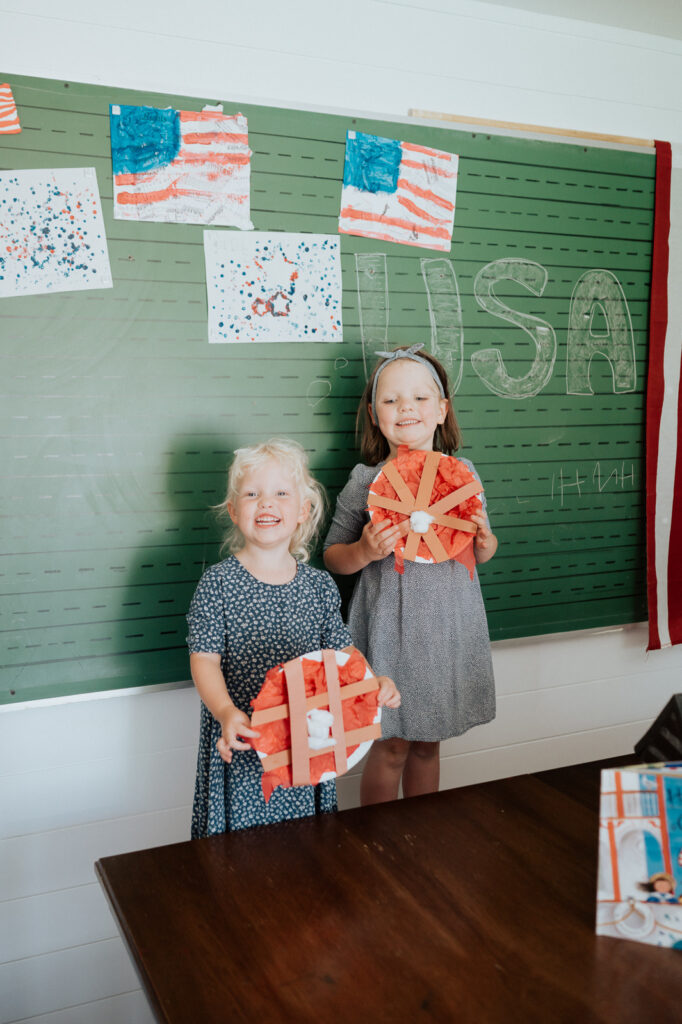
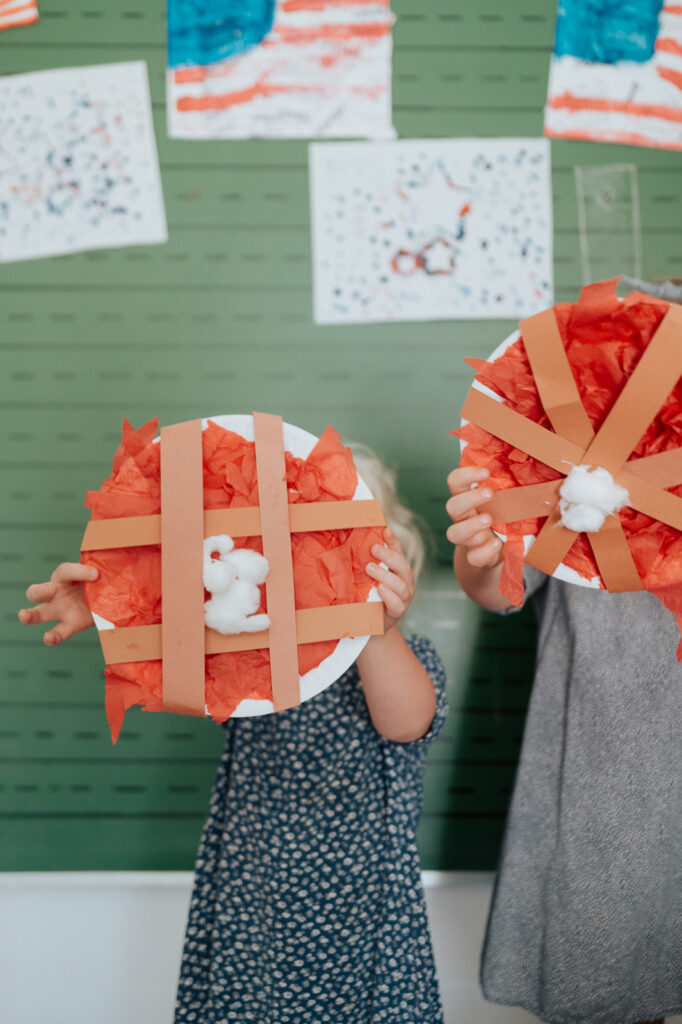
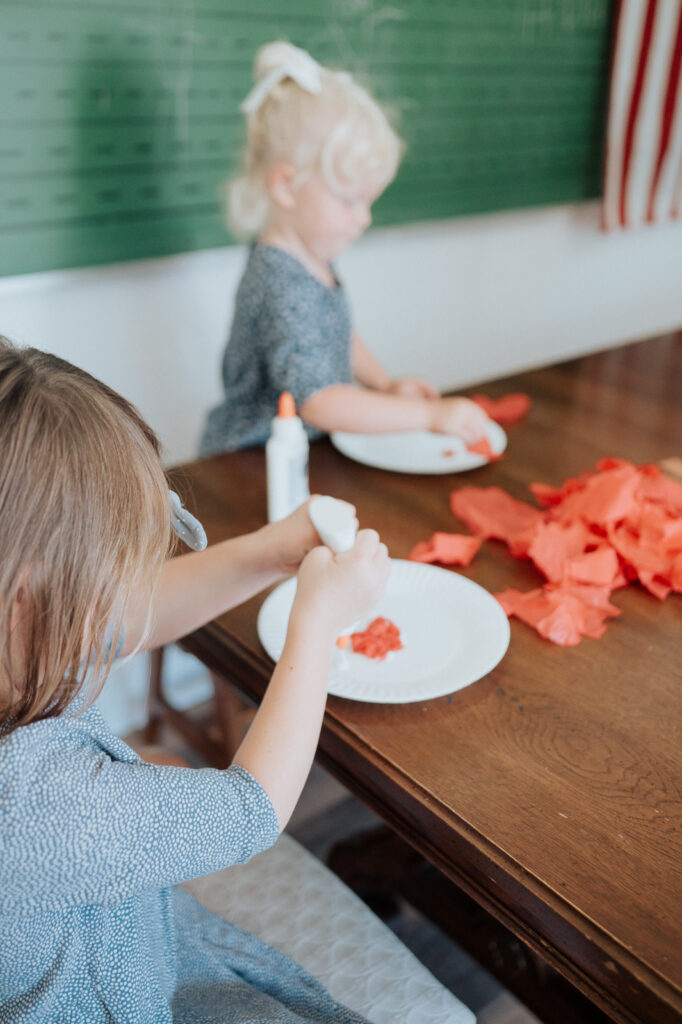
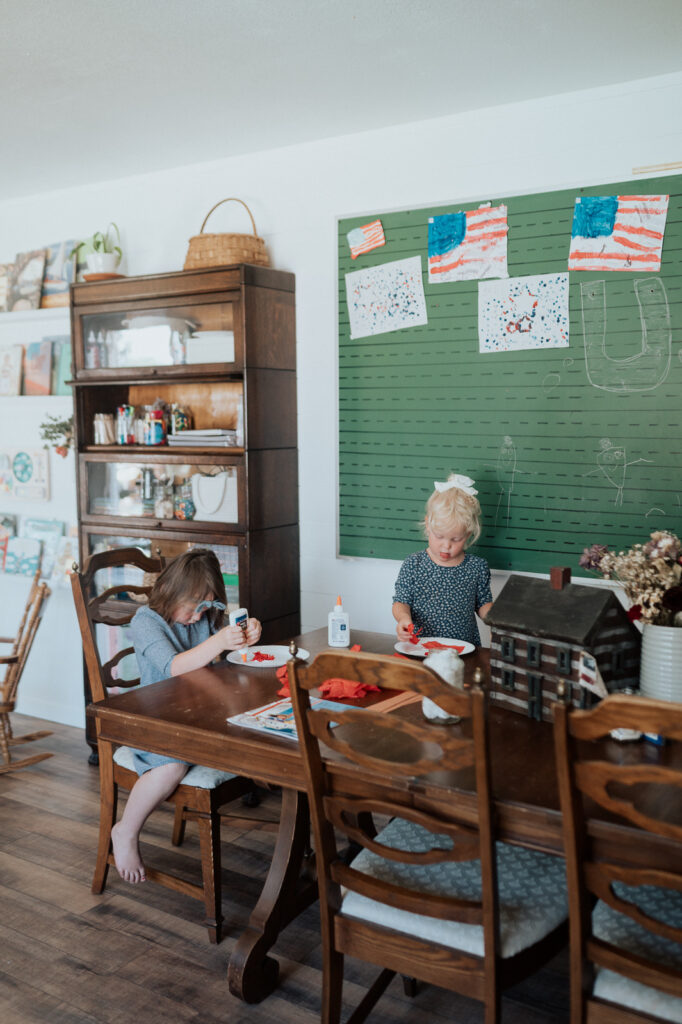
Paper Plate Cherry Pies
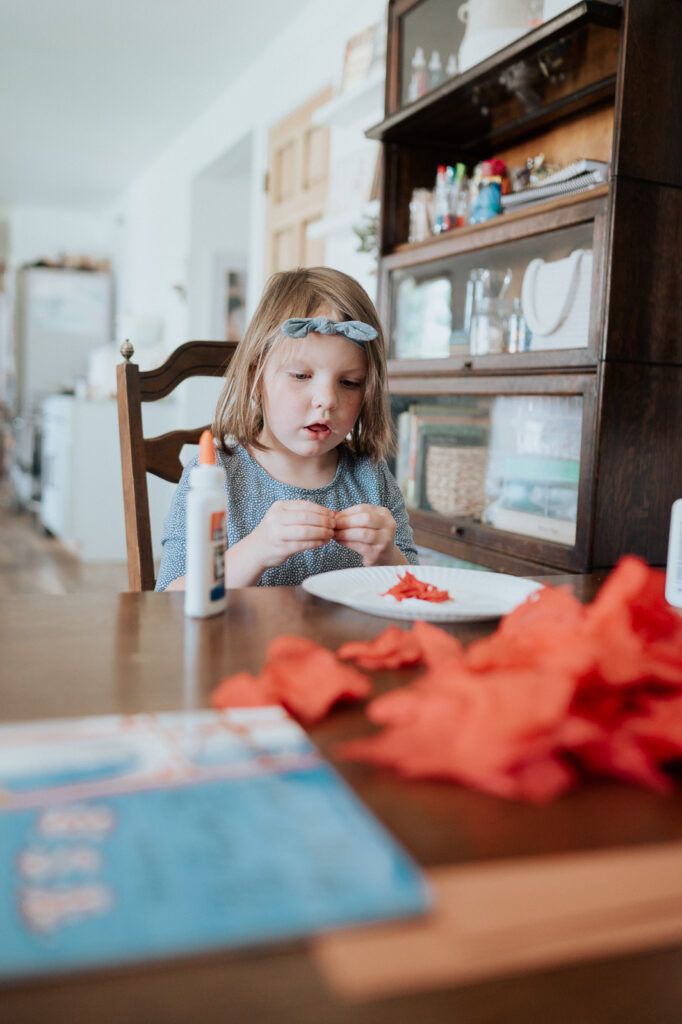
My kids loved How to Make a Cherry Pie and See the USA so much that we stuck on the Cherry Pie theme for days, reading it countless times during this 4th of July season. This paper plate craft was a big hit as it includes ripping tissue paper and lots of glue!
What you Need:
- Classic Paper Plates
- Elmer’s Glue
- Red Tissue Paper
- Brown Construction Paper
- Cotton Balls
How To:
- Rip up the red tissue paper and glue it to the bottom of the plate until the entire plate is covered.
- Cut strips of the brown construction paper and lay them out over your pie to act as the top crust.
- Add cotton balls on top to create the whipped cream – or vanilla ice cream – that we all know needs to be on top of a good slice of pie!
- Enjoy & display!
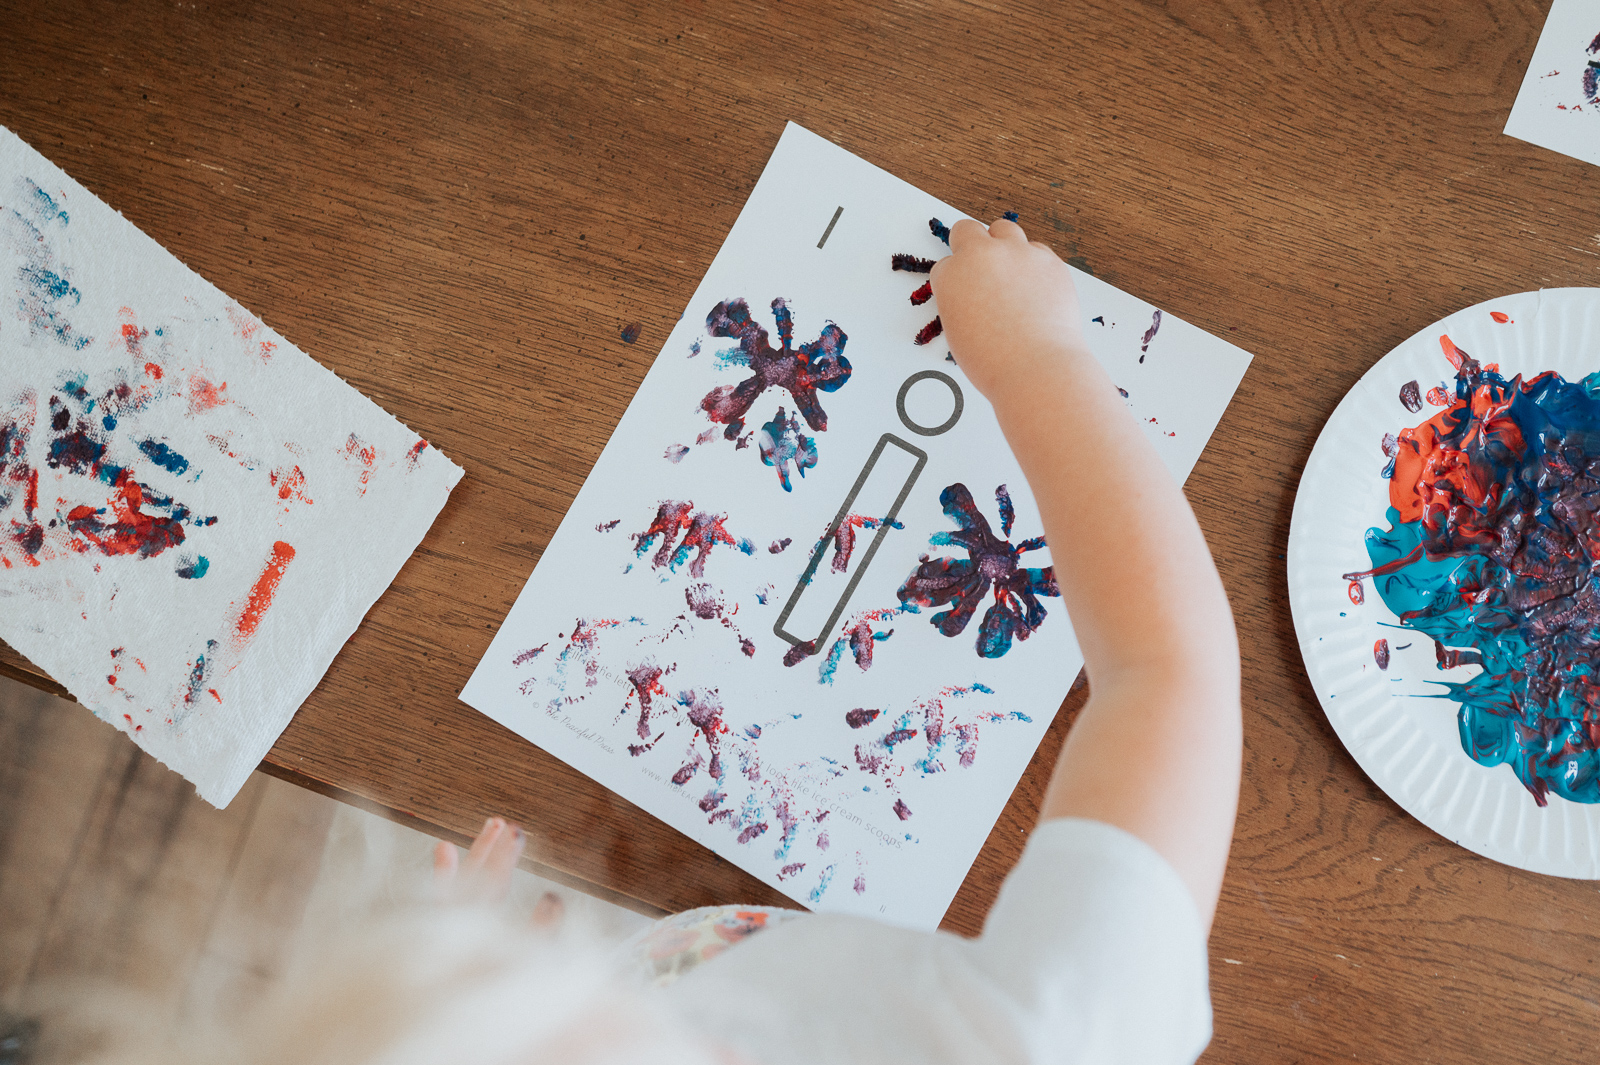
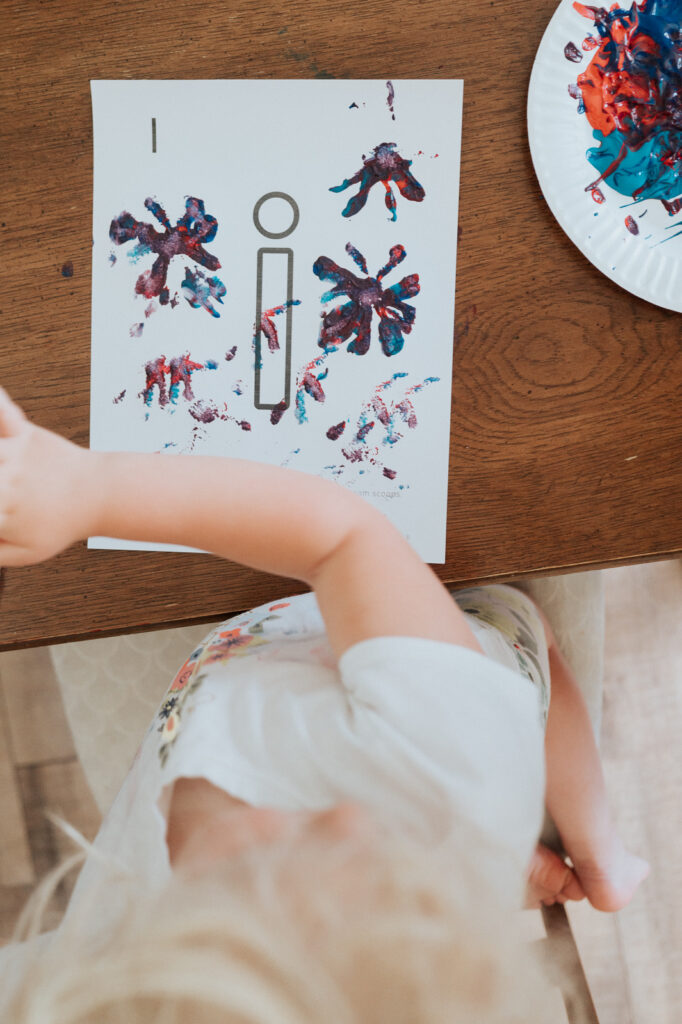
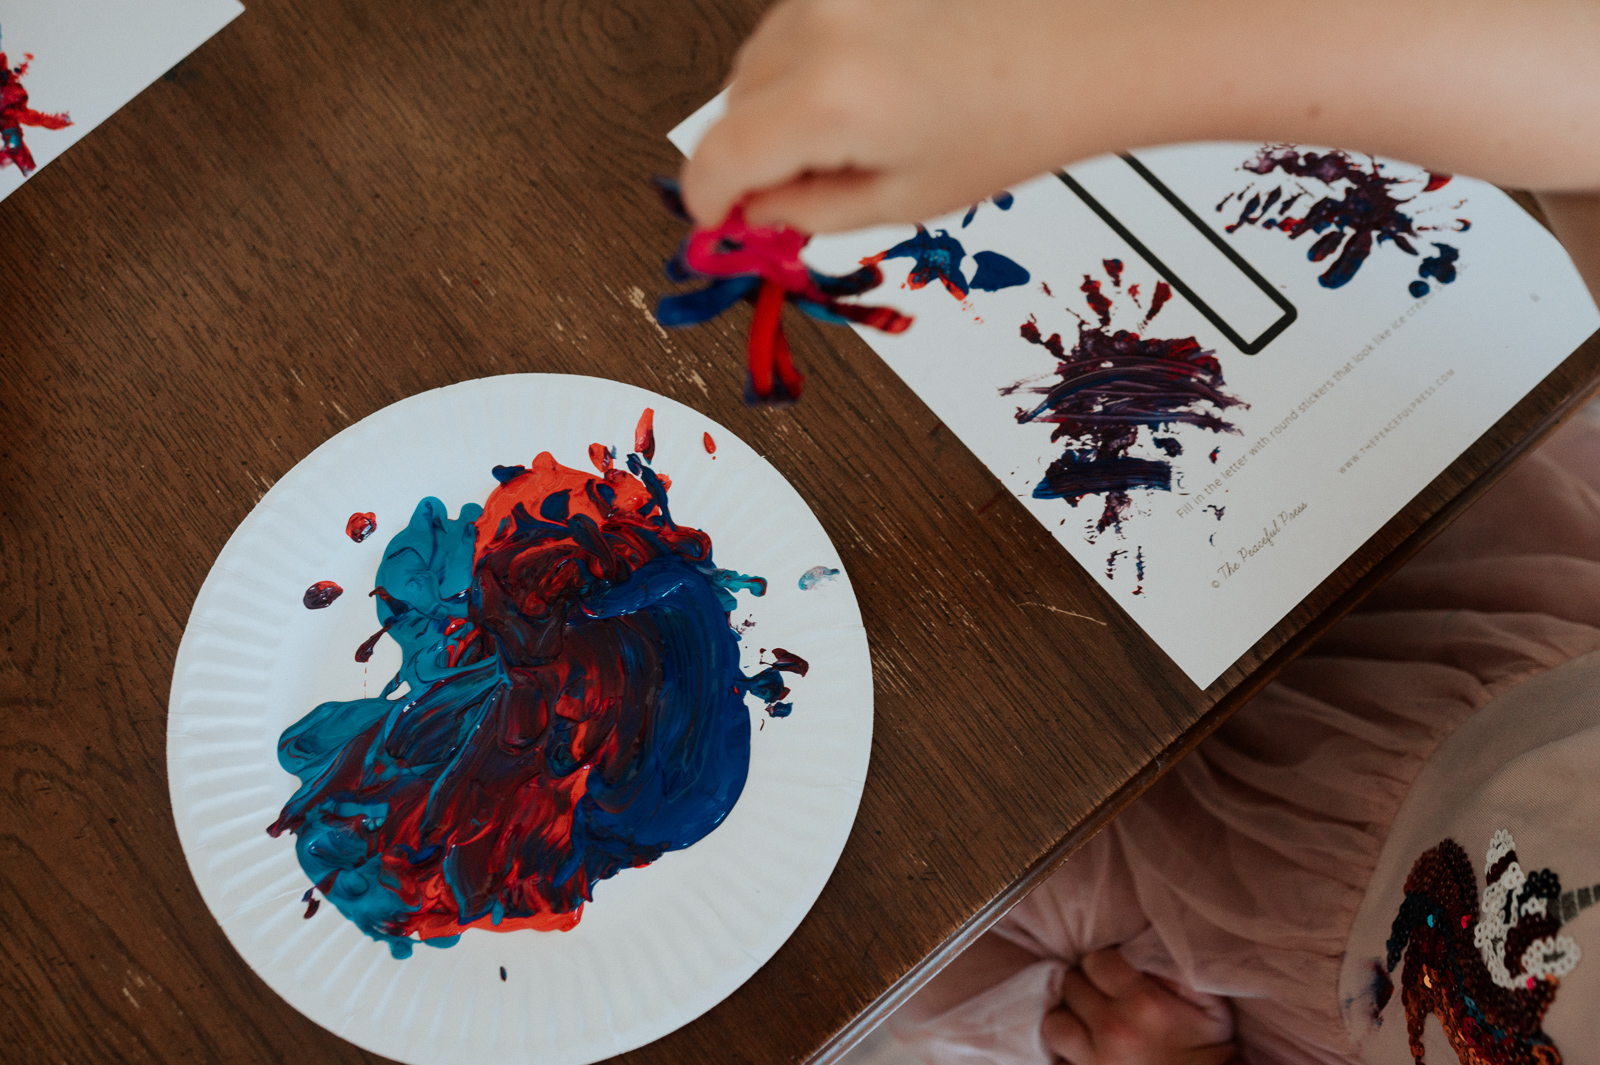
Painted Fireworks
We did these on “I” printables for Independence Day but you can just use plain paper too! The pipe cleaners create a fun texture for the fireworks. It is also fun to paint with unexpected items.
What you Need:
How To:
- Bend the pipe cleaners into firework shapes. We used two or three pipe cleaners to get the firework bursts and twisted them together for a little handle.
- Dip into the paint & create!
- Display!


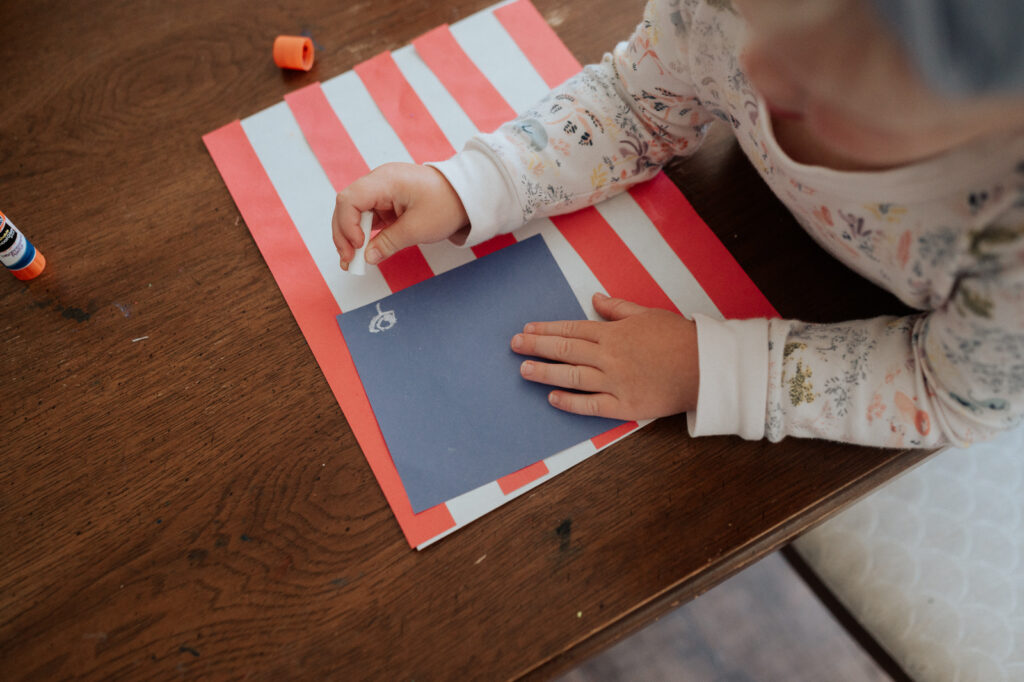
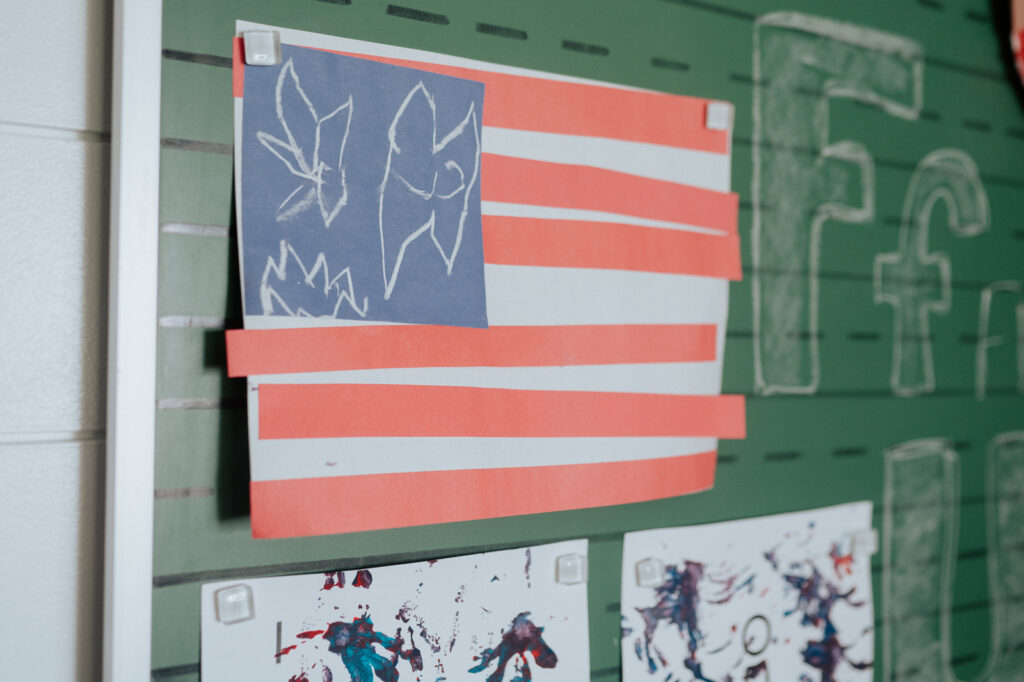
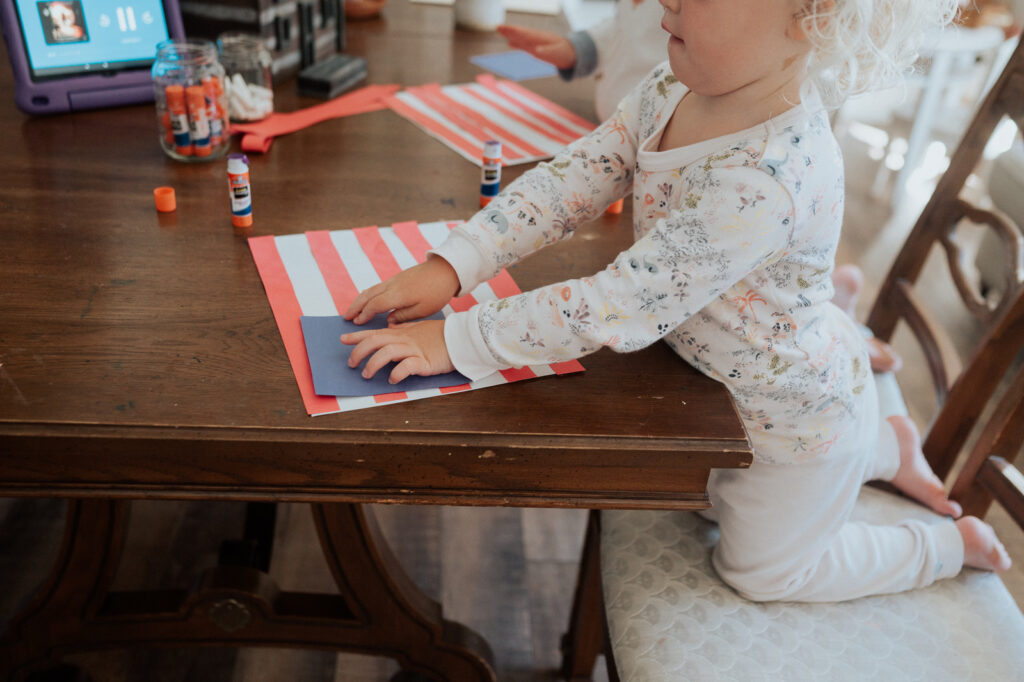
Construction Paper American Flags
Last but not least, these adorable construction paper flags are so easy yet they create a great final masterpiece.
What you Need:
How To:
- Pull out a sheet of red, white, and blue paper from the construction paper.
- Using the white paper as the base, cut out stripes of the red paper and glue them on, leaving a space for the white stripes.
- Cut out a blue square and glue it on to the top left of your flag.
- Using the chalk, draw on stars.
- Display!
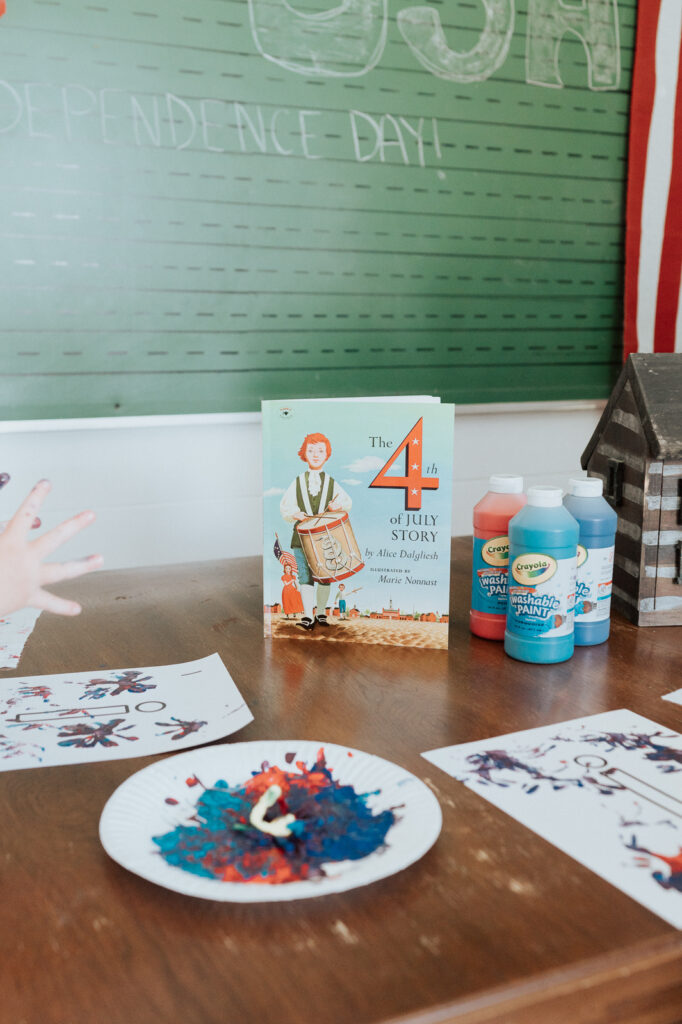
One of my favorite ways to do a craft is to read a book with it first. Here is a link to our favorite 4th of July books: Independence Day Books!
Want to save these ideas for later? Pin this image below or click here to save it on Pinterest.