
Ask Elizabeth, Blogging & Business, Photography
How to Make A GIF for Instagram

Ask Elizabeth: How do you make a GIF that you can post on Instagram?
The other day I noticed that a couple of the photos I took of Millie on my phone would make a cute GIF. Then I went down a rabbit hole of apps and google searches to figure out how I could not only make a GIF but also post it on my Instagram feed. It’s easy enough to create a GIF – there are all kinds of apps out there – but finding a way to turn it into a video format so that Instagram would let me post it was the worst. Haha! I tried creating a couple GIFs different ways and kept getting stuck when I tried to post on Instagram. Then Bruce told me to try Google photos and… it worked! See evidence below.
I posted that cute GIF on Instagram after I finally realized how to do it (just in time to go to bed) and then made another one a couple days later. I’m on a roll! I wanted to share with you a quick tutorial on making a GIF for you to share to your Instagram because it is a really fun way to add some flavor to your feed!

STEP ONE: Take the photos for your GIF.
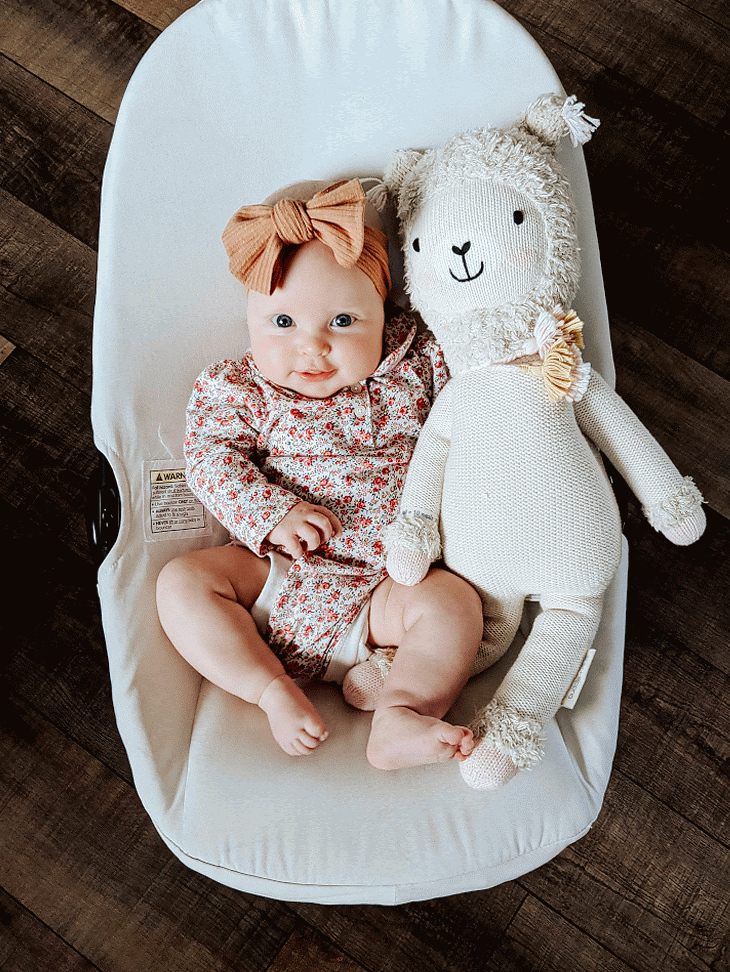
In that first one I made, I just happened to take a couple photos of Millie in the same spot that would be able to work well together. The second one (seen directly above) was 4 photos from a recent photo shoot that were close enough to stitch together.
When I knew I was going to be writing this post (and as I dived deeper into the world of GIFs,) Bruce and I took some photos with the GIF in mind! This next one was a photo burst and I love how the background stays in place while we twirl around! If you don’t have the steadiest of hands, you can use a tripod to isolate the movement!
STEP TWO: Upload your photos to Google Photos & select the ones you want to use.
I have a Google Pixel so all my phone photos automatically go there, but I uploaded the camera ones to my photo storage. Then you select the photos you want to use by clicking on them.


STEP THREE: Make the GIF!
Click on the “+” at the top of the page and then click on Animation. This will create your GIF with all the photos you selected! You can go back if you want to add or take out some photos.


STEP FOUR: Share to Instagram!
To get your GIF in a video format, you need to click on the share button and then click on Instagram Feed. If you are using a desktop, you may need to switch to your phone so that Instagram shows up as one of the apps. Once it opens in Instagram you can go ahead and post or wait to post later. It will save as a video format on your phone so that you can share it later!

Did you run into any issues? I’ve heard sometimes this doesn’t work if you have an iPhone. You can use another free app like GifLab to convert your saved animation into a video for Instagram.
Adorable! Love this tutorial! I feel like it’s been forever since I’ve made a gif… I should definitely use this tutorial and make one, again, soon!
Do it!!
Oooo thanks for sharing! I thought it would be more involved (which I guess it was for you testing out all the methods). Thanks for doing all the trial and error for the rest of us!
hahah yes! let me know if you do it!!
THIS IS SO FUN. Can’t wait to give it a try! (And I’ll make sure to tag you so everyone else can come find out to do make a dope GIF 🙂 )