
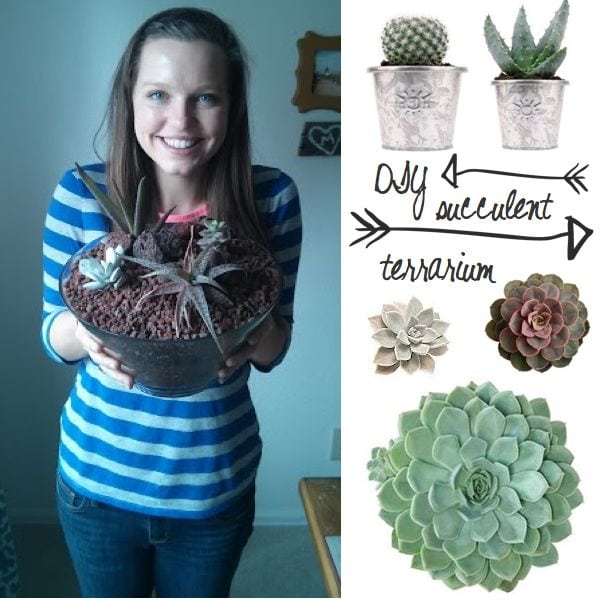
diy succulent terrarium
…
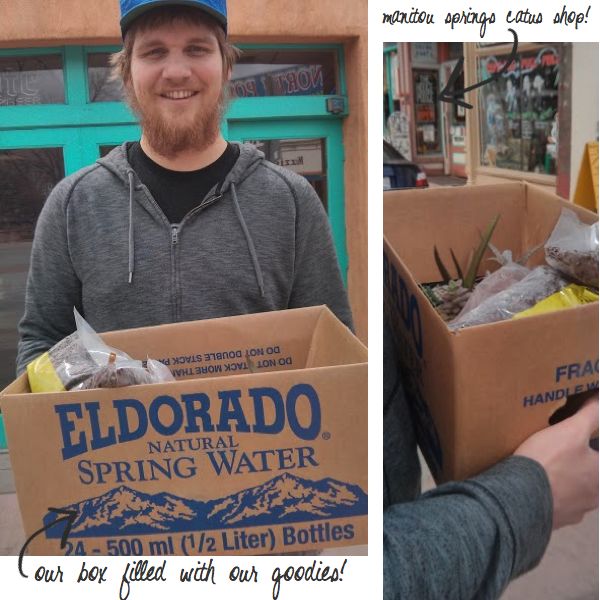
now that spring is in full spring, i am been craving bringing some of that life into our home. i am loving succulents these days and simply adore how unique, different, and beautiful they all are. so the hubbers and i made a little trip down the street to the manitou springs cactus shop and picked out some of our favorites. we brought them home and created our own little terrarium to liven up our place. i would love to share with you how you can bring a little life into your home this spring!
…
HOW TO:
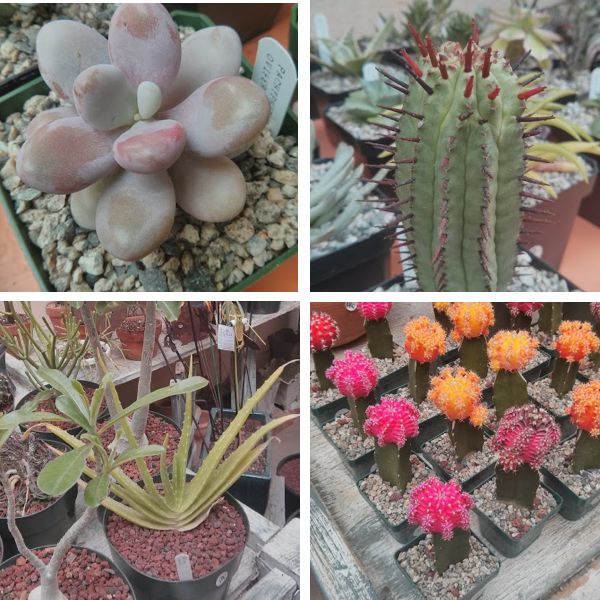
1. find a local florist or even a place like King Soopers will have a garden section but local shops actually tend to have better prices on succulents because it is what they do not the “rare” plants in the shop. look around and pick your favorites – colors, shapes, sizes… don’t get ones that all look the same. make sure to find a balance.
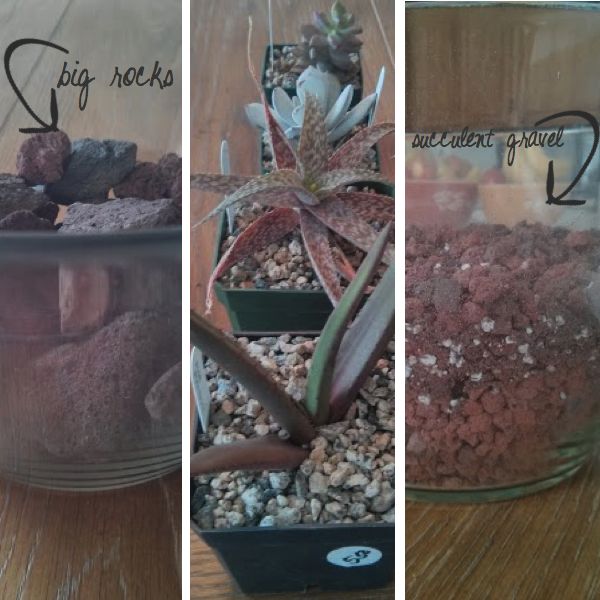
2. don’t forget to buy rocks and cactus/ succulent gravel (it looks like rock but it has nutrients that they need to live). you want to pick a style for the top (we went with baby lava) but you can do white rock or sand or whatever you would like at the top of your terrarium. also pick up some large rocks for the bottom of the bowl so that they catch water when you water the plants (you don’t want soggy, rotten roots!)
3. layer the rocks in the bowl. start with the big rocks at the bottom. add the gravel about half way up the bowl.
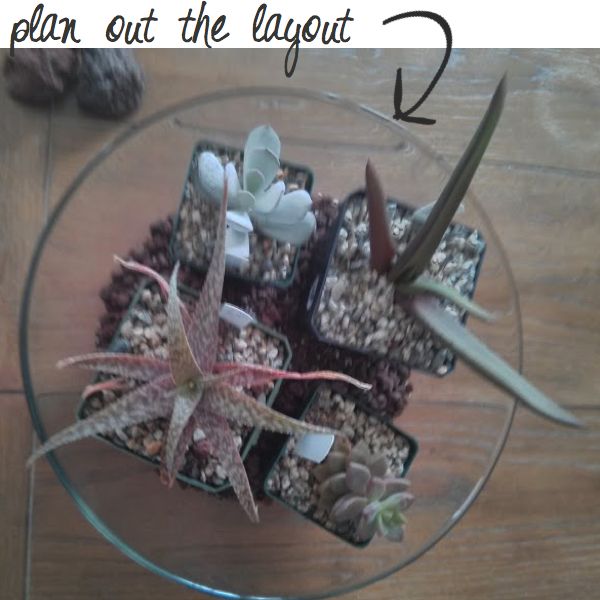
4. determine the layout. move the potted plants around in your bowl to find where you want to plant them. then begin taking them out one by one and setting them in the bowl. fill all the surrounding space with the succulent gravel – supporting and surrounding the plants.
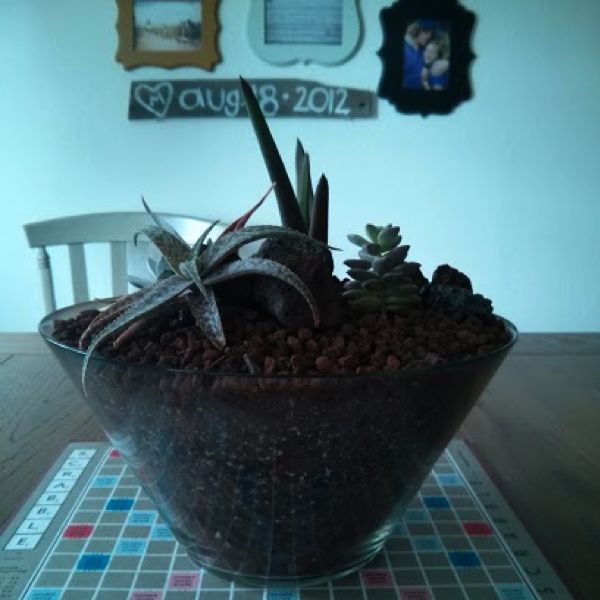
5. add the top layer of rocks. this is the final touch so you can make everything look the way you want it to be. we took pictures with the real names of all the plants so we can pretend we know stuff about them 😉 haha

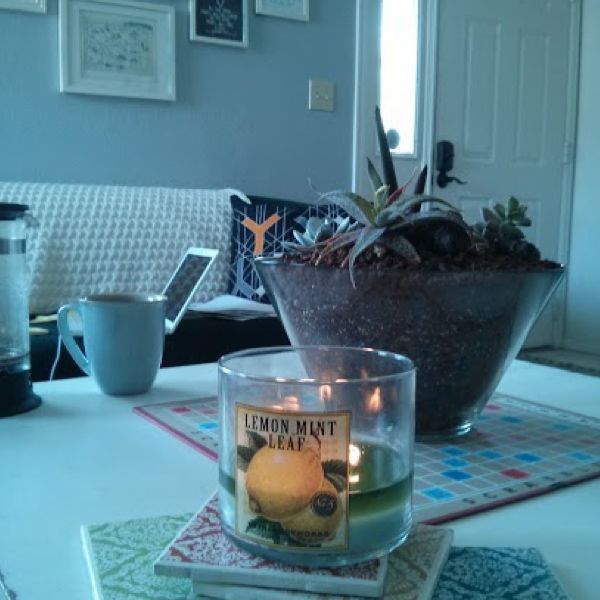
6. now which room do they live in!?!?!? the living room or the kitchen. i might need to build another one so that i can have one in both rooms.
COST:
$5.50 each for the large ones
$3.00 each for the littles
$3.50 for the baby lava rocks
FREE large rocks from our yard
$5.00 for a bag of gravel
FREE ikea bowl – wedding gift!
______________________________
$25.50 total – worth it!!!
so cool! 🙂
you look so nice in that first picture :)p
I gotta do this!! It looks really cool!!
I am loving succulents. Definetly need to find a good place to buy them. The selection at Loews was a bit sad…
I noticed your coasters…I made tile coasters, too. Pinterest, right? 🙂