Striped Wall DIY

i am in the middle of a new years resolution in which i am going room by room though my house (so that i do not get overwhelmed) and adding a little flavor. i am making it feel like the mayberry’s home.
i wanted one wall in my room to be the accent wall. at first my heart was set on chevron but then that was too much work to get it perfect – it wasn’t worth it. then i found all these rooms with long, fat strips. i was smitten. here is how i painted a striped wall (if you want to DIY):
WHAT YOU NEED:
frog tape (so that there is no bleeding paint)
measuring stick
pencil
paint
TO BEGIN:
1. measure the whole wall and do the math too see how wide your stripes will be. i was thinking about a foot but when i measured the whole wall, i was a little off. you want as even stripes as possible. i also wanted the paint to be on top and on bottom (an odd number). i measured my wall and divided by nine. it made each stripe 10.5 inches apart from each other.
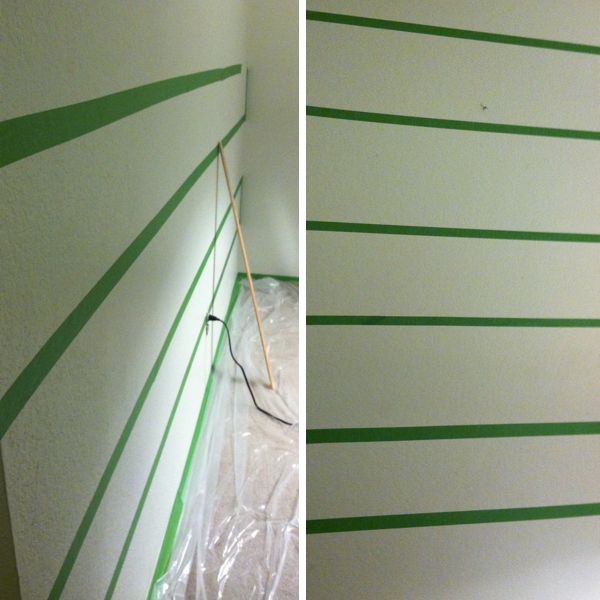
2. use a pencil to mark a long the wall in multiple spaces at that hight. make sure that you can see connect a piece of tape between both pencil marks to make sure you stay leveled.
3. feel free to double check your work with a ruler! you don’t want to end up way off on accident!
4. measure. measure. tape. tape. tape.
NOTE: in the second picture you will notice that the stripes do not look even. that is because you have to always tape into the white. the tape will throw off your measurements when you paint if you do not make sure that the tape is in the white stripe and at the very edge of the stripe you want to paint!

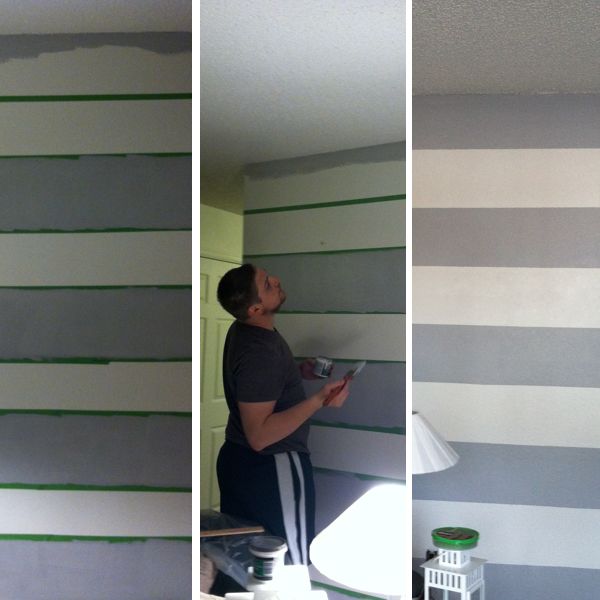
5. paint! make sure to mark which stripes are colored and which ones remain white. you would hate to mess up you patterns that you worked so hard to create!
6. paint on the tape making sure to get to all the edges. you want clean lines!
7. let dry
8. take the tape off and do the happy dance when it looks so great!

ON THE WALLS:
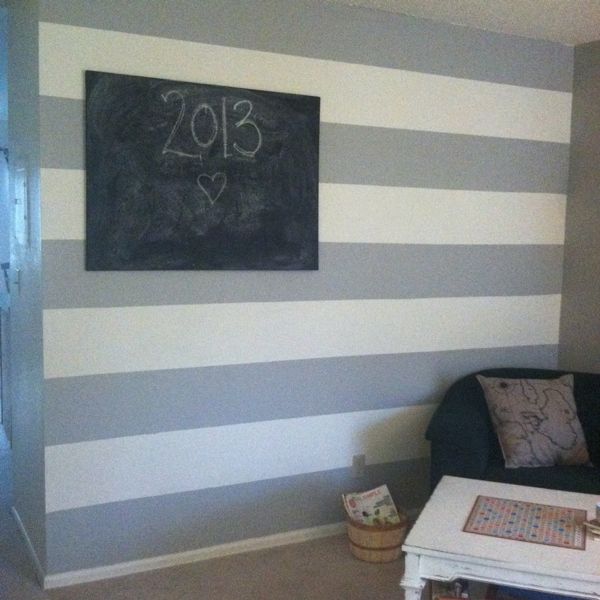
Martha Stewart Paint – color: Chinchilla
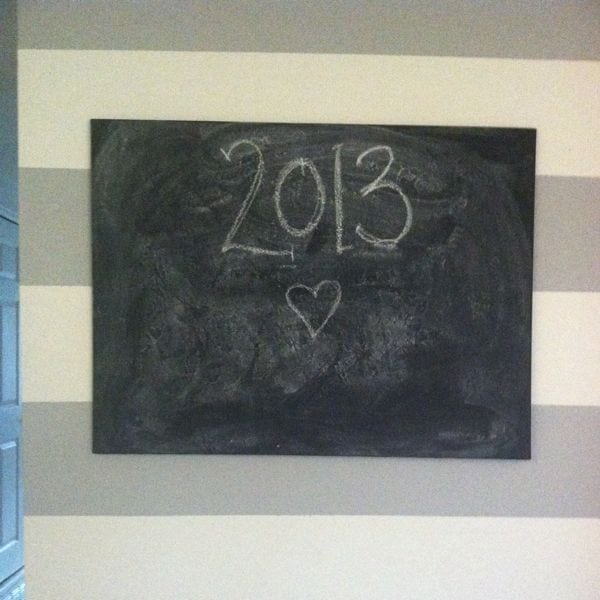
Chalkboard: large canvas (already used) painted with chalkboard paint.

and there you have it. a striped wall. it only took me a couple hours to do the whole thing. i also enlisted the help of my tall husband so that i didn’t need to drag a ladder around the room!
my room is still in progress. i am so excited to start putting things together and having a final product – because that means i get to start on a new room!!
if you are thinking about painting, i encourage you to! it is a fun job and a cheap way to add a little life to a room! what are other cheap ways to add life to a room?

Fantastic!! It's amazing what something so simple as paint can do to a room isn't it?! Can't wait to see more =)
i am in LOVE with this girl! nice work…I may copy it! haha
Looks fantastic!