Art Projects, Childhood, Homeschool, Photo Projects
Fun Photo Crafts for Little Princesses
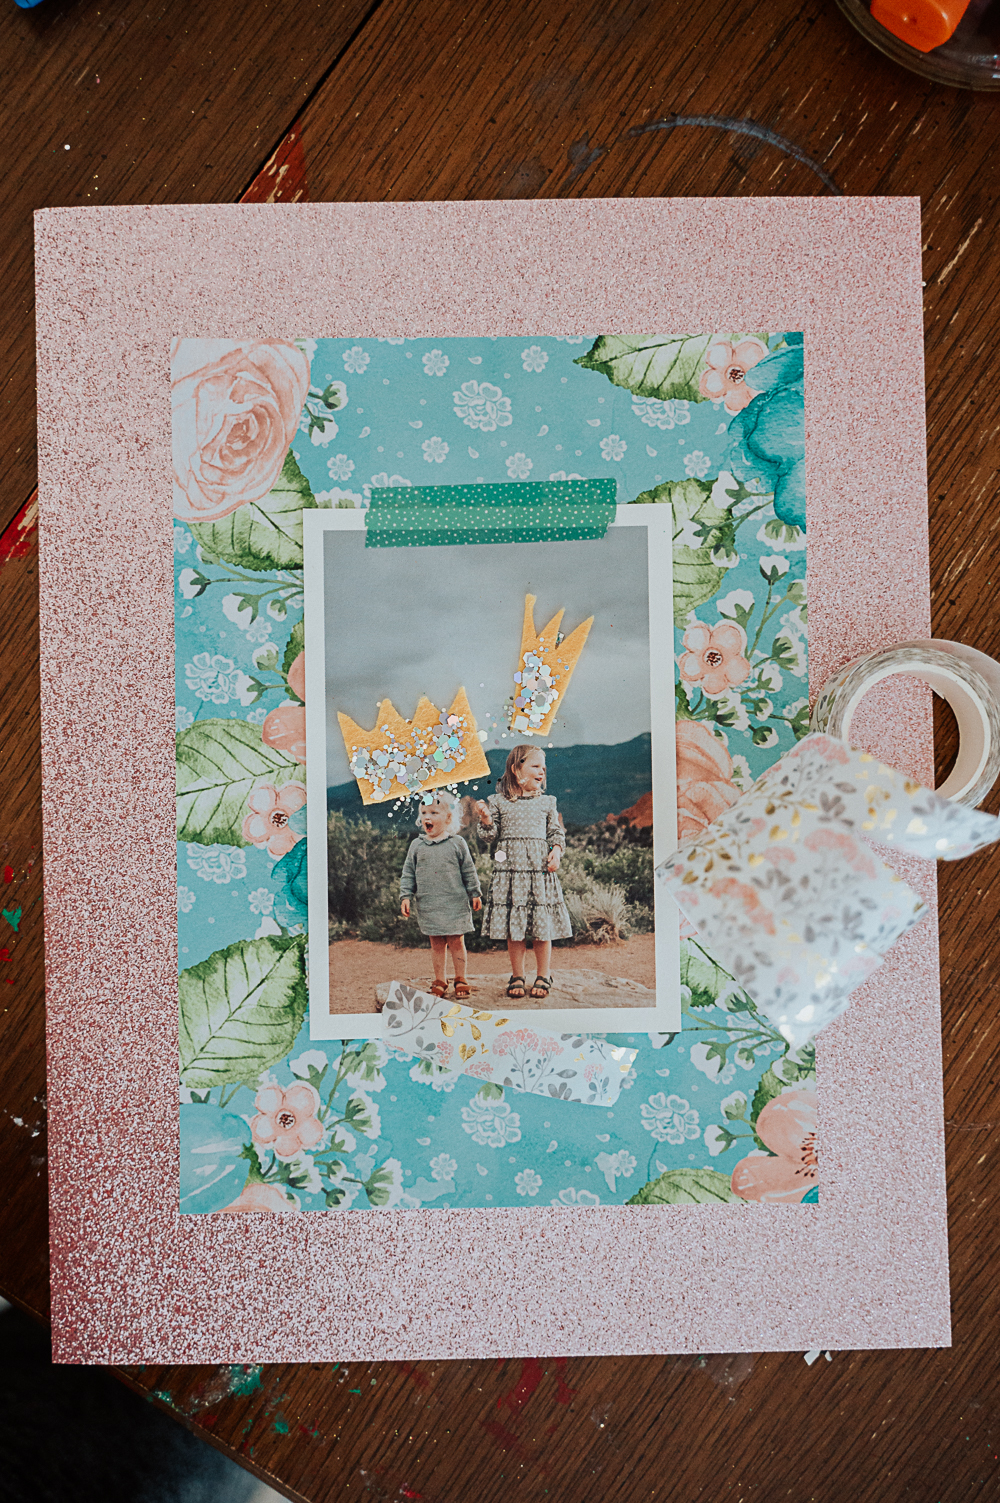
What is better than a photo? A scrapbooked photo with glitter princess crowns, royal gems, and fancy washi tape! (Obviously!!!)
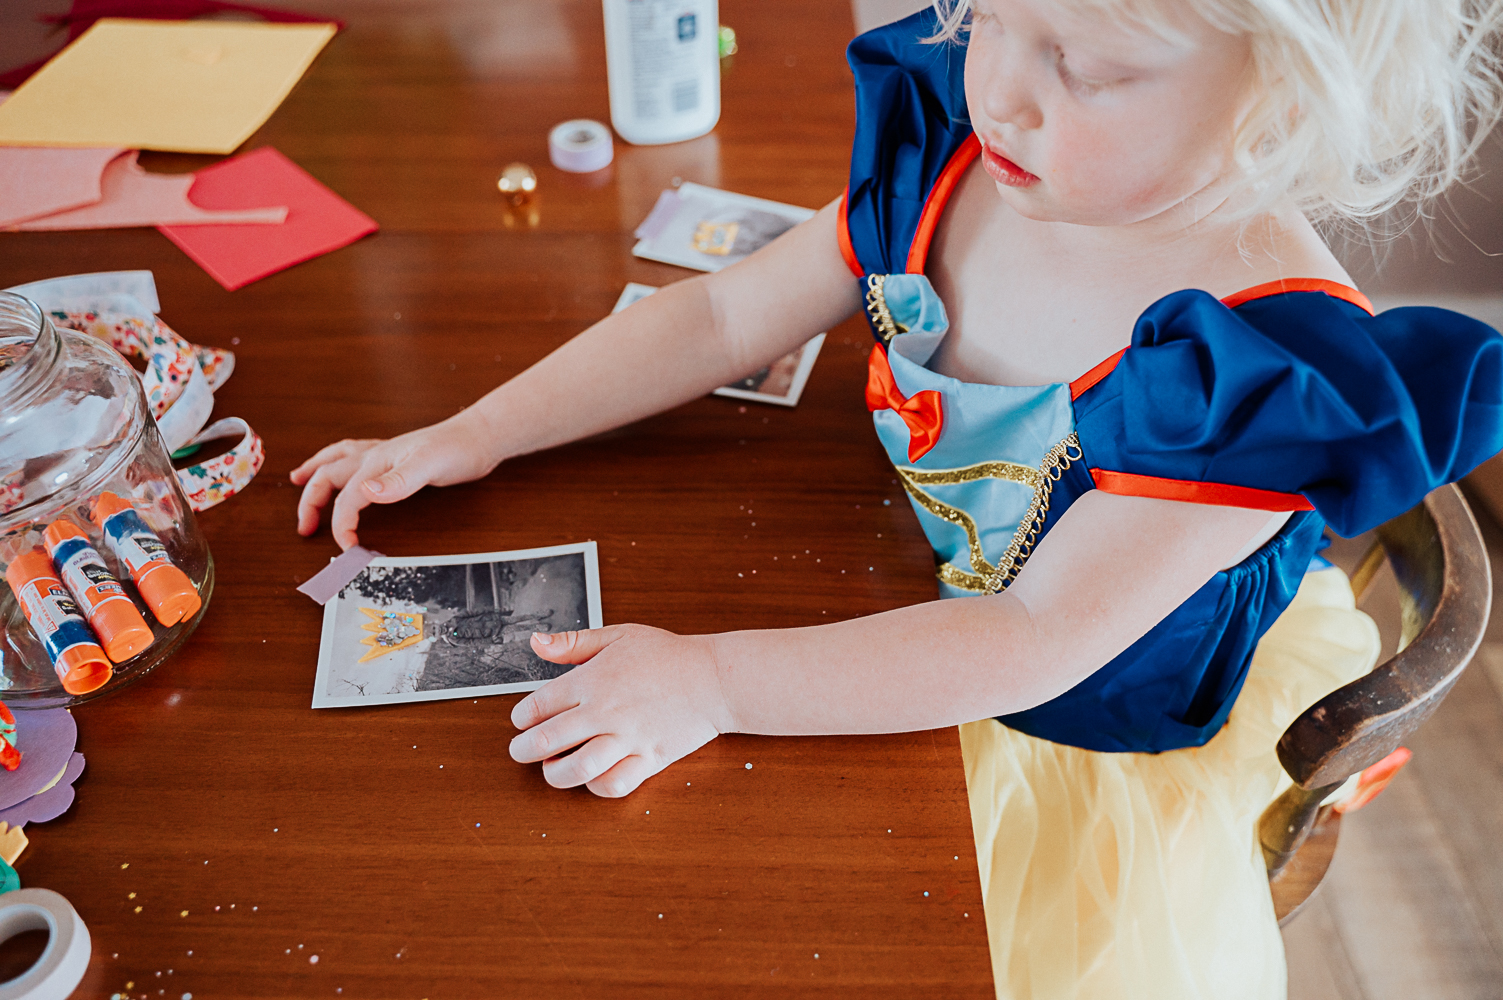
Every little girl is a princess (what a gift to be the daughter of the King) and we have a lot of fun in this house getting our craft on! If you have been around here for any amount of time, you know that photo projects are kind of my thing – I have an entire category dedicated to them on my blog!
This is one of those spontaneous craft sessions we embarked on – fueled by our study of the letter Q for Queen! But it is so easy and I had to share it with you! I think a craft like this is great for all ages and you can really let your kids get creative with photos of themselves and their friends! The tutorial for this craft is the most simple thing – so much of it can be based off things you already have in your house!
Print your photos
For a project like this, you are going to want a cardstock/ thick photo prints, not the traditional glossy prints that you use for frames. I love Artifact Uprising’s Everyday Photo Prints for scrapbooking and photo projects like this! I am always ordering stacks of these photos to have around the house because YOU SHOULD PRINT YOUR PHOTOS! Start by ordering a set in any size of some of your favorite camera and phone photos!
Motherhood Note: Studies show that children who have photos of themselves, their families, and their parents displayed in their home have a stronger sense of belonging, security, self-identity, and confidence! So print photos of your kids and with your kids!
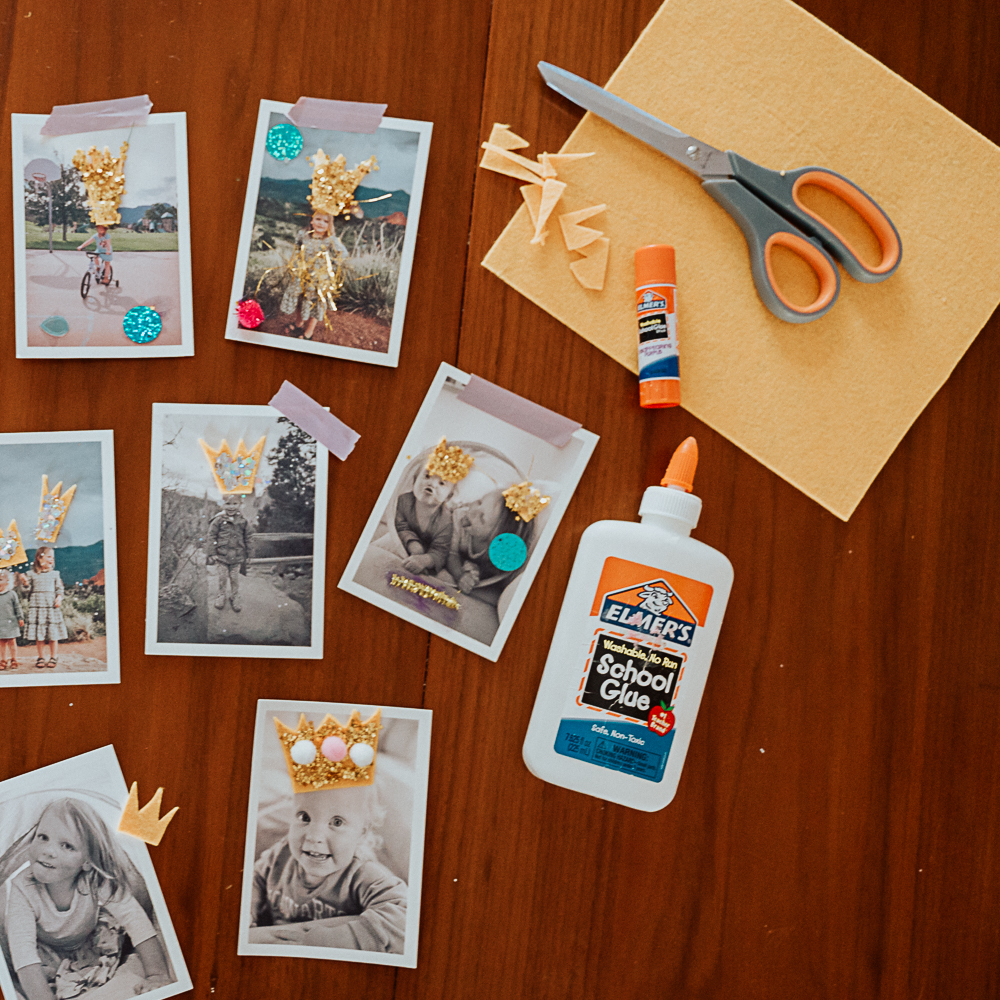
Bring out the supplies
The next step is to gather the supplies! I have all these things on hand at any time to use for homeschool and craft adventures, but you can really use anything that you have on hand. You don’t need the exact supplies as me unless you want to buy them as well too. I have a homeschool/ craft section on our Amazon Storefront where many of the things we buy are linked for your convivence but here are the things we used in these pictures:
- Felt
- Washi Tape
- Ellmers Glue & Glue Sticks
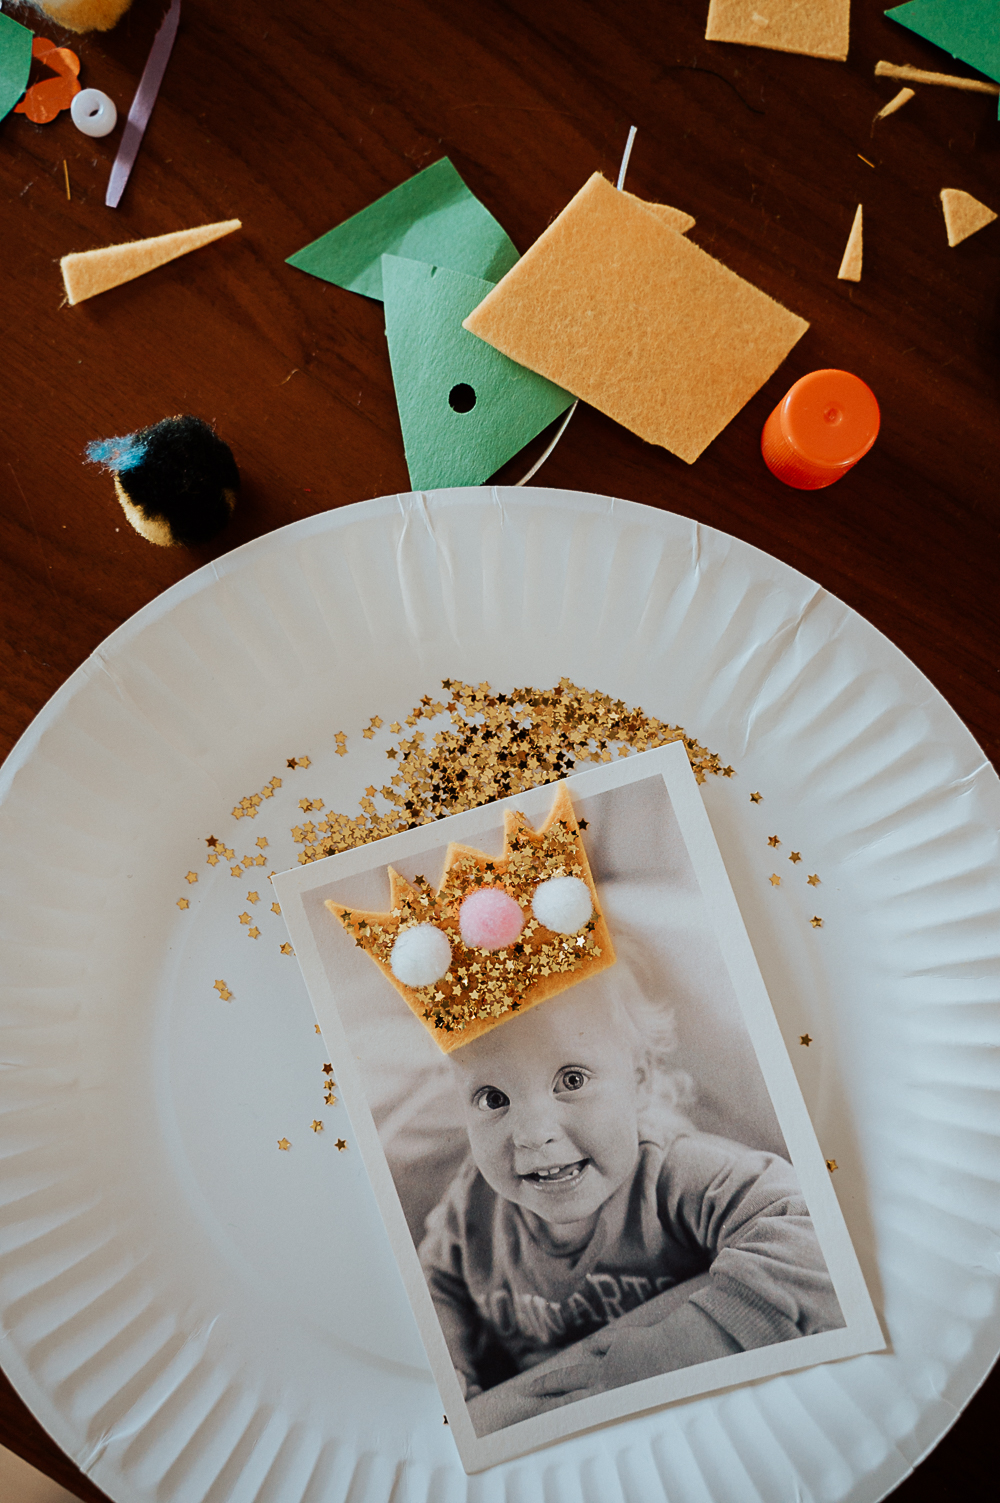
- Chunky Glitter (it is easier to clean up than the super fine stuff!)
- Glitter Cardstock
- Buttons
- Scissors
- Glitter Glue
- Fairy Tale Scrapbook Paper
- Princess Scrapbook
Cut out Crowns
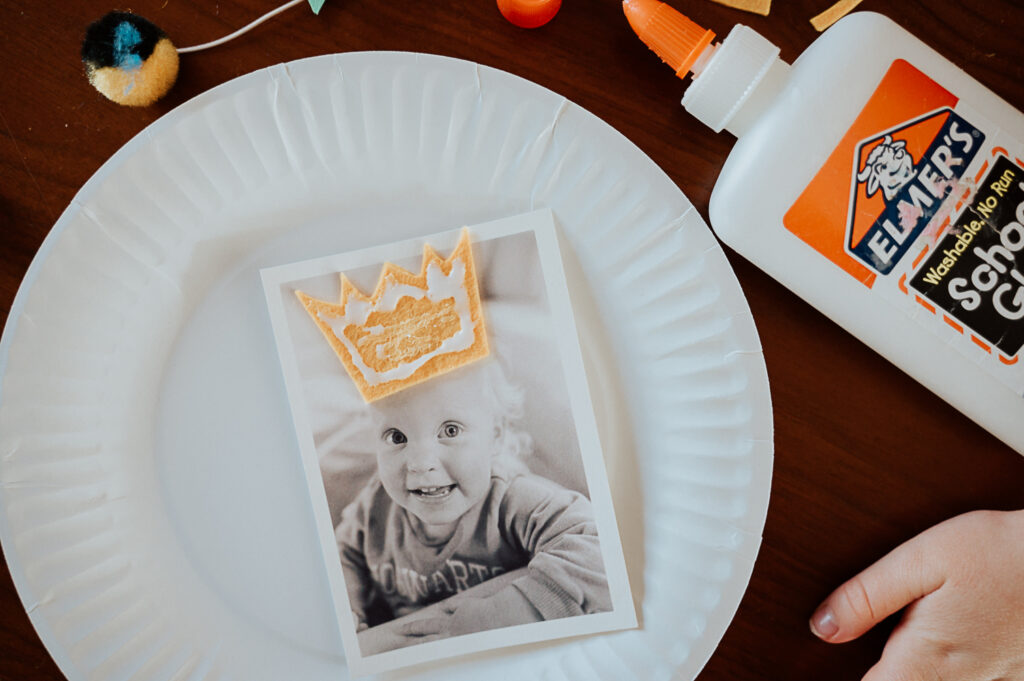
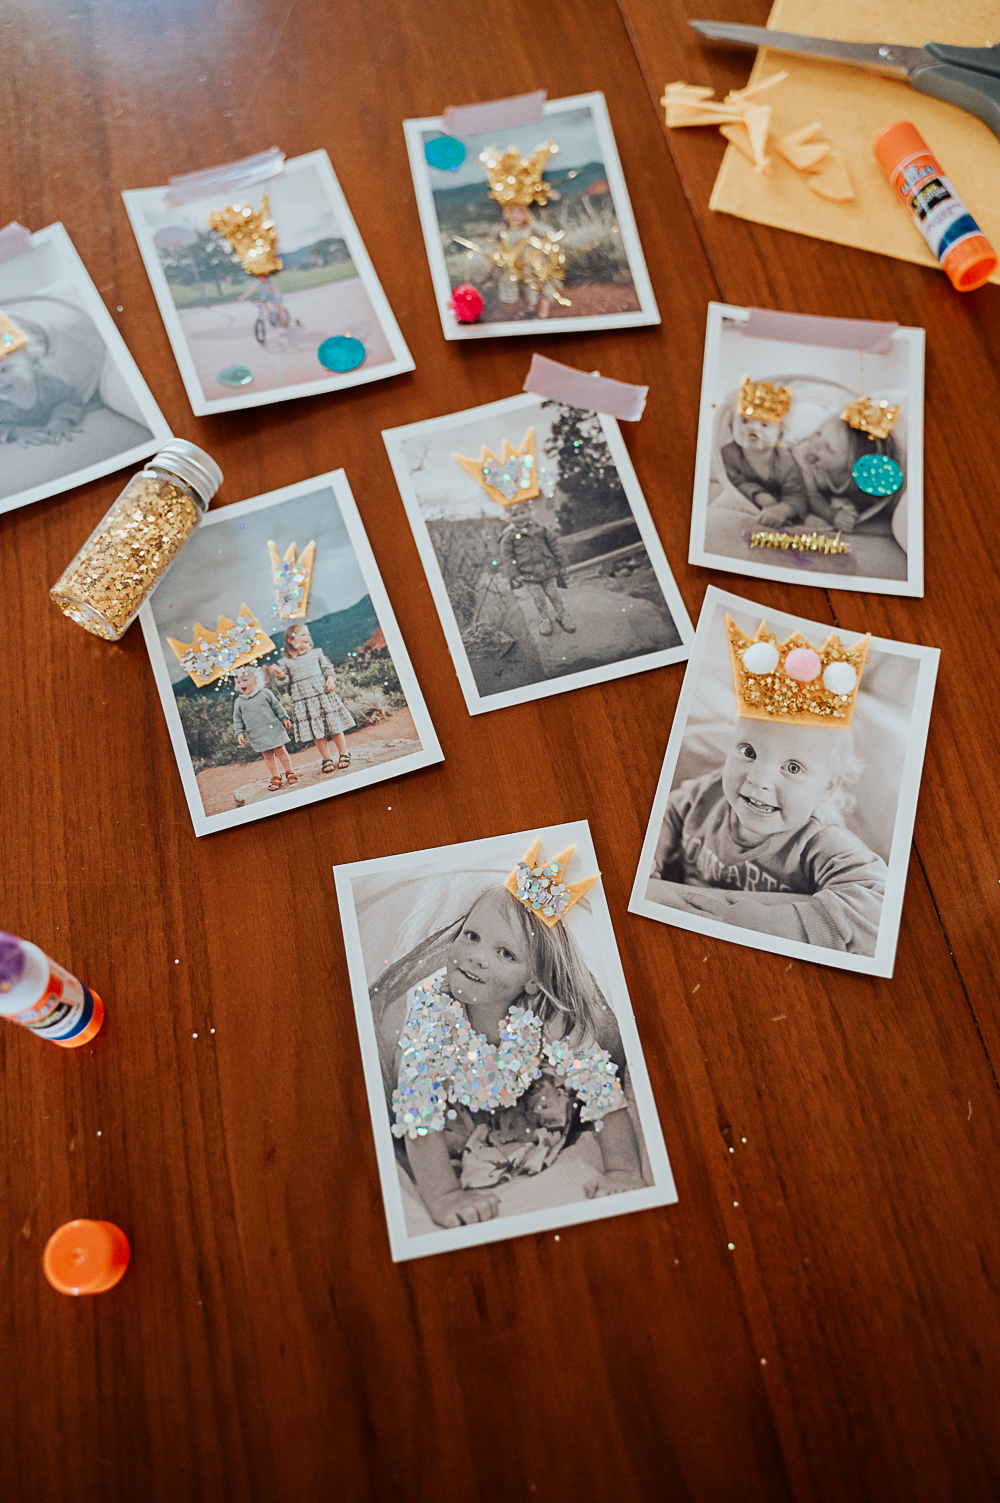
We have come to the most important step – the crowns! I like to use felt to cut out the crowns (so that is what is seen in these images) but you can also use paper, craft foam, or stickers! Using Ellmers glue, add glitter and decoration, then glue it directly to the photo! We played around with different shapes and sizes for our crowns so that they could fit the heads in the photos!

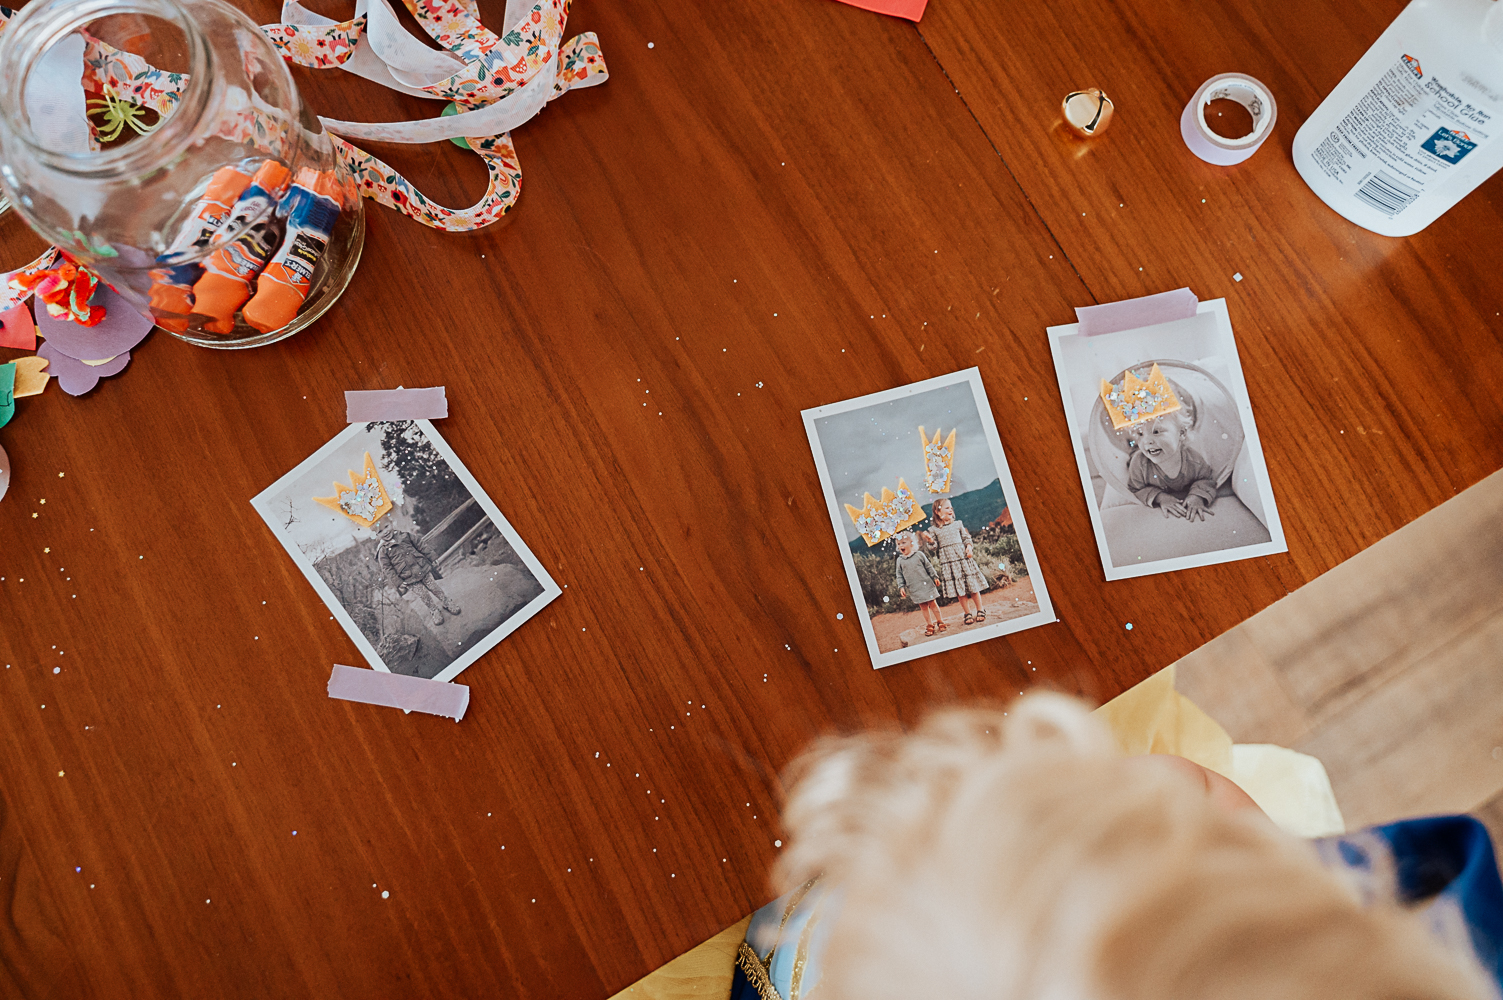
Display them
The last part of the tutorial is to display your photos! Add them to scrapbook, put them in a frame, mail them to a grandparent, put them on your fridge, and simply enjoy them! Both the girls created scrapbook pages for their homeschool binders and we hung up the rest on the fridge! Although, I want to do this again and put them in frames to hang in their room! I think pictures with their friends could be really fun for our next photo craft session!
The moral of the story is to have fun with photos! Don’t be afraid to “ruin” your photos by gluing felt crowns to them – you can always print more! And everyone loves seeing an oversized glitter crown on the top of their head!