Sourdough: An Essay & A Recipe
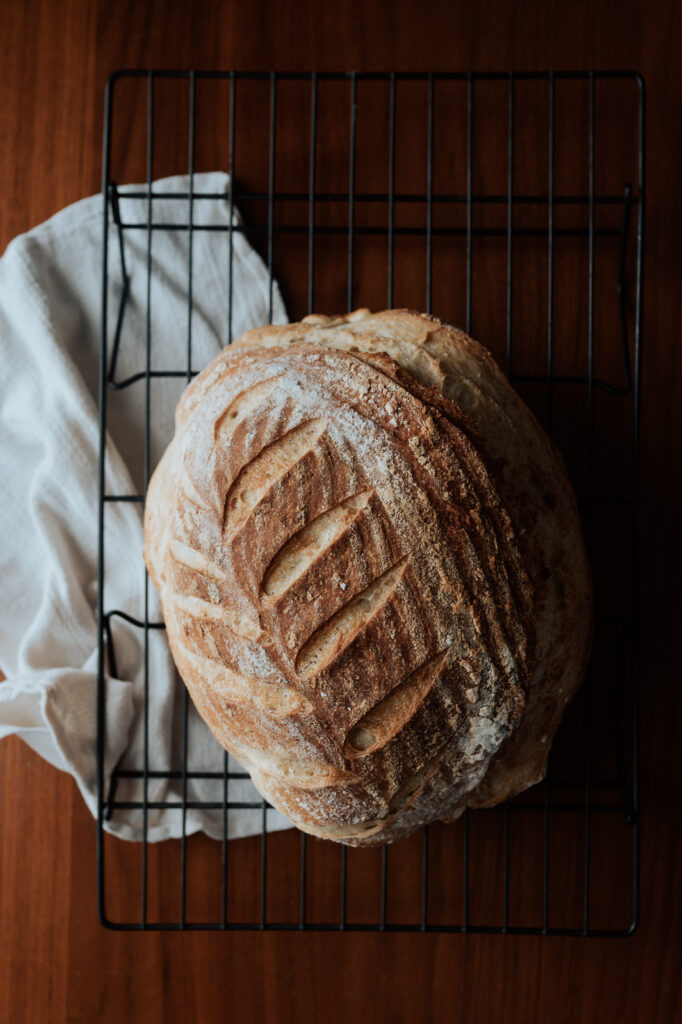
Sometimes slow things are worth it
Ten years ago we were newlyweds and my husband used one of our many Bed, Bath, and Beyond gift cards to purchase a teal Dutch oven. I didn’t know why we would need one, but he was adamant that we could use it for bread and I liked having money to buy pretty things for our new house – so we came home with it.
Shortly after that, he got into sourdough breadmaking and I had zero time for it. And when I say zero time, really I mean zero patience. I couldn’t fathom all the planning ahead to make a loaf of bread, putting in the thought & care to keep a “starter alive,” and most of all, the gumption to try again after another failed loaf. He kept up with it for a while but we soon moved onto new hobbies that we were both interested in, and the Dutch oven went to the bottom, back corner of the cabinet.
You see, although now I may be a homeschooling, homemaking mama, I didn’t think I would be. I didn’t like cooking or cleaning and was very wary about my ability to slow down enough to keep anything alive (plants, children, sourdough starter, etc.) Gratefully God is love, love is patient, and God was (and still is) ever so patient with me – breaking open my impulses to run when things get hard, showing me a more simple way to live, and giving me grace to see and enjoy each day instead of always plowing through to the next thing. Having Hilde slowed me down, as did each additional child that followed. God used (and still is using) my children and motherhood to change me and make me more like Him!
Sourdough feels so extra. Even the other day I had a friend over and she was marveling at my rising dough exclaiming she didn’t know how I did it – keeping yet one more thing alive and baking fresh bread can easily feel like another task of many on the mom list – just another thing the Instagram mom does somehow. I’m infamous for adding too many thing to my to-do list that are neither practical nor priorities, so I get it!
But currently the smell of baking bread fills my home as all three kids slumber in their beds and I’m grateful for the small, simple rhythms and routines that bring our family joy and peace and comfort. Baking sourdough is one of those for us. I’m not saying every mom needs to be making sourdough bread for her family, but some of these things that require patience, forethought, and intention have the possibility to not only bless our family, but be fun for us as moms!
She looks well to the ways of her household and does not eat the bread of idleness.- Proverbs 31:7
At it’s most basic, sourdough is just following a recipe but what makes it hard and intimidating is fitting it into your already busy days and then (after all that) feeling like all the hard work was worth it. So my advice if you want to make sourdough is to slow down, find the rhythm & moments that work for your family, and enjoy the fruit of your labor. The five minutes to feed the starter while you clean up your kids lunch, the 15 minutes to make the dough after bedtime, the quick shaping of dough & transferring to the fridge while you scramble some eggs, and then the baking during naptime to enjoy fresh bread with your dinner that night. As my Jamaican bobsled friends would say, feel the rhythm, feel the rhyme, come on moms – it’s sourdough time 😉
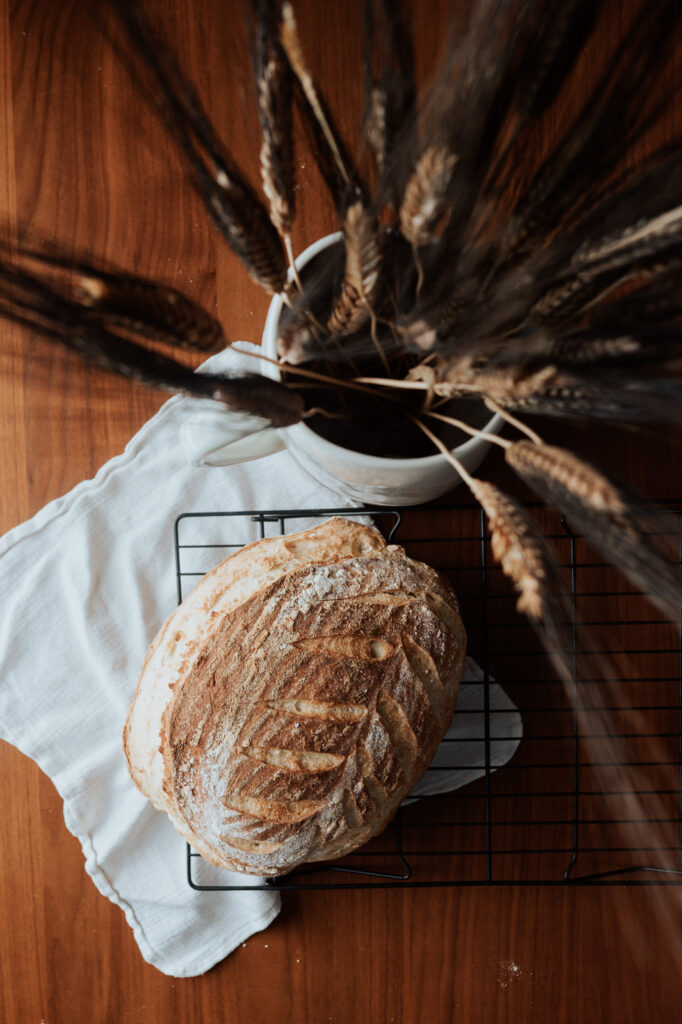

Classic Sourdough Bread Loaf
Click HERE for the printable PDF version of this recipe.
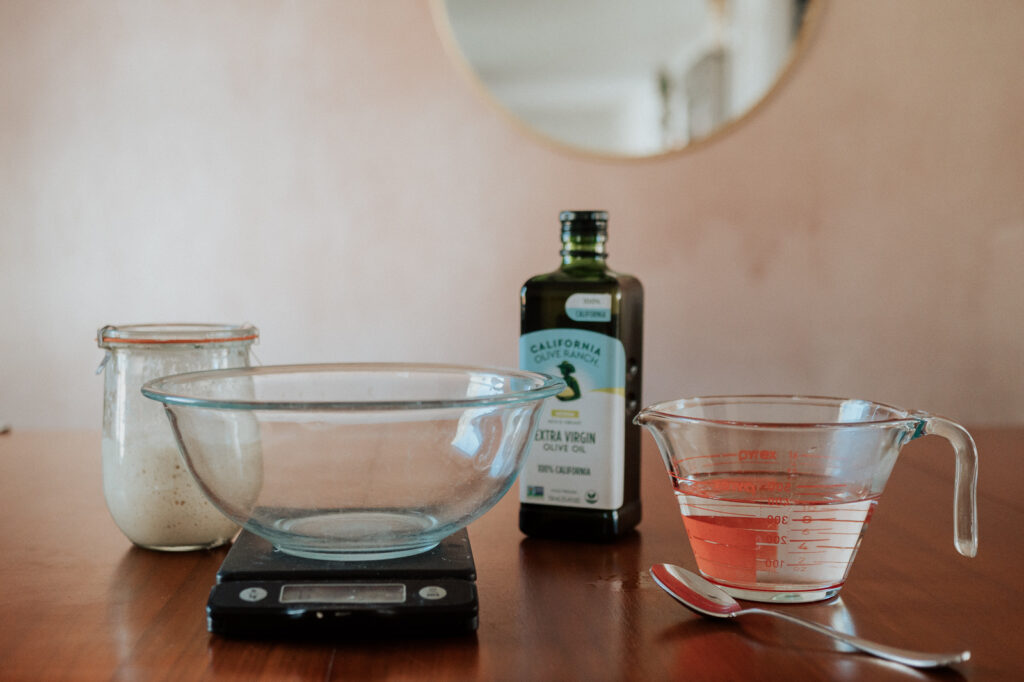
1. In a large bowl (not the KitchenAid) combine:
- 100g active starter*
- 350g warm water
- 15g sugar
- 20g olive oil
- 15g salt
2. Mix together with a dough whisk (or fork if you don’t have one) until combined. Add & mix together with dough whisk until all flour is absorbed.
- 530g flour
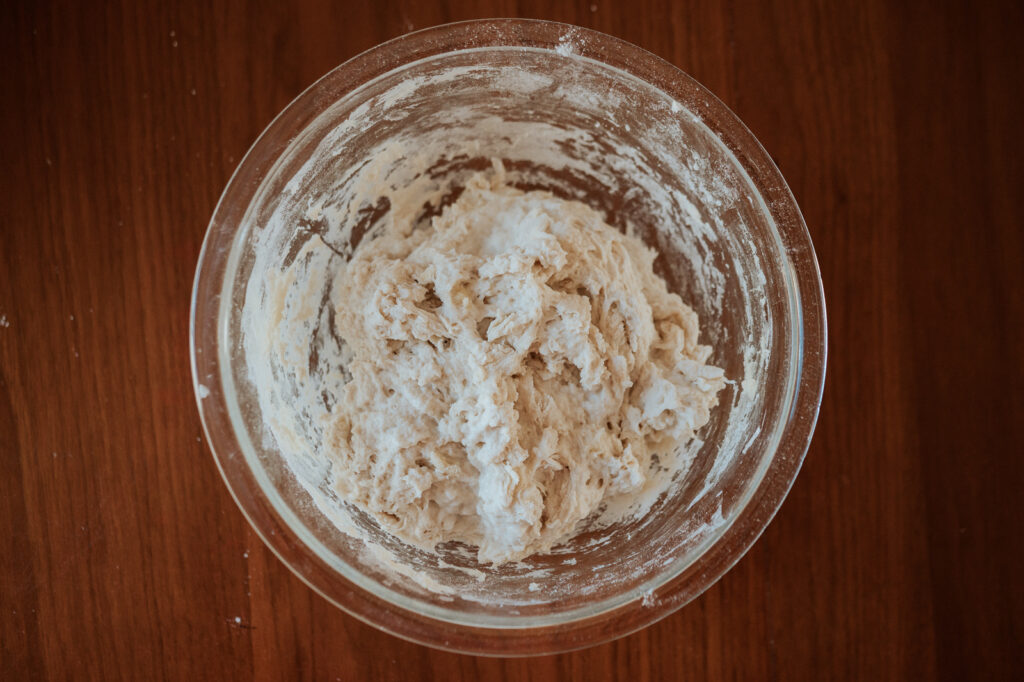
3. Let rest for 30-60 minutes.
4. Stretch & shape into a ball with hands or dough scraper. To stretch it, I pull up on the sides and fold in, rotating the bowl until all sides have been stretched.
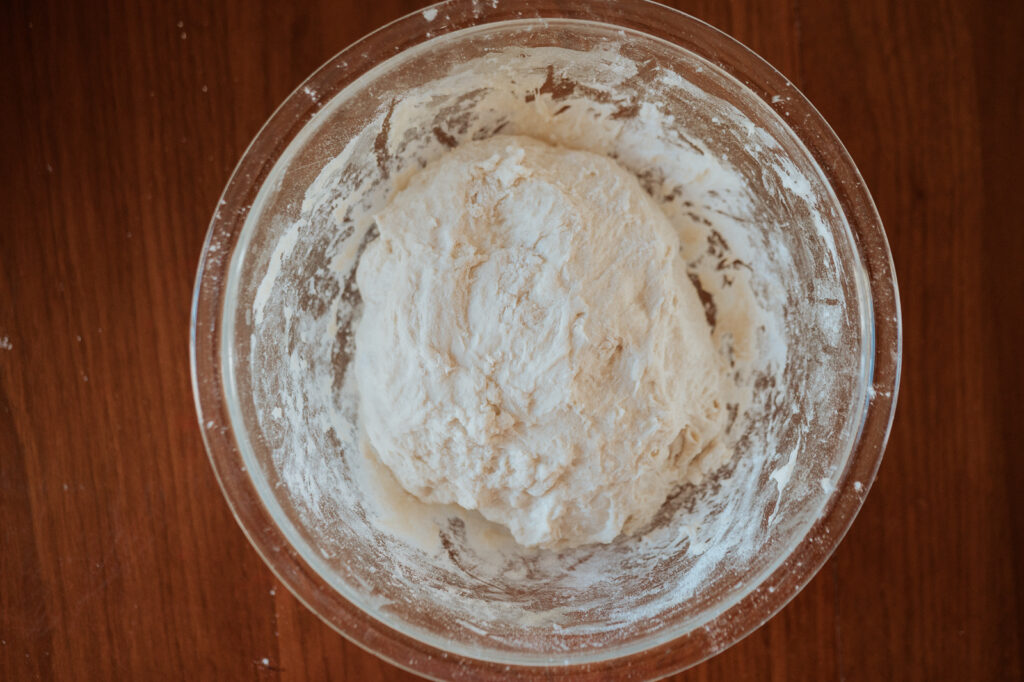
**This is where you add in mix-ins if you are planning on doing that. Try to keep your mixins around 100 -150g to not overwhelm the bread. Make sure to drain/ pat dry wetter ingredients to prevent excess moisture from getting into the dough.
Place the ball back in the bowl & cover with plastic wrap to rise. Let it rise somewhere warm for 8-10 hours (or until it doubles in size.) I prefer to do this overnight.
Since my house is cold at night, I turn on the oven and let it heat up. Then I turn it off and leave the door open until it is warm but not too hot inside. I place the dough in there with the door closed overnight.
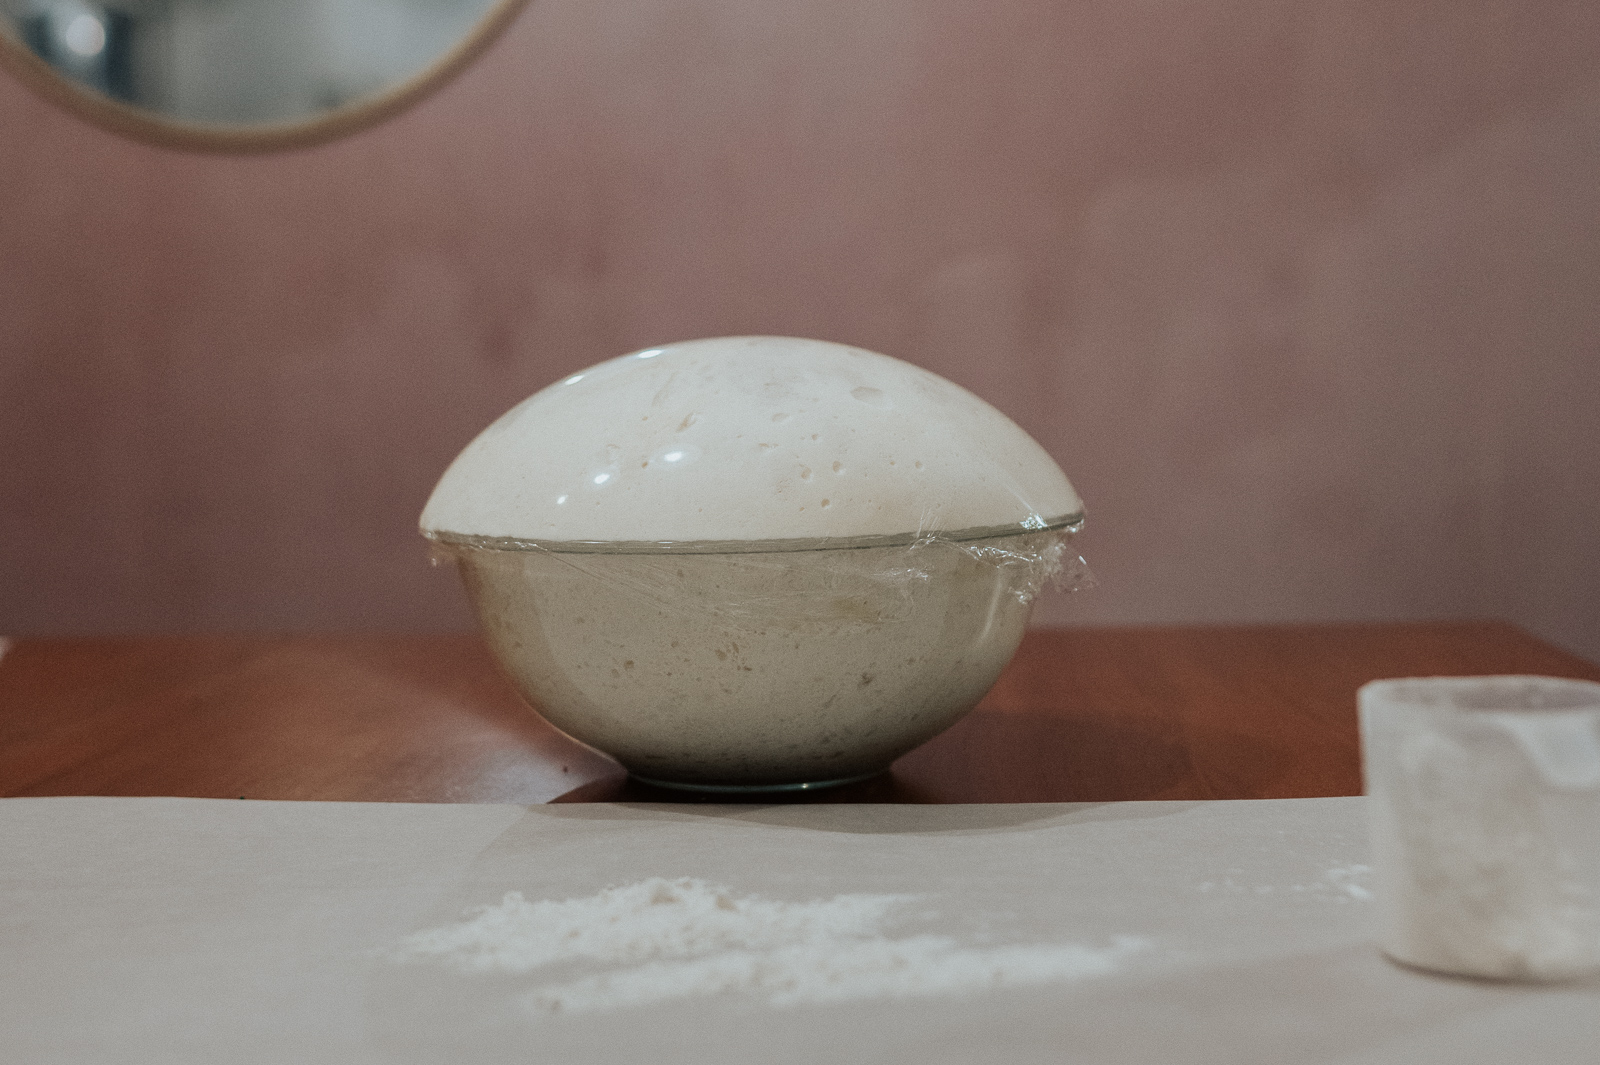
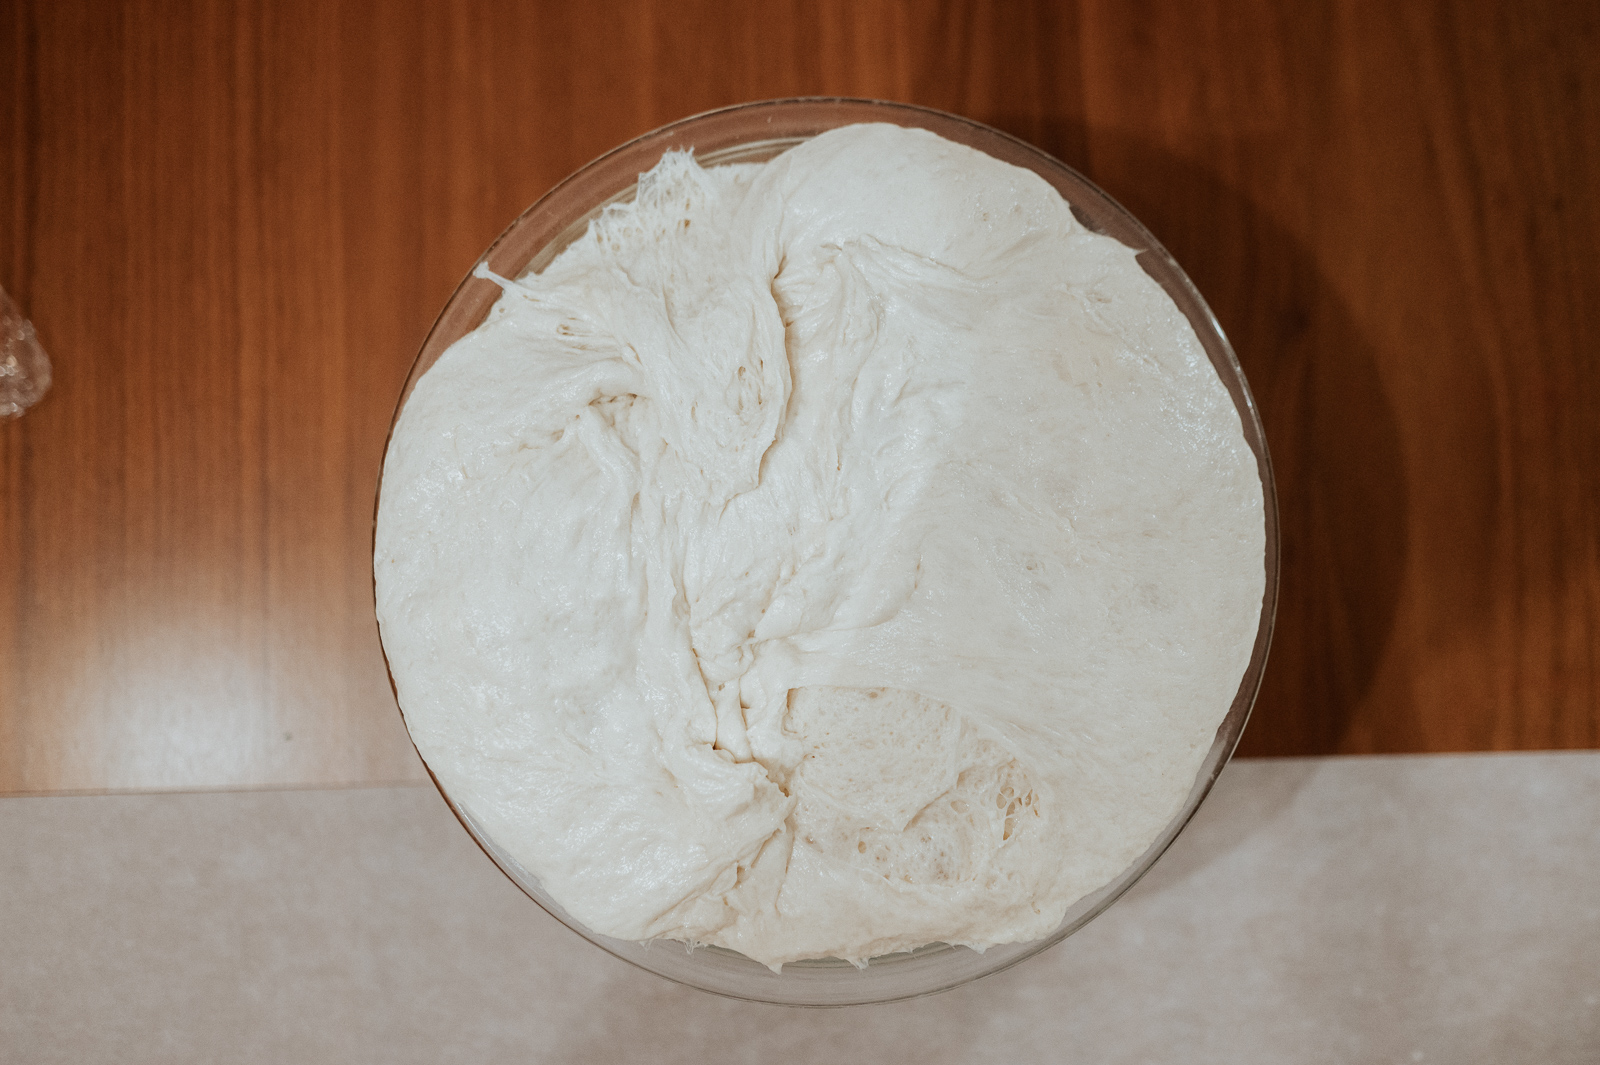
Once the dough has risen and is at least double in size move onto the next step.
5. On a lightly floured surface, dump out dough and shape into ball stretching as you go – pulling the top tight & folding it under the bottom. You can also wet your hands and do this above the bowl.
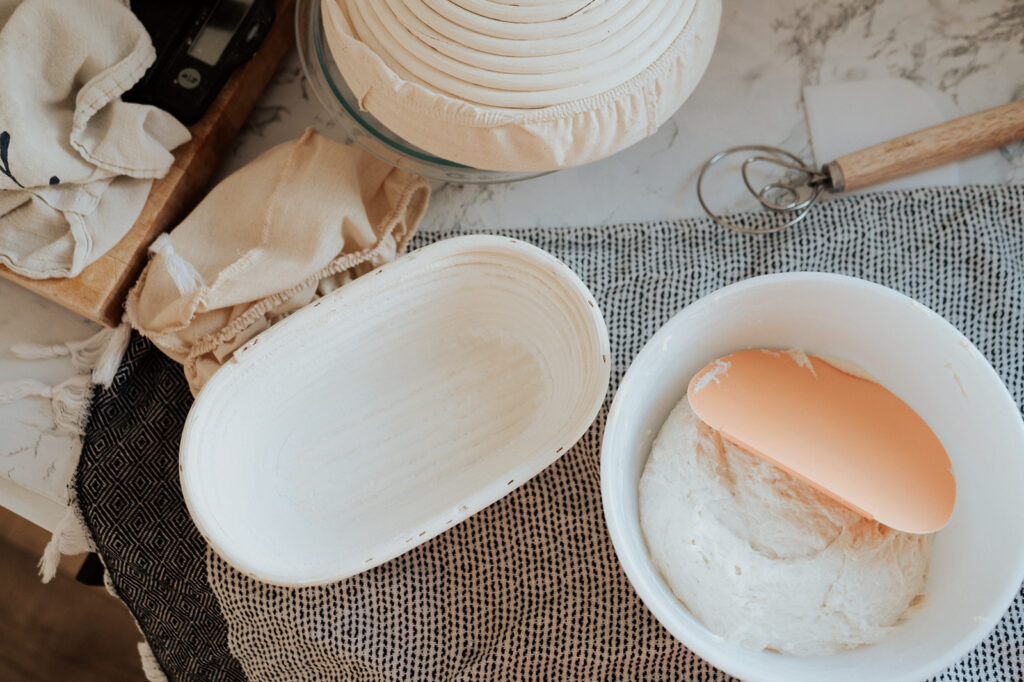
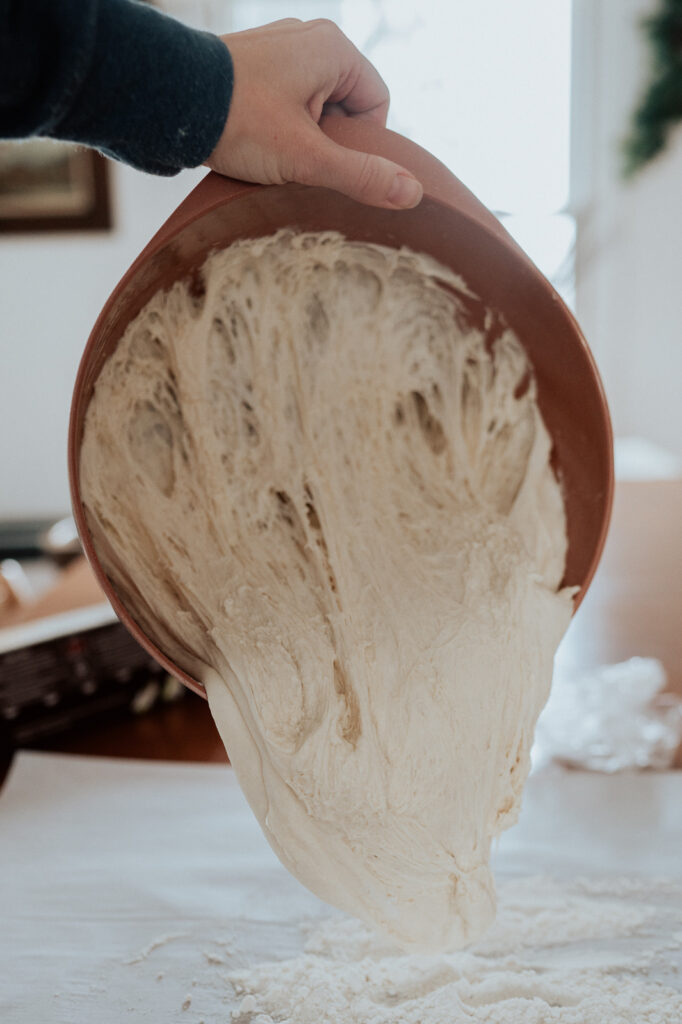
6. Place the ball of dough back in the bowl or into a banneton proofing bowl, cover, and place in the fridge for 30 -60 minutes or until you are ready to bake.
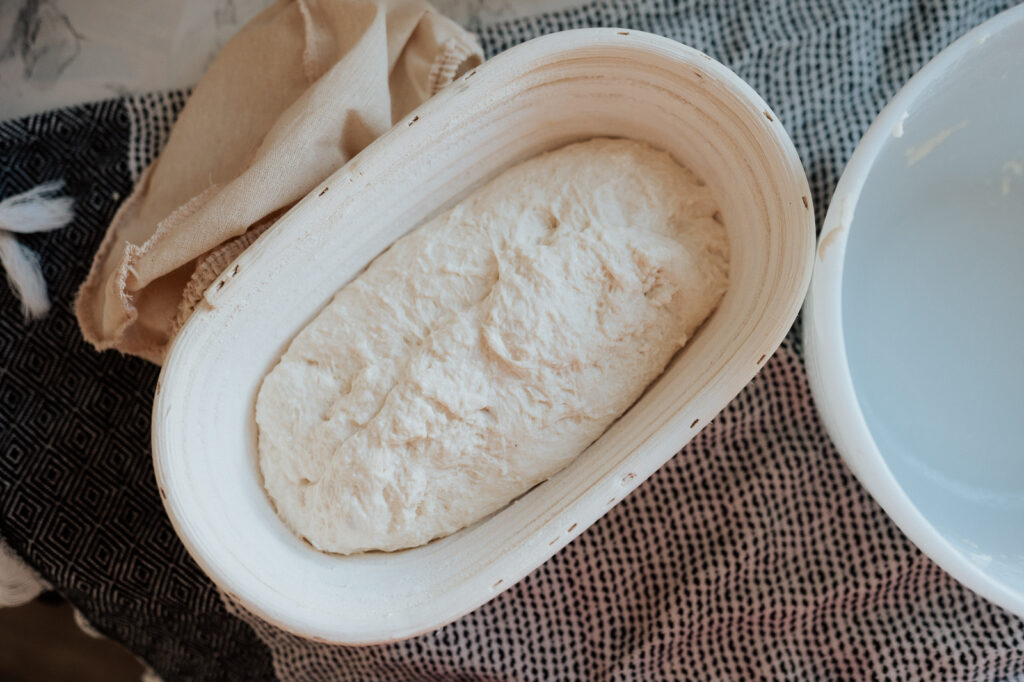
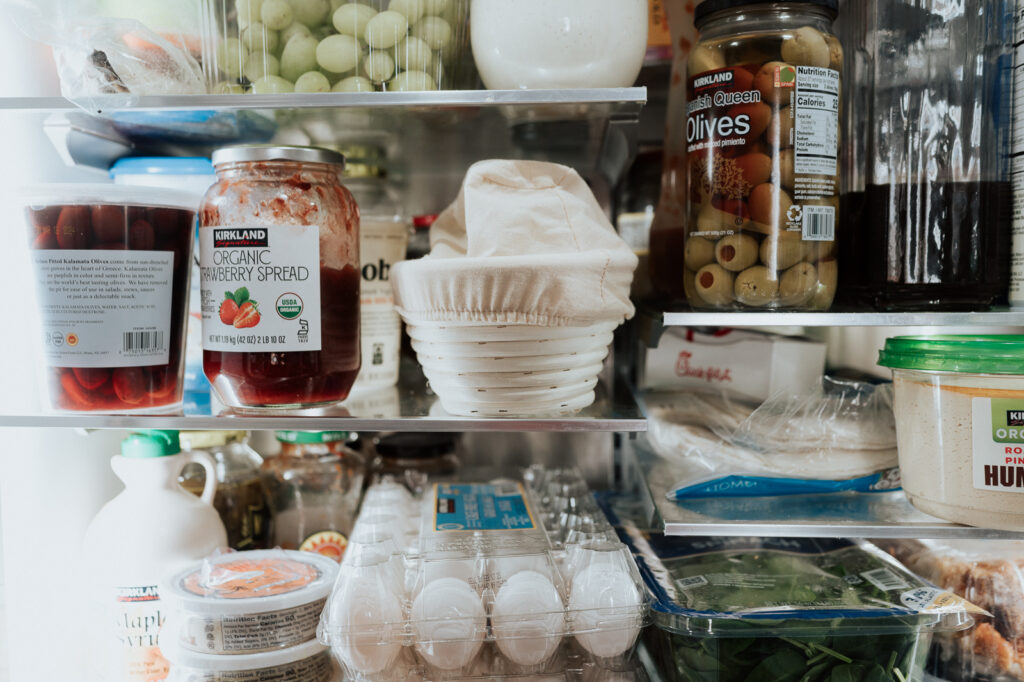
7. Preheat the oven to 450°F with the dutch oven inside.
8. Remove dough from the fridge, pull again to tighten it, and place on a large sheet of parchment paper. (If you are using a banneton bowl, just gently dump onto the parchment paper)
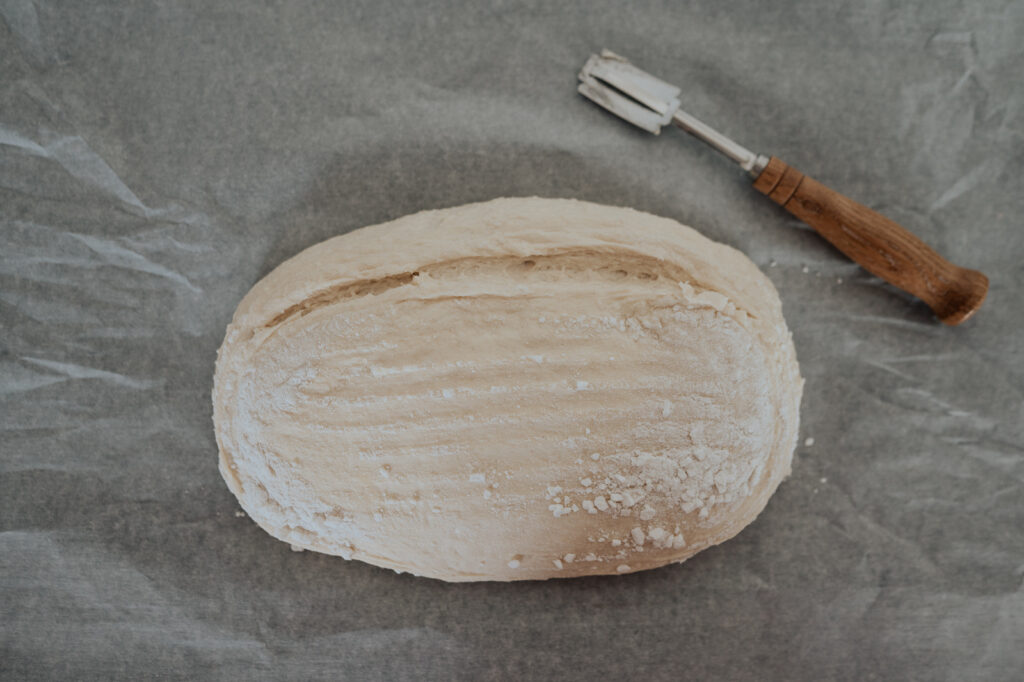
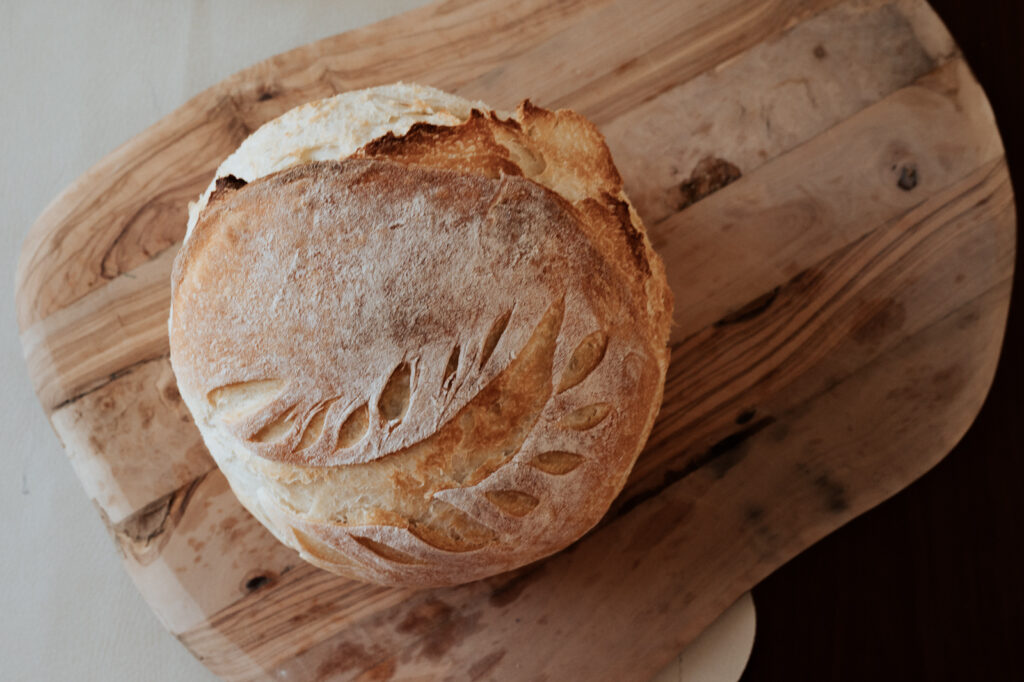
9. Dust with flour and score the top of the bread. You want a large cut for the bread to break out of creating the ear and then you can do as many detail cuts as you would like! Gently add parchment paper with dough to the dutch oven.
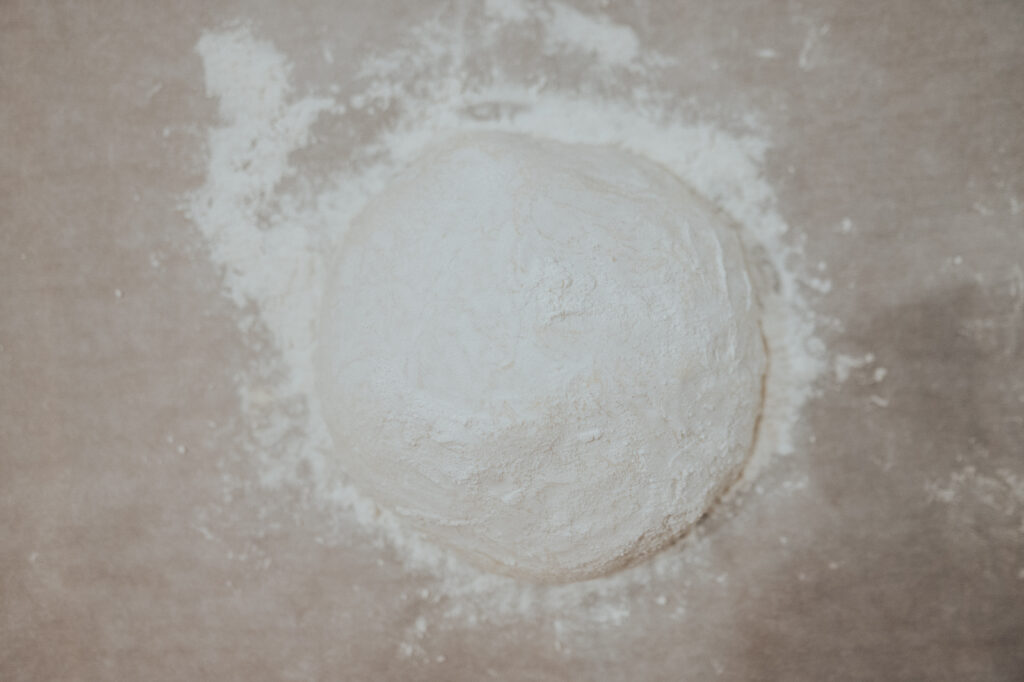
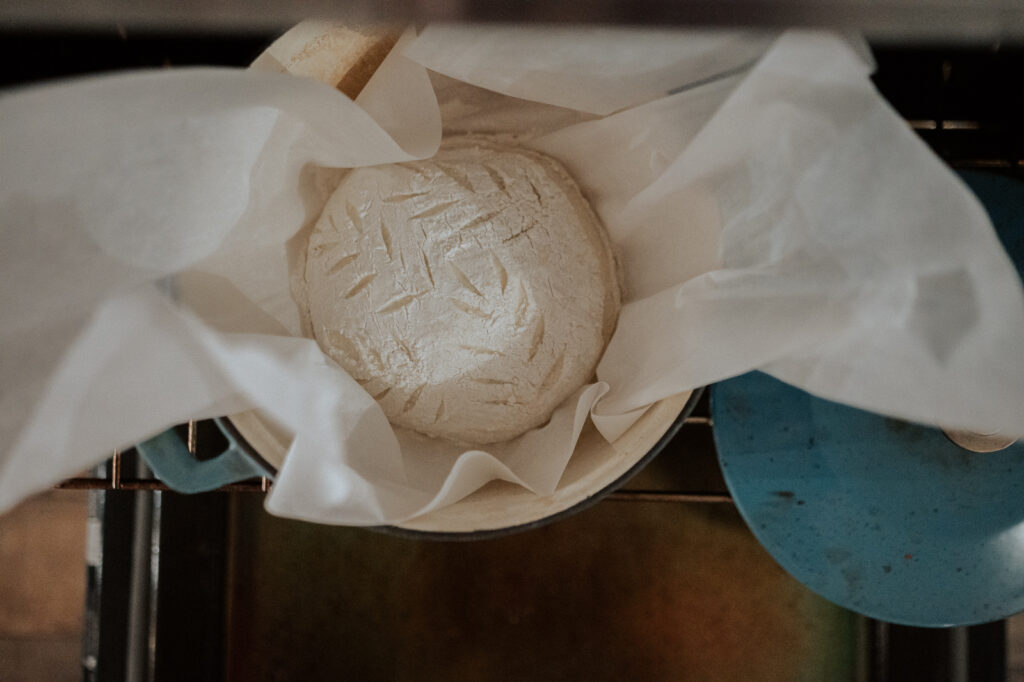
10. BAKE!
- 30 minutes with the lid on
- 15 minutes with the lid off**
** Add toppings to bread at this stage (ex. cheese on top) and if you put mixins in the dough, instead of 15 minutes, bake for 16 or 17 minutes to make sure the dough fully bakes around all the additional ingredients. This part is a bit trial and error because all ovens and Dutch ovens are different. Figure out your timing.
Photos below show the bread being put in the oven, then removing the lid after 30 minutes, and then the final results after the full bake.
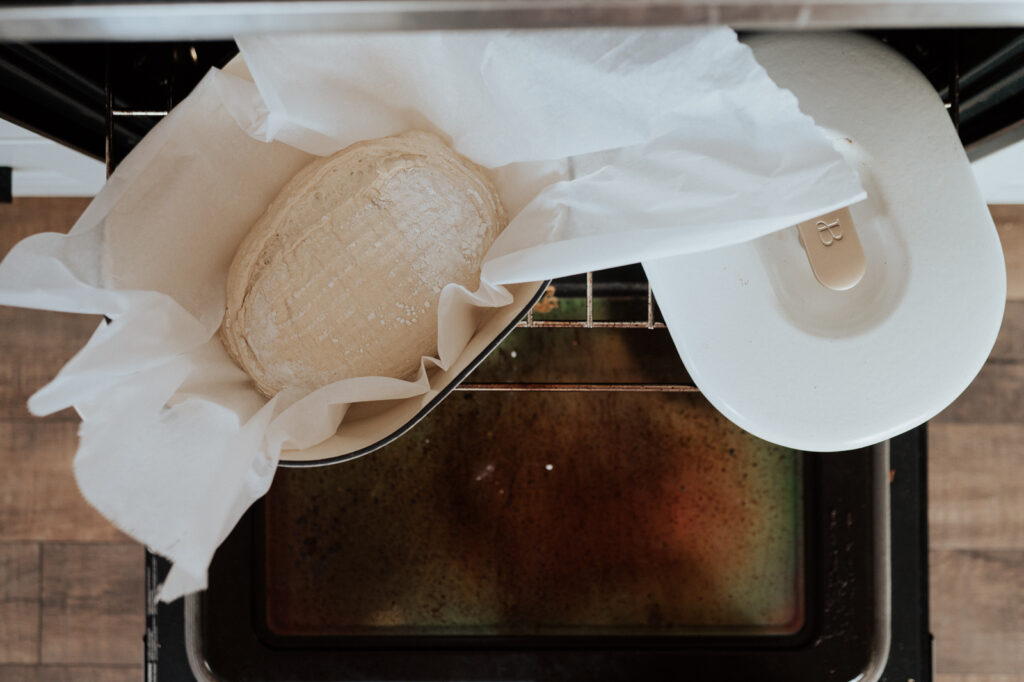
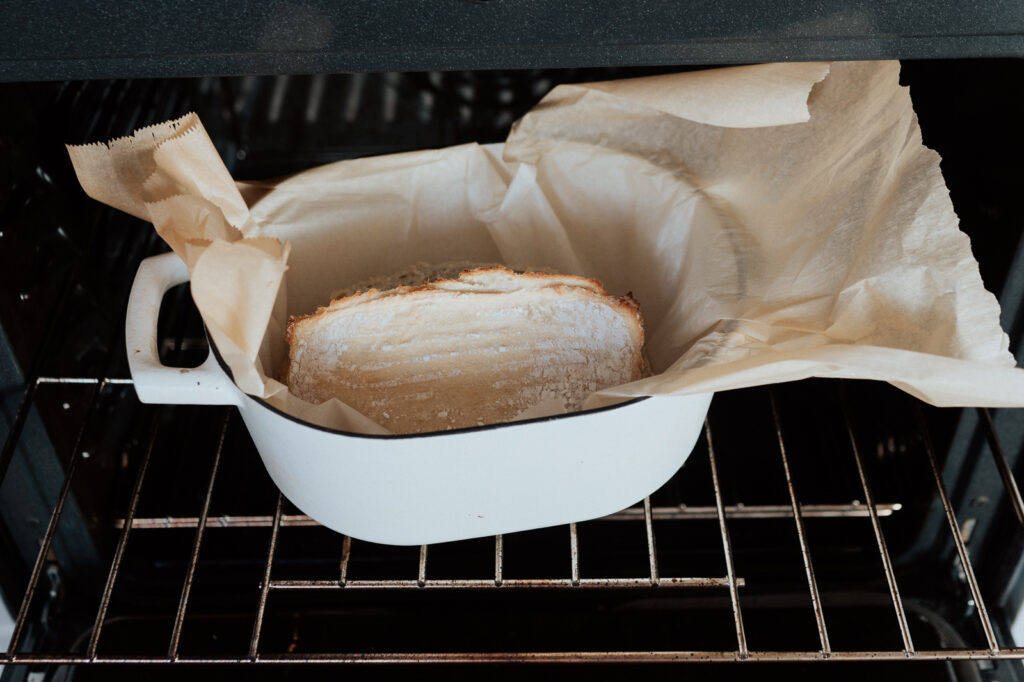
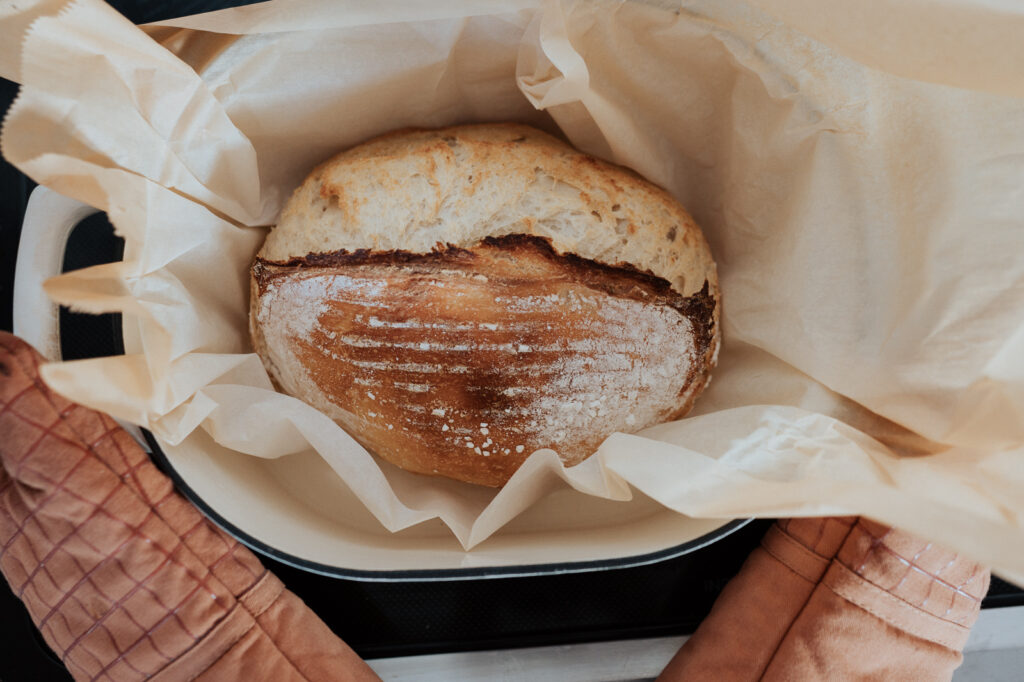
11. Remove from the oven & using parchment paper, immediately remove the loaf from the Dutch oven to the cooling rack. Let bread sit for 30-60 minutes before enjoying.
FEEDING THE STARTER
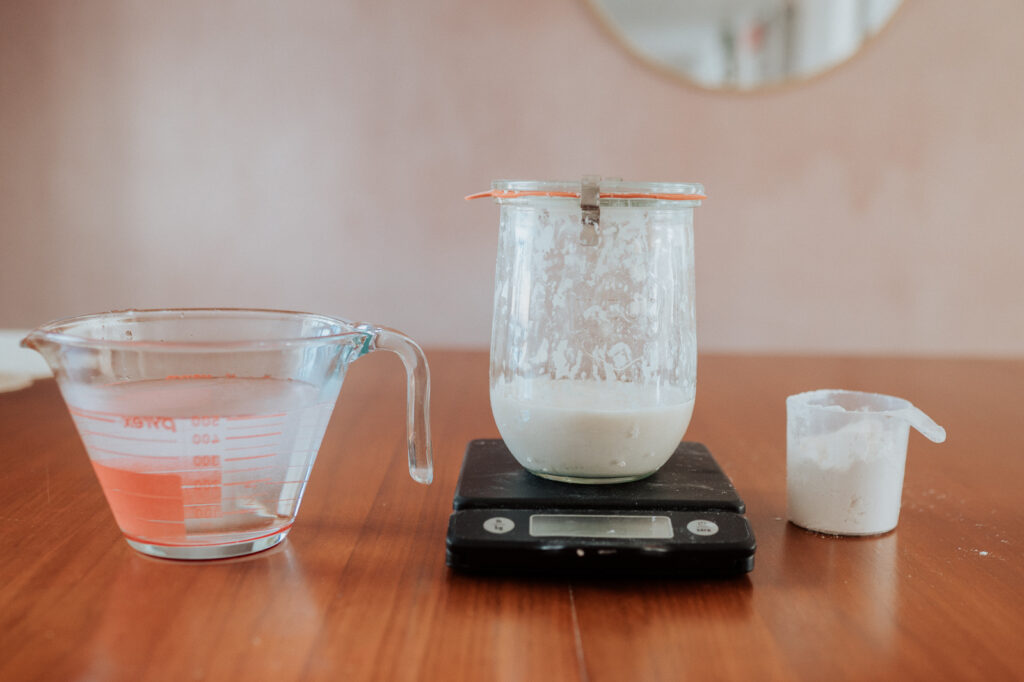
This starter is not active and needs to be fed.

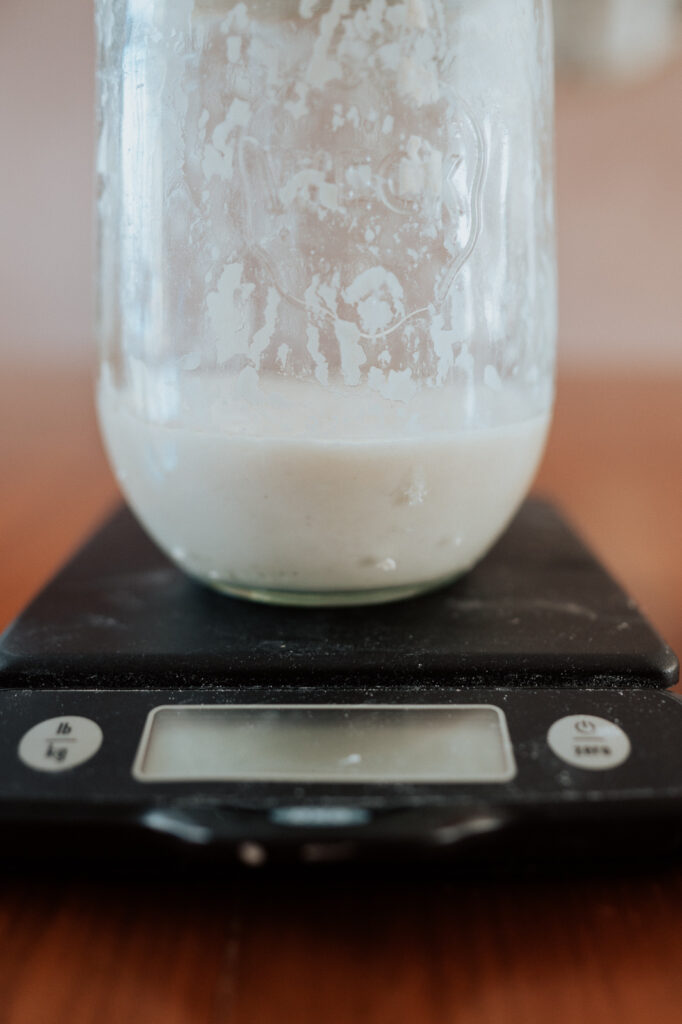
1. Place 100g of starter (or desired amount) into a new glass jar. Discard the rest or use in a “sourdough discard recipe.”
2. Add the ratio of flour and water to the starter. The ratio is 1:1:1 of starter, flour, and warm water. Ex. 100g starter, 100g flour, 100g water.
3. Mix and let rise until bubbly, active, and double in size.
*Active Starter has growth (at least double since feeding) and bubble pockets as seen below.
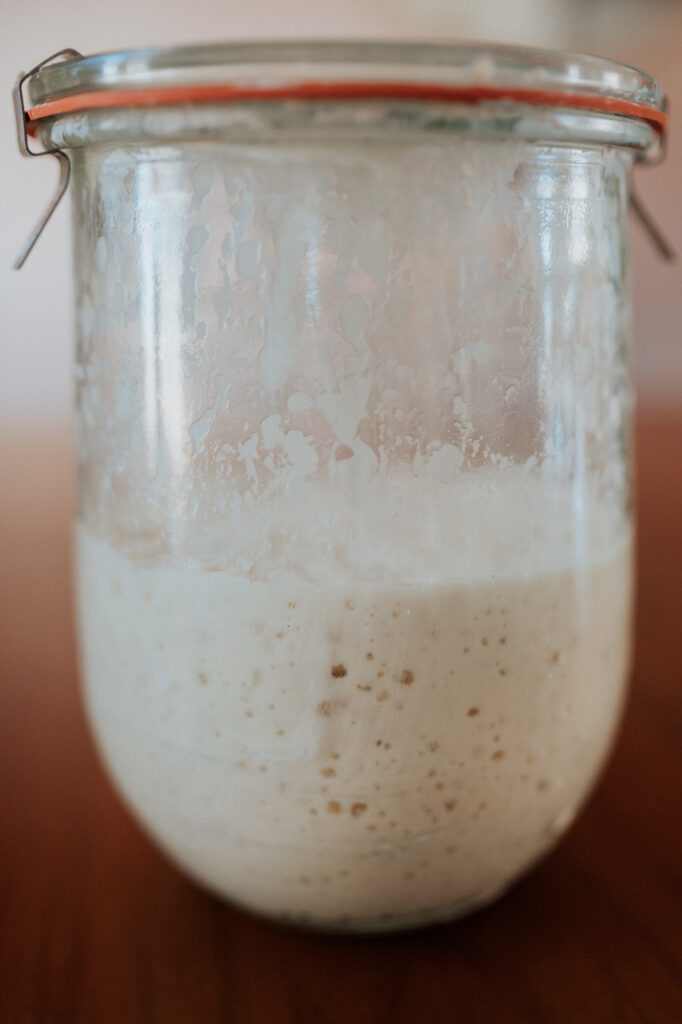

4. Do this once per day if on your counter or once per week in the fridge.
TIP: Try to do this at the same time everyday so that you know how long it takes to get active and you can plan accordingly. I feed mine around lunch/ afternoon time and I make my dough around &:30 after kids are in bed. My starter tends to double in about 3 hours and holds out to 7 or 8 hours before deflating again.
BAKING TOOLS
NEEDED
Dutch Oven (Round Loaf) or Dutch Oven (Oval Loaf)
A quick note on Dutch ovens. I have both an oval and round Dutch oven they make either round or oval loaves accordingly (as do banneton proofing bowls.) I originally only had a round one so I made all my loaves that way but I got a oval Dutch oven for Christmas and prefer to make oval loaves. You can see in these pictures both styles.
Kitchen Scale
Large Mixing bowls (not metal preferably glass)
Glass Jar for Starter
Parchment Paper: I get the giant rolls from Costco
RECOMMENDED
Dough Whisk & Scraper
Scoring Knife
Banneton Proofing Bowl Kit
Bread Knife

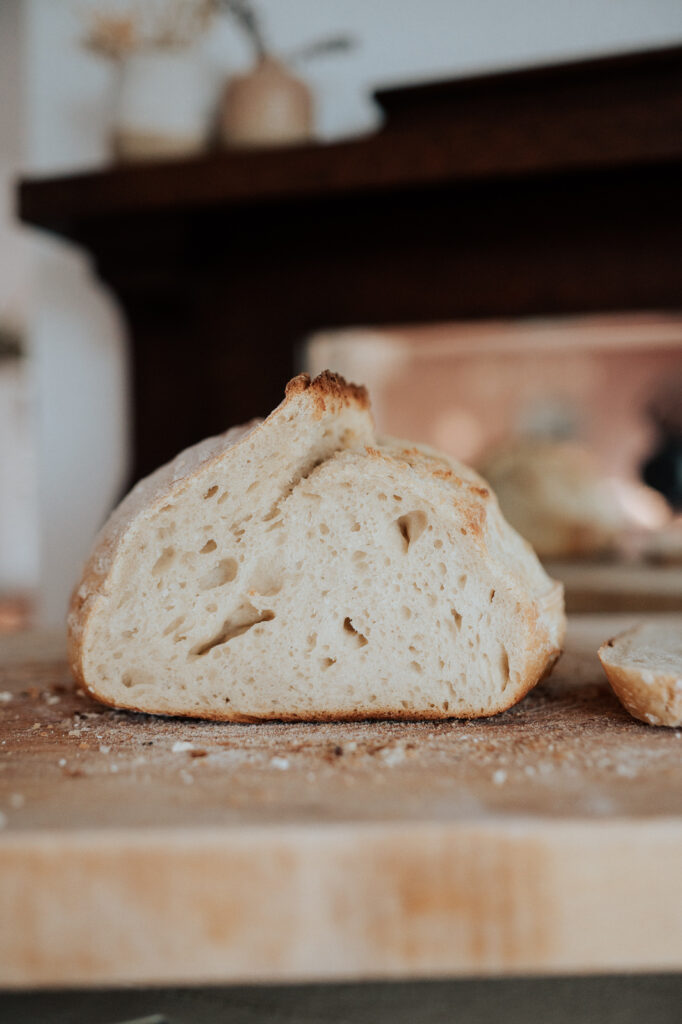
PS: Photos are taken sporadically from my many baking sessions. That is why bowls/lighting/ shapes vary bit to bit.

I have found that I need all of these “old fashioned” skills even more than I thought. The main reason isn’t even because the current state of our world makes it a good thing to know how to garden, do sourdough, can, sew etc. But I have found that my patience to learn these new skills is so low and that’s what worries me. I have always struggled with being patient, but in these areas, I have found that teaching myself to be patient with a garden or with sourdough translates over into motherhood as well. Thanks for sharing your recipe!
I can so relate to this! Sometimes it is the slow things that are worth it because they do cultivate that patience in us! As well as other fruits of the spirit – joy, faithfulness, self control, etc.
Do you just use all purpose flour for that sourdough dread
I use bread flour. You can find it at any grocery store in the baking aisle but I get the large bag from Costco!
But i don’t have bread flour what can I use then?
You can use all purpose, I just find bread flour works better! But really, you can use any type of flour you just might need to change the recipe a bit to get it to come out as you would like.
I don’t catch some instruction at what point do you rice the bread for baking?
Step #4 🙂