The Shed Office Part One
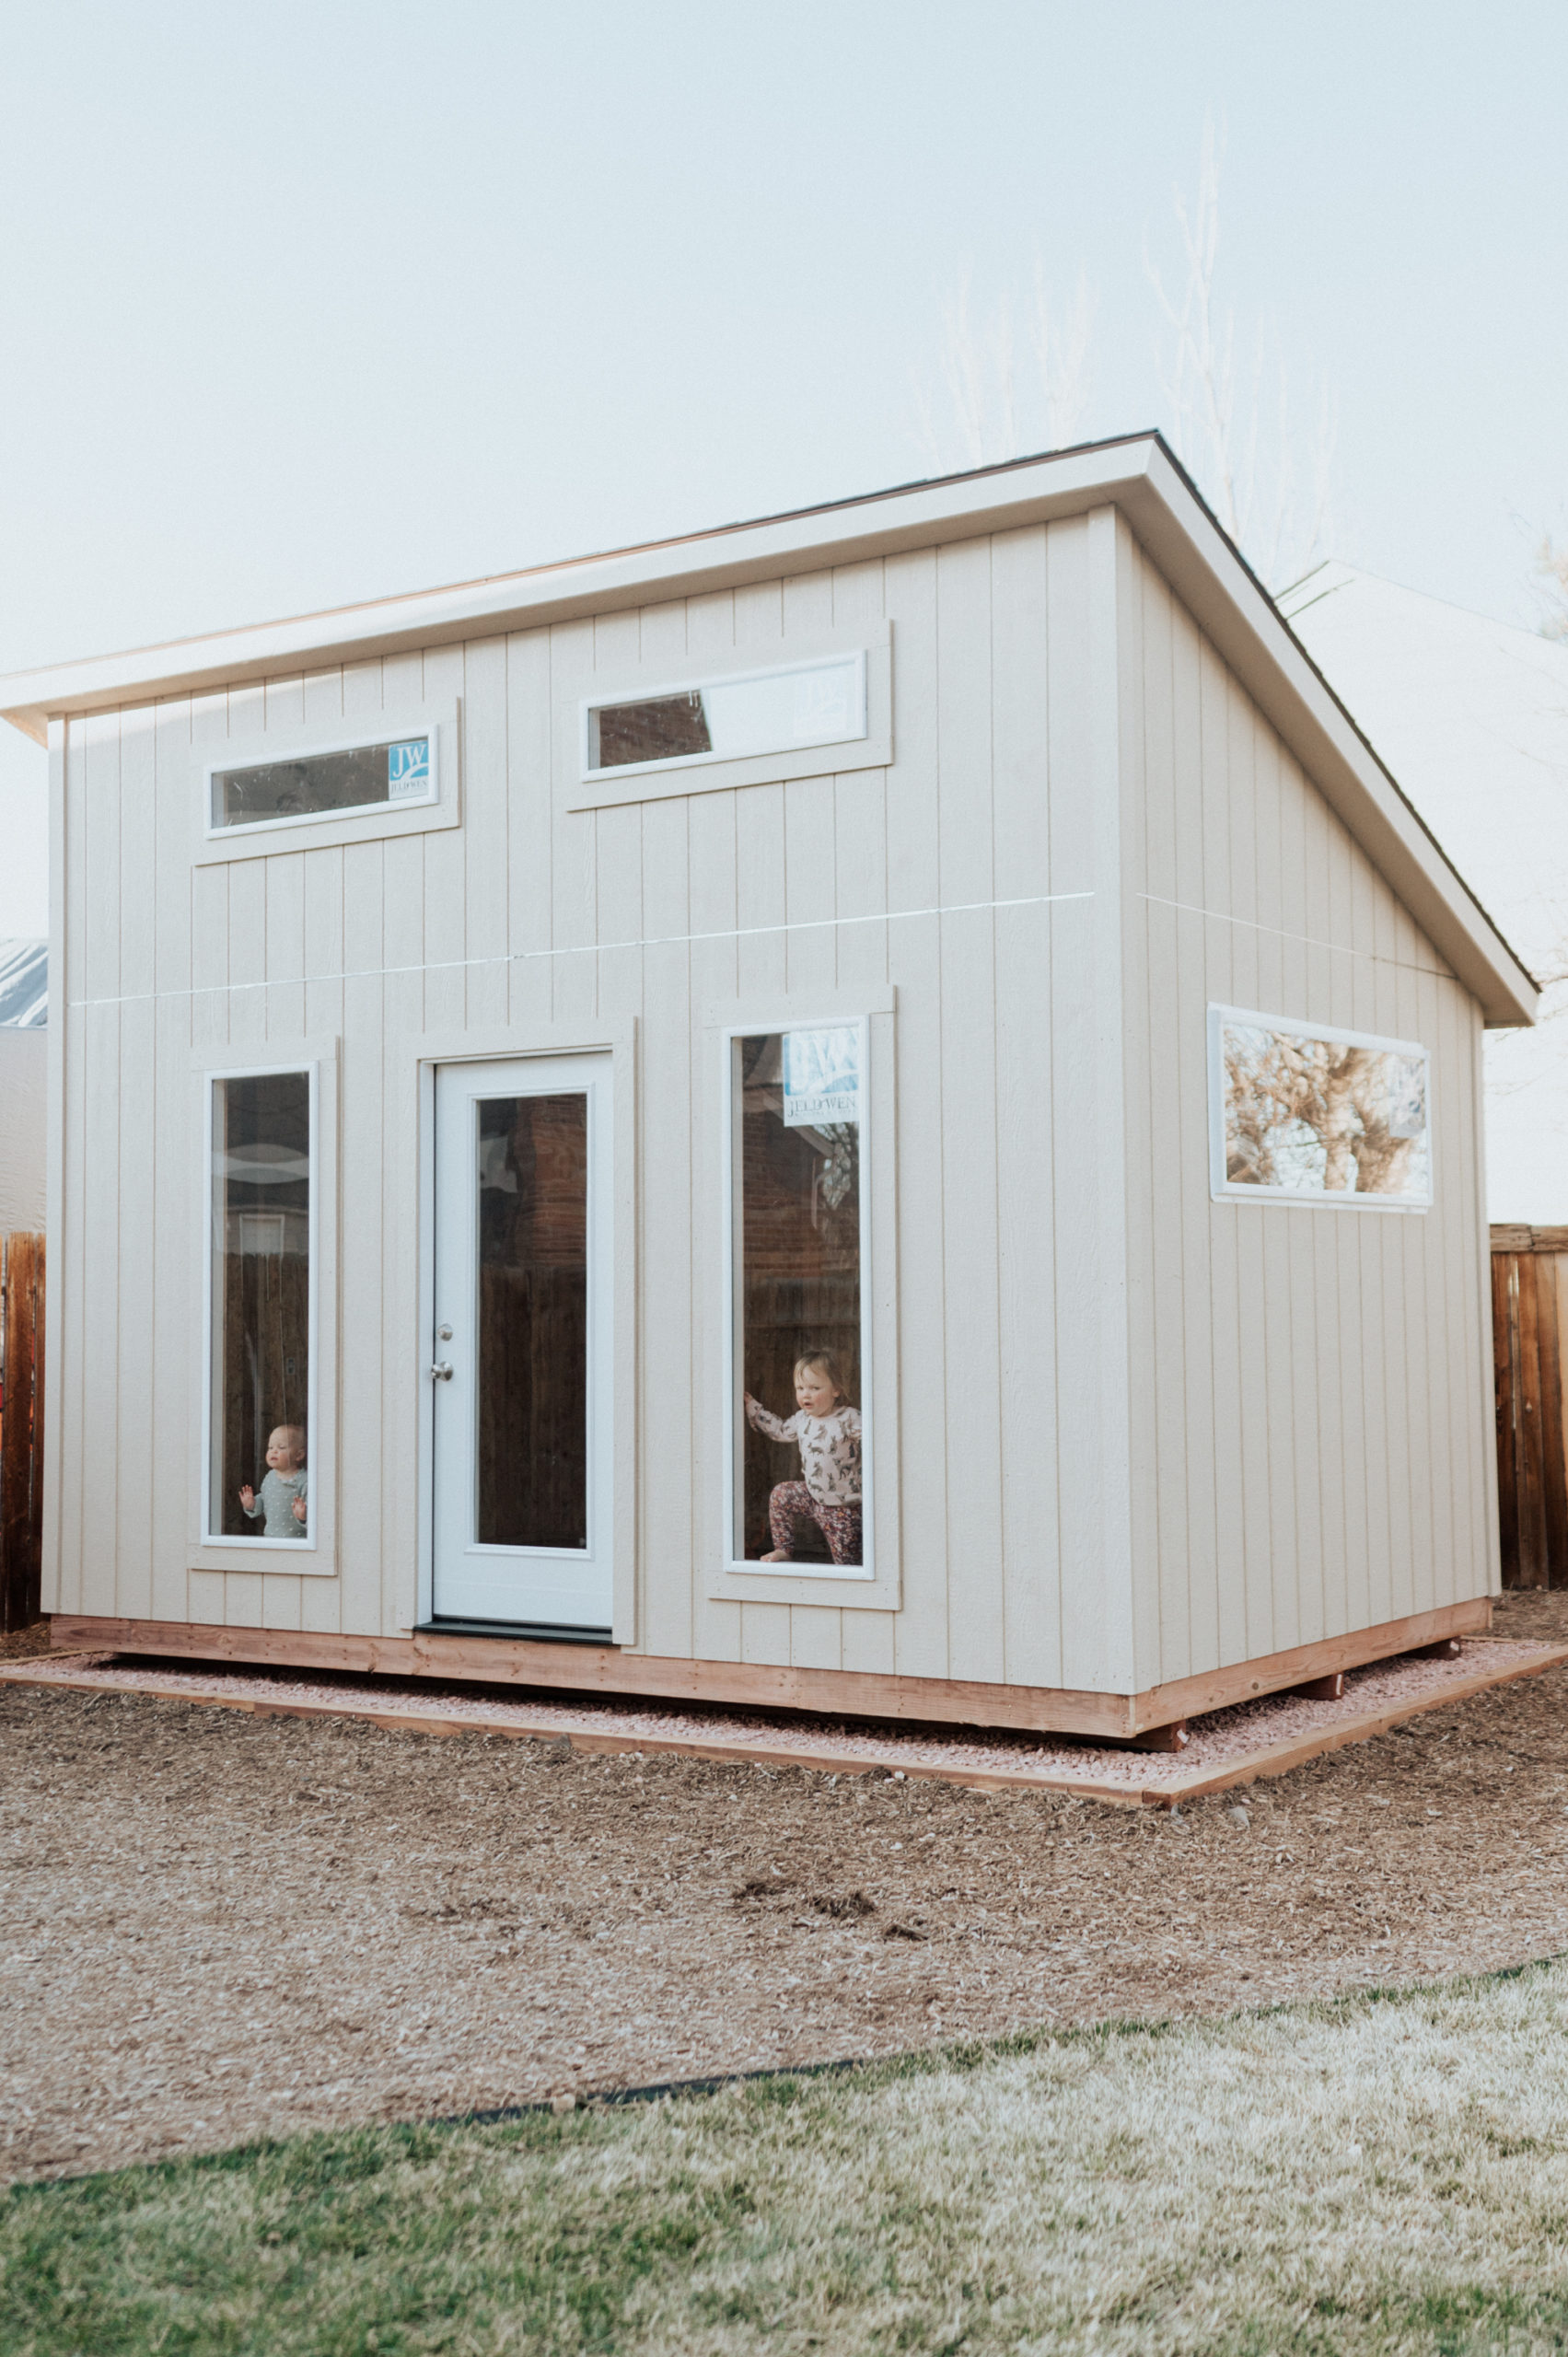
One day I think we will just call it the office but right now it is the shed office. We are building an office in the form of a shed in our backyard and we are so excited. Like SOOOO excited. We’ve always had a dream of building a shed that could function as an office but it was never a possibility in the town home (for obvious reasons! lol) When we bought this house, we knew eventually a shed office would be in our future!
We’ve been working on this for a couple months now, designing the shed, figuring out windows, pricing things out, measuring spaces, and all the important before work that isn’t as easy to photograph. The first announcement on my Instagram was this post (click here to see the fun reel of the structure coming together!) and I started getting LOTS of question about it so I figured I would answer them here! I’m also going to share everything we have done up to this point.
This is a “Part One” of who knows how many. I typically don’t like to share project posts until they are all finished making a big reveal post but I’m learning that sometimes it just takes too long and you need a bit of the middle too. So without further ado, let’s talk Shed Office Part One….
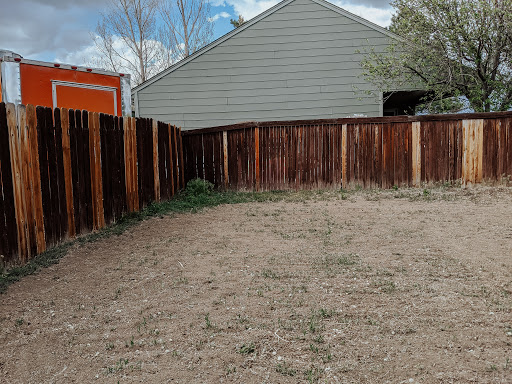

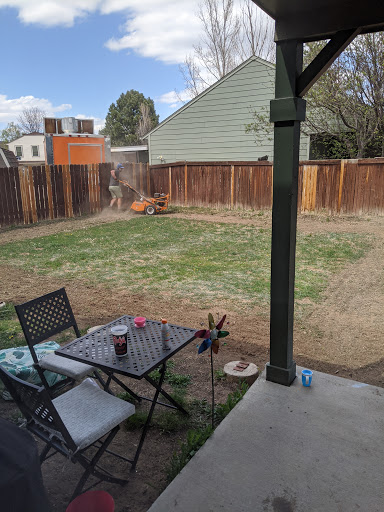

Last year we worked on a lot of general landscaping. Our yard was a hot mess full of wild weeds, dog destroyed fences, bb pellets, and mess. Honestly I can’t find really great “befores” which is a bit of a bummer! We were so excited to rip stuff out right when bought the house and had a dumpster. I did get a couple pictures of Bruce tilling the ground before we put in sod, mulch, and the firepit last summer which you can see in the above before and afters. We knew where our shed would go last summer so we used mulch and landscape fabric for the area to prevent us from spending money on sod we were just going to rip out the next summer.
A year later, we decided to to tackle the shed project. The first part was preparing the foundation for the shed. You can google this and there are tons of styles and opinions on how much work you need to do to prep, but we knew we wanted ours to look nice and serve the shed well. We ended up making a frame that our shed could sit in and filled it with rock. We rented a tamper from Home Depot to tamp the ground making the whole thing level, and then tamped the rock to compress it. When the builders arrived to build the shed, they said it was the best shed foundation they had built a shed on so needless to say, Bruce was pretty pumped! 😉
Next Sunset Sheds came to deliver and set up our shed on our lot. That’s where the Instagram Video comes in – we were all just living our lives as they put together the whole structure! Obviously a big impact seeing it actually standing in our backyard after all the prepping and planning!
When the shed was coming together Bruce and I noticed that the side window looked a little too high. In our plans we had the window at 4 ft but it looked like it started at 5 ft. That was quickly confirmed when we walked down to check it out and I couldn’t see out the window 😉 We contacted Sunset Sheds and they scheduled someone to come out the next day, fix the window height, and redo the siding. It was taken care of so quickly and we were able we could continue with plans to paint that weekend!
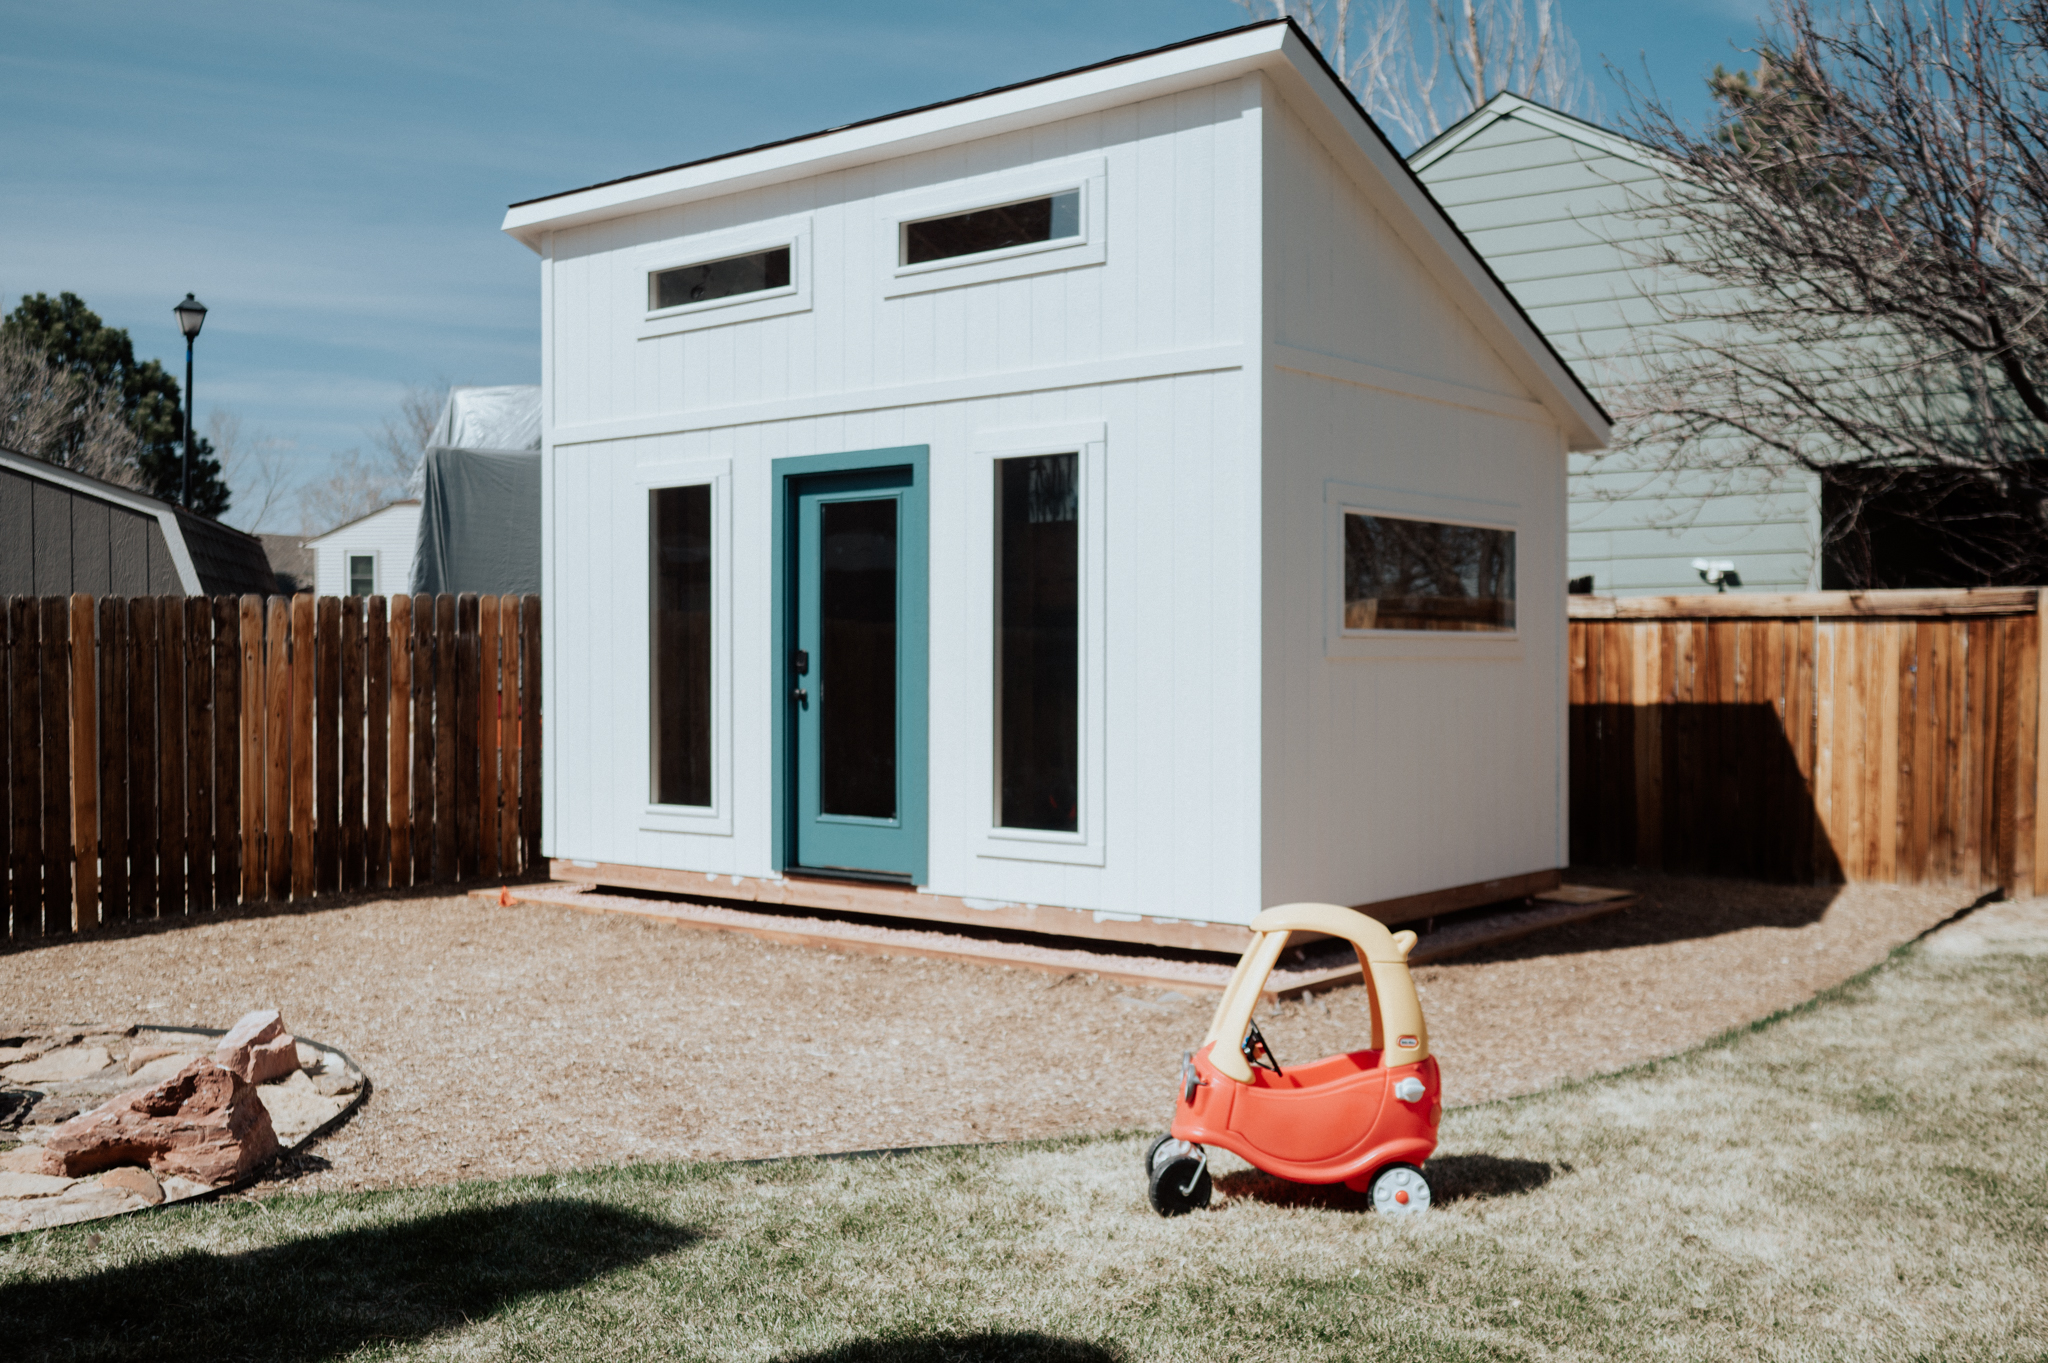
That weekend we started painting and making official plans for the inside of the shed. We are doing some built-ins and creating several work spaces so we really want to optimize the space well while also making it pretty! Speaking of pretty, we went with a nice white for the building (Polar Bear by Behr) and a fun color for the door (Juniper Berries by Behr) and we love how it turned out!
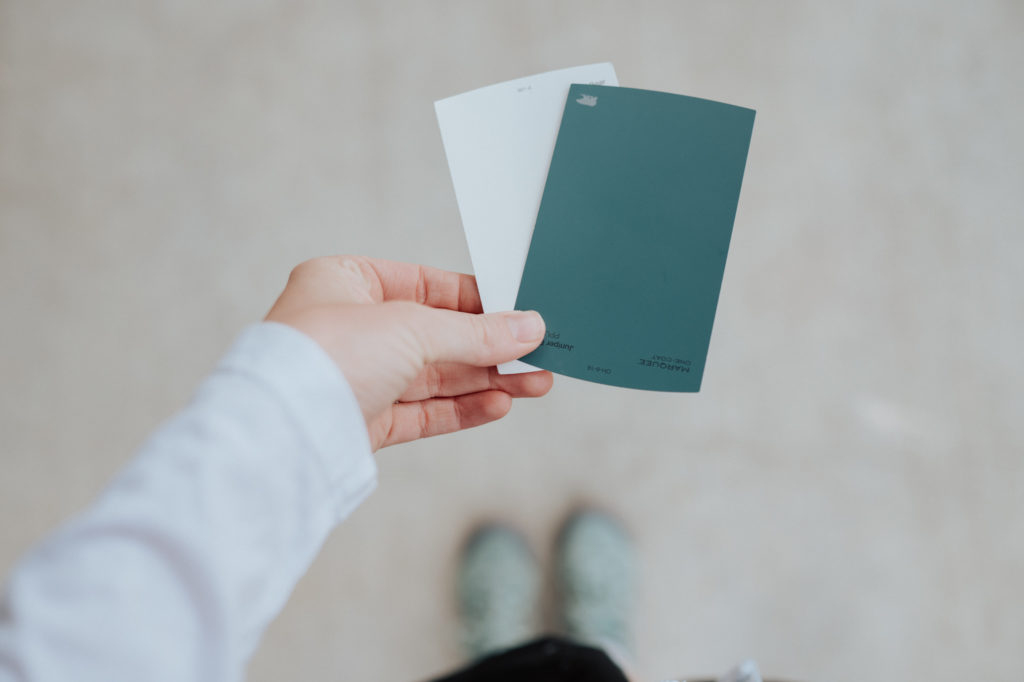
I was on toddler duty for a lot of the work but I got to paint the door and Bruce made sure to take photos of me working too so that I could be in this post! So here are those beautiful photos of me 😉
And this is currently what it looks like at the end of Shed Office Part One! I’m going to answer a couple quick questions but feel free to leave any others in the comments and I’ll answer them in part two!
WHO / WHAT IS IT FOR?
Well first off, it is an office space! I got a lot of people asking if it was a studio or a she shed or project room and the answer is that it is an office space! And although I am sharing about it on my Instagram and blogging about it here, it is actually Bruce’s office! He has worked from home for nearly a decade and we’re just so excited to give him wonderful space to work! Not only will it be functional, it will be beautiful and I am so thankful that soon I won’t have to run upstairs at the drop of a hat to prevent a toddler from yelling “DADDY!” while simultaneously pounding on the closed door during the middle of a meeting or recording 😉
DID YOU HIRE SOMEONE TO BUILD THE SHED PART?
We went back and forth on building the frame ourselves or hiring it out. After crunching some numbers and heavily weighing the time it would take to build it ourselves, we went with a local company called Sunset Sheds.
DID YOU PICK a TEMPLATES OR DESIGN YOUR OWN?
Sunset Sheds has a bunch of traditional sheds and templates that you can choose from but they also offer custom buildings. We were able to design the shed and space on our end and hand them the drawings for them to complete. This shed is our little baby deign project so it is fun to be creating it on our own!
WHAT ARE YOU envisioning it TO LOOK LIKE OUTSIDE? Are you done?
Um no we are not done! 😉 Here is a pretty drawing I made to show you our plans! We are making a small pergola thing to the face of the shed to add a bit of protection for the door (like when raining or snowing) kind of like this photo. We’re adding lights to the side, a wooden skirt to keep critters out, some stairs for the front, and I’m thinking a fun window box for flowers on the side! It will be so fun to see this all come together!
Do you have a pinterest board with your inspiration?
Why yes I do 😉
And there is the end of part one! This is one of those big projects that is going to be so much fun when it is finished! For now, we’re just doing one thing at a time!



Here we goooo!
LETS GOOOOOOOOOOOOOO!
What a fun idea! Love the color choices and how I can see the before and after…great work!
Thanks so much! I know, the before and after is my favorite thing to do these days with this house!