
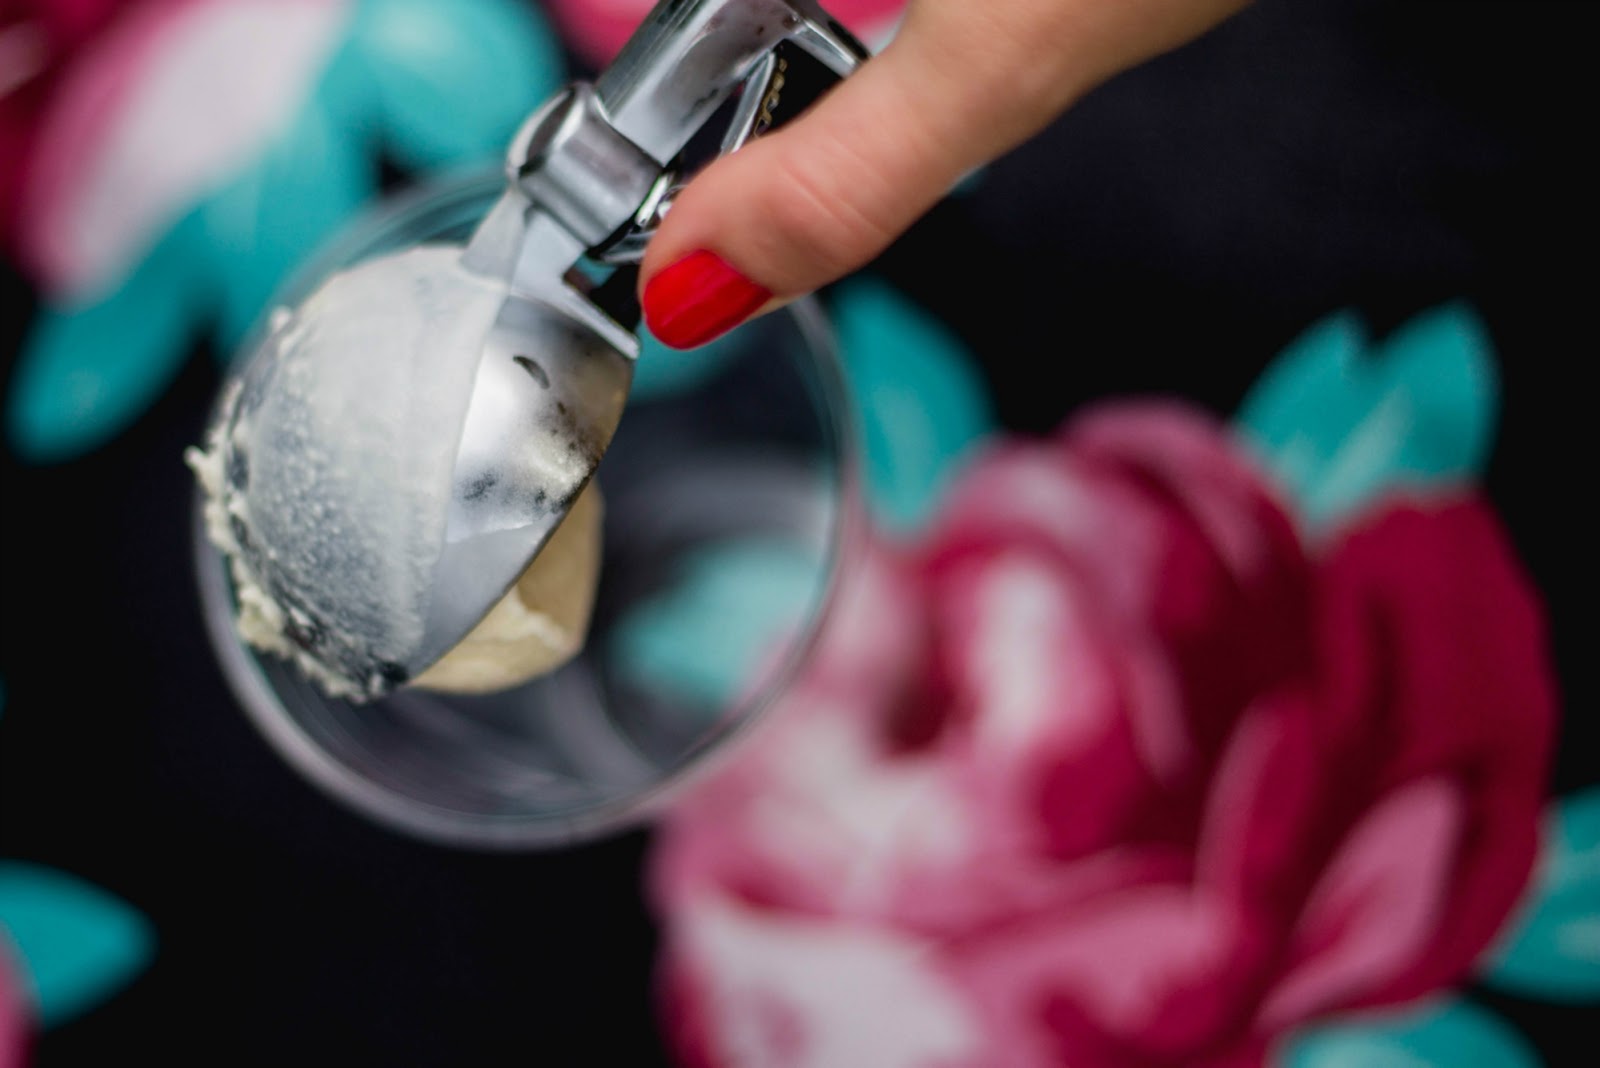
Root Beer Floats (To-Go)
)
One thing that I love about summer is all the outdoor eating events! I go crazy with it – I try to sit on the patio at every restaurant we go to, bring our meals out to the back porch, and throw out the idea of cookouts and picnics as much as possible. We have a group of friends that gets together for dinner once a week during the summer to share a meal together. We all bring a little something and before you know it, we have a huge spread!
Since I am on the ice cream roll this summer (if you missed ALL my ice cream recipes you can see them here,) I’ve been nominated dessert bringer multiple times. Root Beer Floats SCREAM summertime in my mind – youth group events, summer birthday parties, BBQ’s, camp life, and just any general reason to hype up a bunch of kids. I wanted to bring that thrill of summer to our volleyball night!
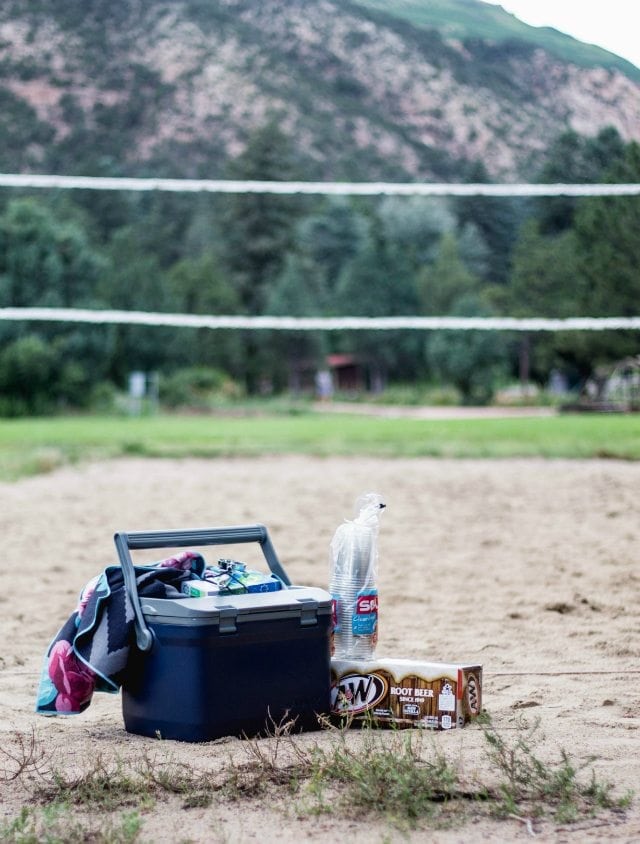
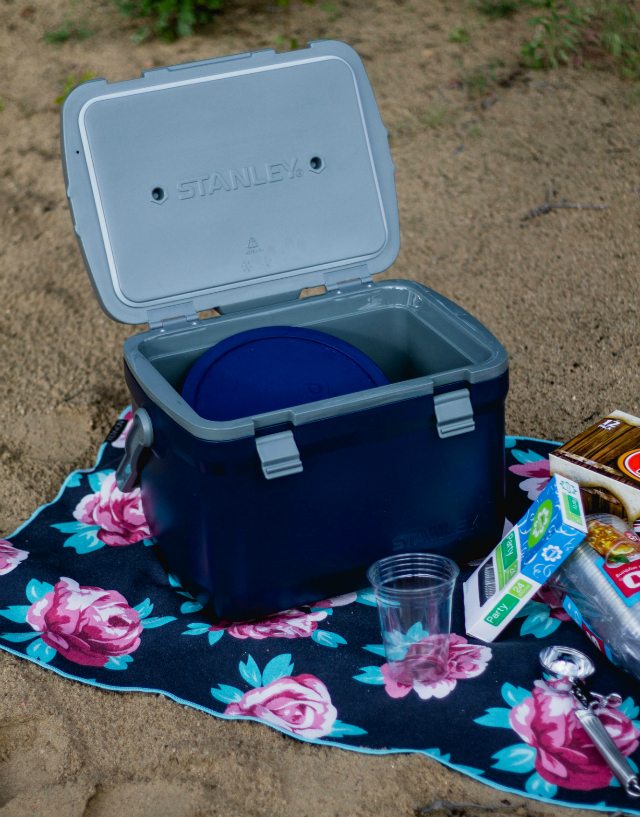
I whipped up a double batch of Vanilla ice cream and picked up a box of root beer on the way home from work. My only concern was the frozenness of my ice cream and how it could make it sans freezer until dessert. I put my faith in my Stanley Adventure Cooler and it did not let me down! Wahoo! That thing can hold in its chill!
WHAT YOU NEED:
– Vanilla Ice Cream
– Root Beer
– Spoons
– Cups
VANILLA ICE CREAM:
1 Cup Milk
1 Cup Heavy Whipping Cream
2 Tbs Vanilla
2 Eggs
1/2 Cup Bakers Sugar1. In a pan, heat up the milk and whipping cream on medium heat until it simmers.
2. In a separate bowl, whip the eggs and sugar together until fluffy.
3. Slowly add the simmering milk to the eggs and continue whisking together.
4. Once all mixed, set in fridge until completely cool (4-6 hours)
5. Pour mixture into ice cream maker and follow manufacturer’s instructions (usually let mix about 20-30 minutes.)
6. Enjoy right away for a soft serve taste or place in freezer proof container and let freeze for 5+ hours to achieve an ice cream consistency.PS: I am using the KitchenAid Ice Cream Maker attachment for all these recipes and I love it! I recommend it if you already have a KitchenAid and are wanting to get into making ice cream! Also, obviously the Stanley Cooler is a beast and you’ll need it for your adventures!


Do you love cookouts and outdoor meals? We wanted to get some fun volleyball time in so playing while food was cooking and then afterwards made us feel all the summer feels! Do you love root beer floats? Keep them frozen with a Stanley Adventure Cooler! YAY! What are your summer must haves that must stay cold?!
Root beer floats were my jam growing up! What a fun idea for volleyball night.
I know! We love doing things like this!
I know right! Good job cooler!
I love a good batch of homemade vanilla!!
YAY! Me too!